
When your tent starts leaking, act quickly to prevent water damage. First, identify the leak’s source, whether it’s a tear, worn seam, or damaged fabric. Use waterproof tapes, sealants, or patches as a temporary fix. For a longer-term solution, clean and dry the area before applying a suitable sealant, and make certain it cures fully. To get the best tips on repairs and prevention, keep exploring how to properly maintain and waterproof your tent.
Key Takeaways
- Identify the leak source through inspection of fabric, seams, and wear spots.
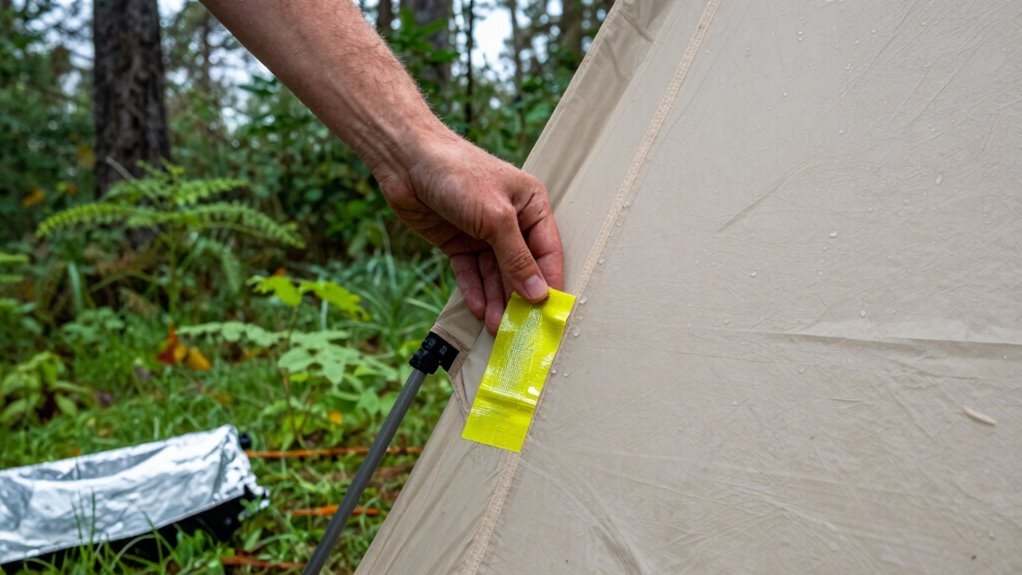
- Apply a temporary sealant or waterproof tape to stop water ingress immediately.
- Cover the leak with a rainfly, tarp, or waterproof gear until a permanent repair can be made.
- Clean and dry the affected area thoroughly before applying a compatible sealant or patch.
- Conduct a proper repair by sealing seams and repairing tears to ensure long-term waterproofing.

GEAR AID Seam Grip FC Fast Cure Sealant for Sealing Seams on Tents, Rainflies, Shelters, Awnings, Tarps and Pop-ups Made of Nylon, Vinyl, Clear, 2 fl oz
Seal up to 60 ft of seams on tents, tarps and awnings with this water-based seam sealant; cures…
As an affiliate, we earn on qualifying purchases.
As an affiliate, we earn on qualifying purchases.
Why Do Tent Leaks Happen and How Can You Spot Them?
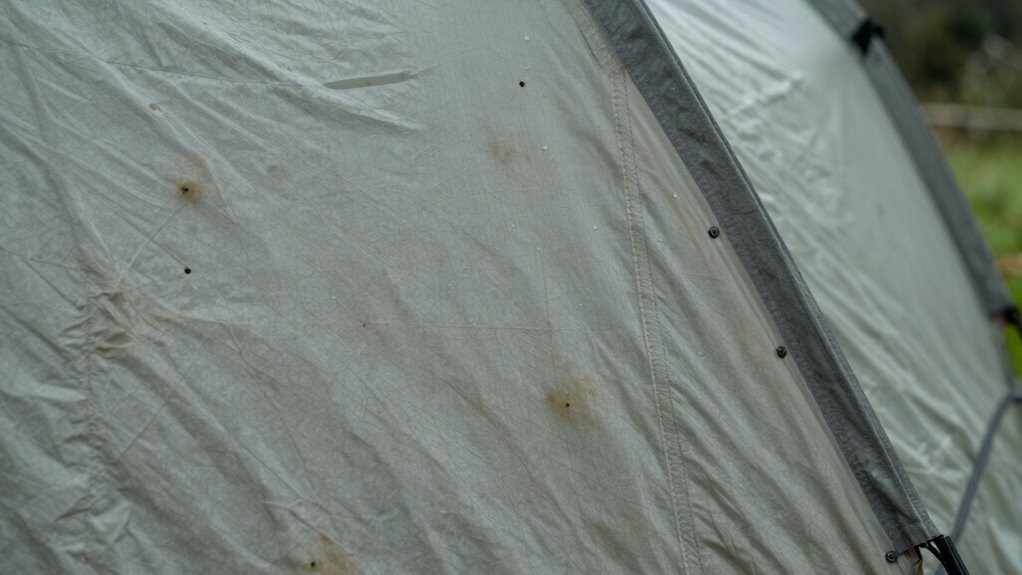
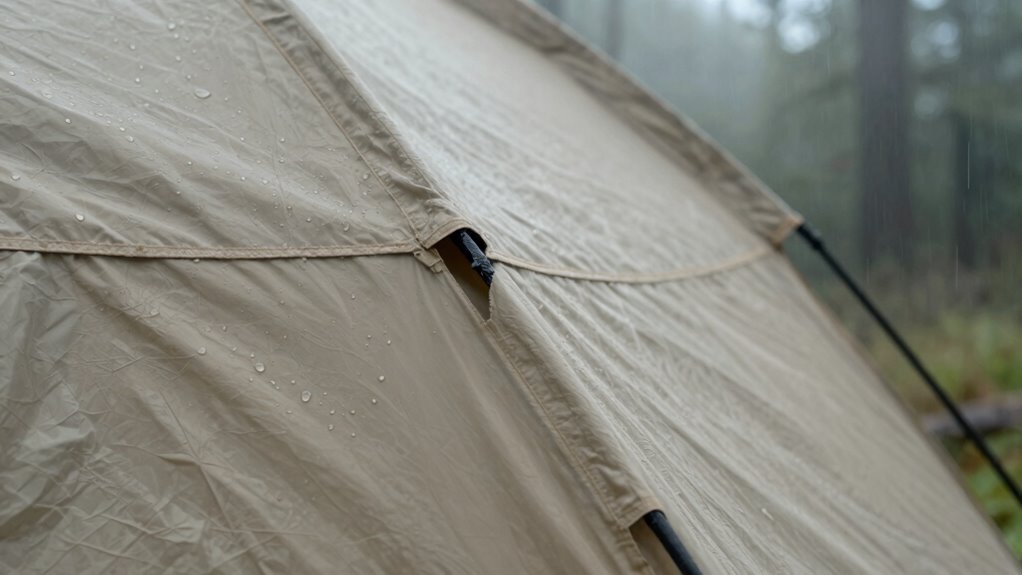
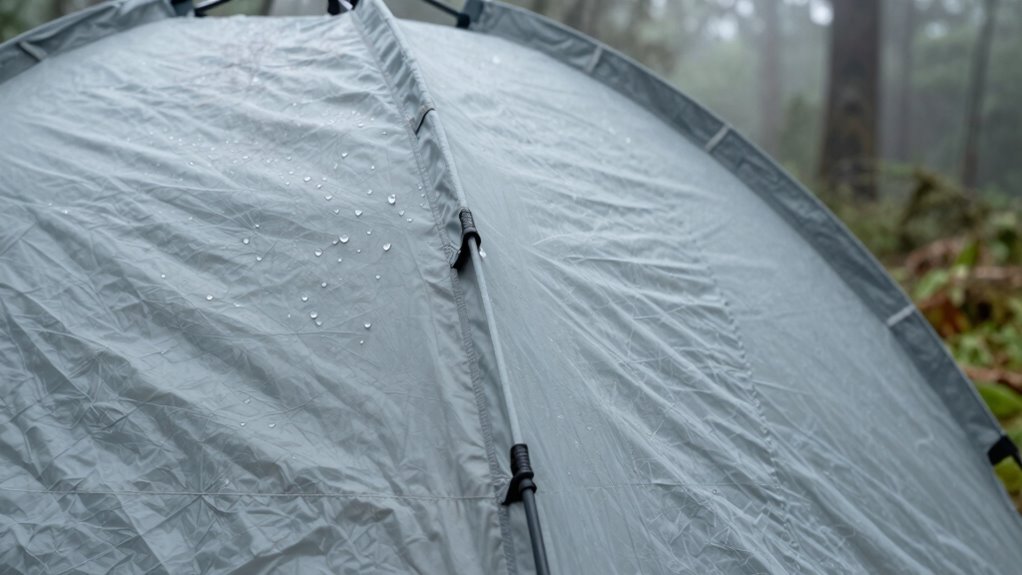
Tent leaks often occur because of fabric tears, worn-out seams, or damage from exposure to the elements. Fabric deterioration is a common cause, especially if the tent’s material weakens over time due to UV exposure or repeated use. Manufacturing defects can also lead to leaks; these flaws might include weak spots or tiny holes that go unnoticed during production. To spot potential issues, inspect your tent carefully before packing it away or setting it up. Look for frayed fabric edges, tiny holes, or areas where the material appears thin or discolored. Check the seams for signs of separation or damage. Catching these issues early can help prevent leaks during your trips and extend the life of your tent. Additionally, understanding fabric technology can help you select more durable materials for future purchases.

Cahomo 3×79 Inch Nylon Repair Patch Nylon Repair Tape Self Adhesive Fabric Tapes Outdoor Camping Gear Fabric kit for Tent, Umbrella, Down Jackets, Sleeping Bag, Knapsack(Black)
Reliable material: Our down jacket repair patch are different from others in that backpacking patch kit are made…
As an affiliate, we earn on qualifying purchases.
As an affiliate, we earn on qualifying purchases.
What Immediate Steps Can You Take to Stop a Tent Leak?
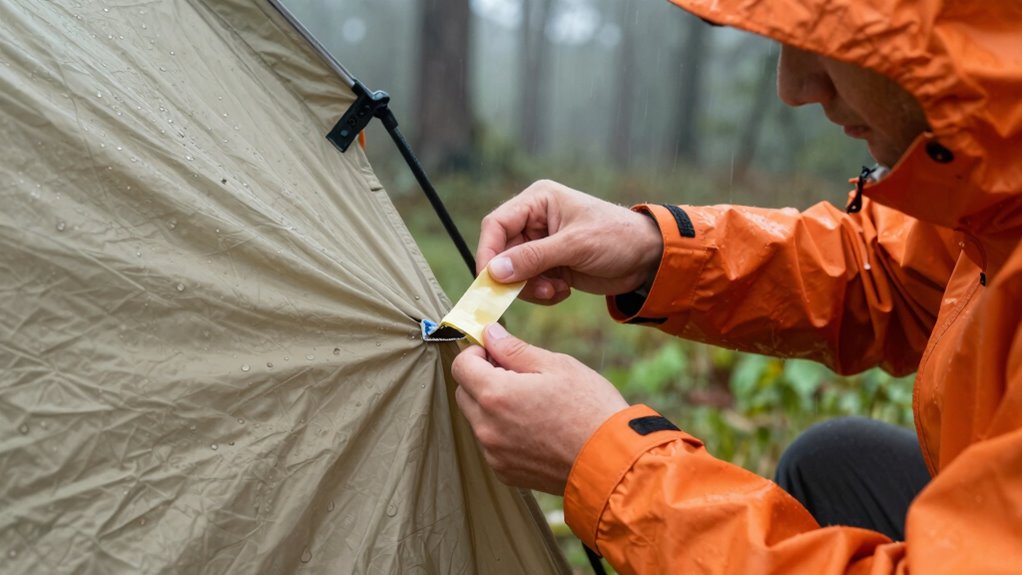
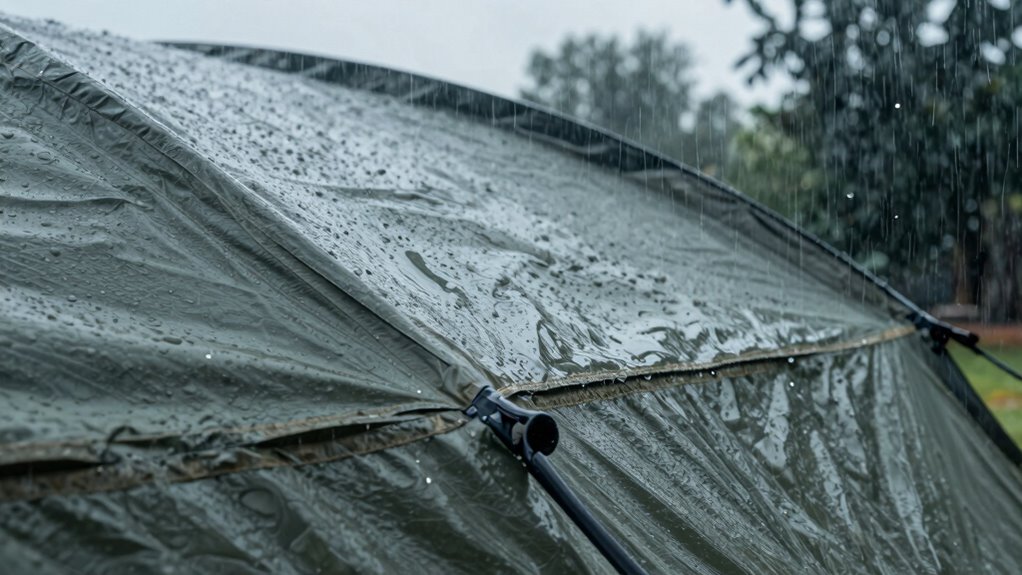
When you discover a leak during your camping trip, acting quickly can prevent further damage and keep you dry. First, identify the source of the leak, which is often a tear or worn spot in the tent material. If possible, apply a patch or sealant designed for your tent’s fabric to create a temporary barrier. Use rainproof gear like a tarp or extra rainfly to cover the affected area, adding an extra layer of protection. Tenting materials vary, so make sure any quick fix is compatible with your tent’s fabric. Keeping water out immediately is vital until you can make more permanent repairs. Quick action can also prevent damage to your tent’s fabric and extend its lifespan. Acting swiftly with these steps can save your campsite and ensure you stay comfortable despite the unexpected leak.
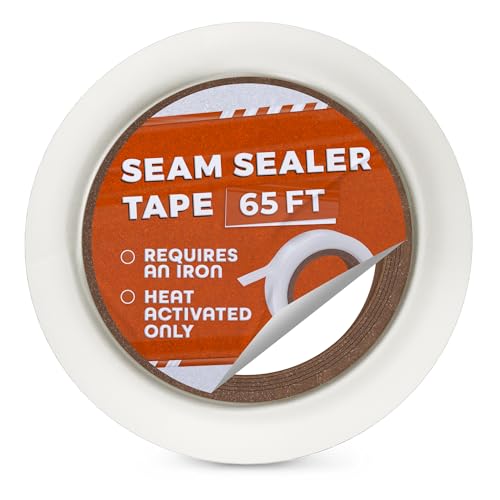
Tent Seam Tape, Stop Leaks in Minutes with Heavy Duty Waterproof Seam Tape — 65 Ft x 0.8 In White Hot Melt PU Heat-Activated Strip, Turns Clear After Ironing for Tents, Raincoats, RV & Patio Covers
High Quality Fabric Tape One Sided: Durable glue waterproof fabric tape that securely adheres to surfaces without leaving…
As an affiliate, we earn on qualifying purchases.
As an affiliate, we earn on qualifying purchases.
How to Temporarily Fix a Tent Leak Using DIY Methods

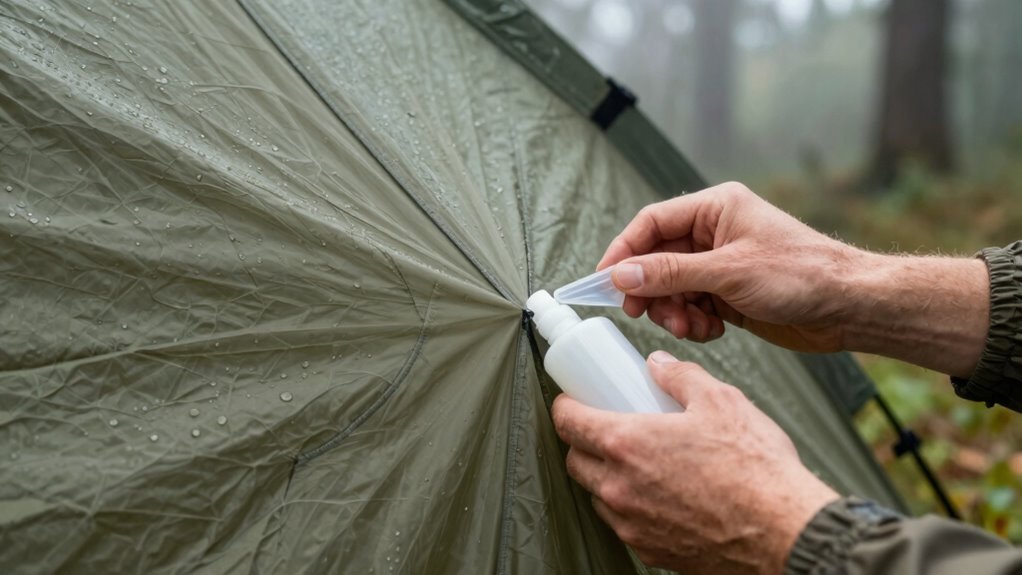
You can patch a tent leak temporarily with simple DIY sealants like plastic tape or waterproofing spray. Make certain to clean and dry the affected area before applying the sealant for the best results. Proper application techniques, such as smoothing out bubbles and covering the entire leak, help ensure a more effective fix. Additionally, understanding ventilation considerations can help prevent moisture buildup that may worsen leaks over time.
Temporary Sealant Options
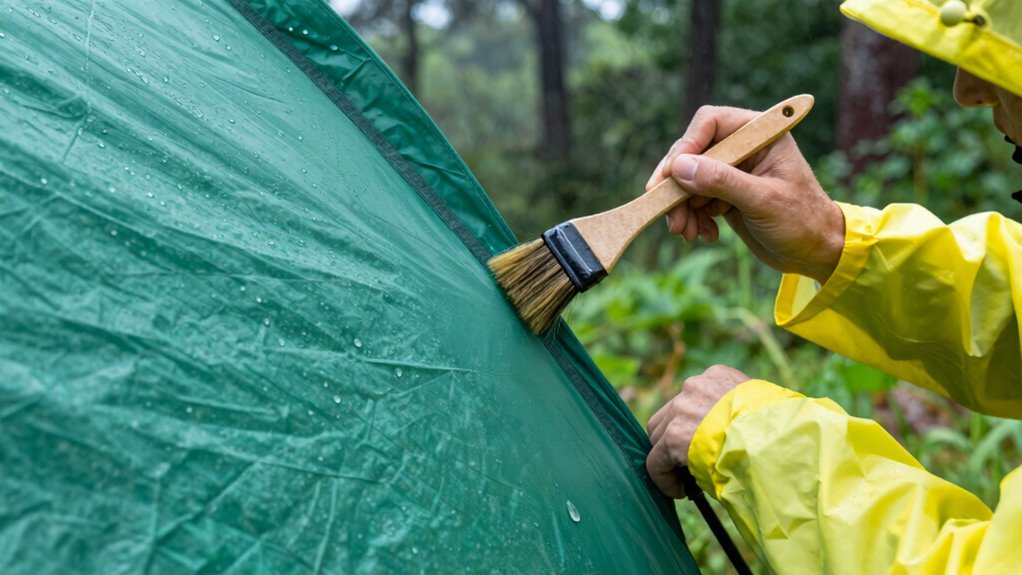
Ever find yourself caught in a sudden rainstorm with a leaking tent? When quick fixes are needed, temporary sealant options can be lifesavers. Use waterproof tapes designed for fabric durability, like repair tapes or duct tape, which adhere well to most tent materials. Consider weather considerations—if it’s humid or rainy, choose a sealant that remains flexible and waterproof under those conditions. For small tears or holes, silicone or latex-based patches can provide a quick barrier, sticking well to various fabrics. Keep in mind, these DIY solutions aren’t permanent but will buy you time until proper repairs are possible. Always test your sealant on a small area first to guarantee compatibility and effectiveness, especially for different fabric types and weather scenarios. Incorporating free floating repair methods can help you adapt your quick fixes to any environment until you can perform more comprehensive repairs.
Proper Application Techniques
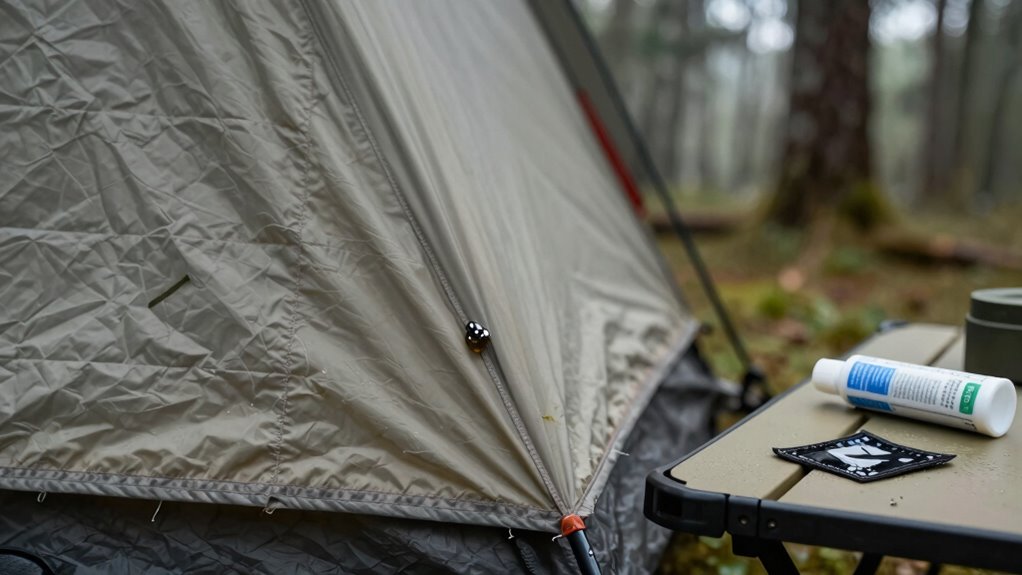
To effectively apply a temporary sealant to your leaking tent, start by thoroughly cleaning the area around the leak to remove dirt, moisture, and loose fibers. Proper application techniques are essential for effective tent seam sealing and fabric waterproofing. Once clean, make certain the area is completely dry. If you’re sealing a seam, apply the DIY sealant along the entire length of the leak, pressing it into the fabric and seams to ensure good adhesion. For fabric waterproofing, spread the sealant evenly over the leak, covering a slightly larger area to prevent water ingress. Use a brush or applicator for precision, and avoid over-application, which can cause drips. Additionally, material compatibility is an important factor to consider to ensure the sealant bonds properly with your tent fabric. Allow the sealant to cure as per instructions before exposing your tent to rain or moisture.

Coleman Weatherproof Rainfly Accessory for 4/6 Person Instant Tents, Keeps Inside Dry & Protects from The Elements, Rainfly Only (Tent Sold Separately)
Get better airflow by cracking your windows, even in the rain
As an affiliate, we earn on qualifying purchases.
As an affiliate, we earn on qualifying purchases.
Choosing the Right Sealants and Repair Kits for Your Tent
Choosing the right sealants and repair kits is essential for effectively fixing leaks in your tent. Select products designed for your tent’s material and the type of leak. For tent seams, use seam sealants that create a flexible, waterproof barrier. Waterproof coatings are ideal for larger areas or fabric repairs, providing an extra layer of protection. Using the correct repair materials ensures that repairs are durable and maintain the tent’s integrity over time. UV-resistant sealants are also helpful for protecting against sun damage, especially for tents exposed to prolonged sunlight. Quick-dry adhesives are suitable for small punctures or tears, allowing for fast and effective fixes. Heavy-duty patch kits provide long-term solutions for significant damage, ensuring your tent remains dry and reliable in any weather.
Long-Term Repair and Waterproofing Tips for Your Tent
Regular maintenance and proper waterproofing are essential for ensuring your tent remains leak-free over time. To enhance fabric durability and address ventilation issues, consider these long-term tips:
- Regularly clean and reapply waterproof coatings to maintain fabric integrity and prevent leaks.
- Inspect seams and fabric for wear, re-sealing or patching as needed to preserve waterproofing.
- Improve ventilation by ensuring vents are unblocked and fabric is not overly saturated, reducing condensation that can cause leaks and mold.
- Using smart technology such as moisture sensors can help monitor humidity levels inside your tent, allowing you to take proactive steps to prevent leaks and condensation buildup.
When Should You Repair Your Tent or Consider Replacing It?
Knowing when to repair or replace your tent can save you time, money, and frustration during your outdoor adventures. If your tent material shows extensive wear, large tears, or multiple patches, it’s probably time to contemplate a replacement. Weather effects like heavy rain, snow, or strong winds can accelerate deterioration, making repairs less effective over time. If leaks persist despite multiple fixes, or if the fabric becomes thinning or brittle, maintaining the tent may no longer be reliable. Additionally, older tents with compromised seams or outdated waterproofing may not withstand severe weather. When repairs become frequent or ineffective, investing in a new tent ensures better protection, durability, and peace of mind against unpredictable weather effects. Recognizing signs of material fatigue and understanding modern waterproofing techniques can help you make informed decisions about repair or replacement.
Common Mistakes That Make Tent Leaks Worse: and How to Avoid Them
Ignoring proper setup, using the wrong sealants, and neglecting regular maintenance can all make tent leaks worse. These mistakes often lead to bigger problems that are harder to fix later. Knowing how to avoid them keeps your tent dry and in good shape. Additionally, understanding proper maintenance practices can extend the lifespan of your tent and prevent leaks from developing over time.
Ignoring Proper Setup
One of the most common mistakes that worsens tent leaks is setting up your tent improperly. Poor tent setup can lead to water pooling or seeping through gaps. To avoid this, focus on proper stake placement and ensuring the tent is taut.
Here are key tips:
- Place stakes firmly at each corner, pulling the tent fabric tight to prevent sagging.
- Ensure the rainfly is properly aligned and secured with stakes, especially at the edges.
- Avoid slack in the tent walls, which can create pockets of water that seep inside during rain.
- Using high-quality precious metals for repairs or upgrades can help reinforce the tent structure and prevent leaks.
Proper stake placement and a tight tent setup are vital in preventing leaks. Taking the time to do this right helps keep water out and your camping experience dry.
Using Inappropriate Sealants
Using the wrong sealants or applying them improperly can turn a simple fix into a bigger problem. If you choose a sealant incompatible with your tent fabric, it may not adhere properly or could damage the material. For example, some sealants are designed for nylon but not polyester, leading to ineffective seam sealing. Applying sealant unevenly or in excess can cause clumping, cracking, or peeling over time, exposing seams to water. Always select a sealant suited for your tent’s fabric and follow the manufacturer’s instructions. Proper seam sealing requires clean, dry surfaces and even application to ensure a waterproof barrier. Using inappropriate or poorly applied sealants can weaken your tent’s integrity and prolong leaks, making it essential to choose the right product and apply it carefully.
Overlooking Regular Maintenance
Neglecting regular maintenance can turn small issues into major leaks over time. If you ignore inspecting your tent fabric and seam sealing, tiny tears or gaps can worsen, compromising waterproofing. To avoid this, focus on these key areas:
- Regularly check tent fabric for tears or wear, and repair promptly.
- Reapply seam sealing where it has started to peel or crack.
- Clean your tent after each use to prevent dirt buildup that can degrade fabric and sealants.
Seasonal Maintenance and Waterproofing Tips for Your Tent
Regularly inspecting your tent at the start and end of each season helps catch wear and tear before it worsens. During these checks, focus on the tent fabric for signs of damage and ensure seam sealing remains intact. Proper seasonal maintenance extends your tent’s life and enhances waterproofing. To prepare for the season change, clean your tent thoroughly, then reapply waterproofing spray if needed. Store your tent in a dry, cool place to prevent mold. Use the table below to guide your maintenance tasks:
| Seasonal Task | Description |
|---|---|
| Inspect tent fabric | Look for tears, holes, or worn spots |
| Check seams | Re-seal seams if signs of wear or leaks appear |
| Clean thoroughly | Remove dirt and debris before waterproofing application |
| Waterproofing | Reapply tent-specific waterproofing spray |
| Proper storage | Store in a dry, ventilated area to prevent damage |
FAQs: Troubleshooting Tent Leaks and Waterproofing Questions
When your tent starts leaking, troubleshooting quickly can save you from uncomfortable nights and further damage. First, inspect the tent fabric carefully to identify leaks or worn spots. Second, check the waterproof coatings; if they’re peeling or worn, reapplying a high-quality waterproof spray can restore protection. Third, consider the age and condition of your tent fabric—if it’s too old or damaged, replacing sections or the entire tent might be necessary. Understanding how to diagnose issues with tent fabric and waterproof coatings helps prevent leaks and prolongs your tent’s lifespan. Remember, timely maintenance and proper waterproofing techniques are key to keeping your gear dry and reliable during your adventures.
Frequently Asked Questions
Can I Waterproof My Tent Without Professional Help?
Yes, you can DIY waterproof your tent without professional help. Start with tent seam sealing using a specialized seam sealer, applying it carefully along all the seams for a watertight barrier. For the fabric, use a tent waterproofing spray, following the instructions on the label. Make sure the tent is clean and dry before applying. With patience and the right products, your tent will stay dry during your adventures.
How Often Should I Reseal My Tent for Optimal Waterproofing?
Think of your tent’s waterproofing as a shield that needs regular armor polishing. You should reseal it every 2 to 3 seasons or after heavy rain or prolonged use. Stick to a maintenance schedule, inspecting seams and fabric for wear. This frequent sealing keeps your shelter strong against the elements, ensuring every camping adventure remains dry and comfortable, no matter how fierce the weather outside.
Are There Specific Tents That Are More Leak-Resistant?
You’ll find that tents with high-quality tent material, like ripstop nylon or polyester, and well-designed seam construction are more leak-resistant. Look for tents with sealed or taped seams, which prevent water from seeping through. Additionally, tents with a durable waterproof coating and thoughtfully engineered seam design offer better protection against leaks. Choosing a tent with these features guarantees you stay dry, even in heavy rain.
What Are the Best Storage Practices to Prevent Tent Leaks?
You might think storing your tent in a dry, cool place prevents leaks, and you’re right. Proper tent maintenance involves cleaning it thoroughly, ensuring it’s dry before storage, and using well-ventilated storage techniques. Fold it loosely to avoid damage, keep it away from direct sunlight, and store it in a breathable bag. These steps help prevent fabric deterioration and leaks, keeping your tent ready for your next adventure.
How Can I Identify the Age of My Tent’s Waterproof Coating?
You can identify your tent’s waterproof coating age by inspecting the fabric for signs of aging, like cracking or peeling, which indicate the coating is deteriorating. Check the manufacturer’s label or documentation—most coatings last 3-5 years before needing reapplication. If you notice water no longer beads on the surface or see visible wear, it’s a sign that your tent’s waterproof coating has aged and may require reproofing.
Conclusion
Don’t let a leaking tent turn your adventure into a soggy disaster. With the right knowledge and quick fixes, you can keep your shelter dry and your trip unforgettable—no matter how fierce the rain. Remember, tackling leaks now prevents them from becoming a nightmare that’s ten times worse. Stay vigilant, maintain your tent regularly, and you’ll be the hero of every camping story, even when the skies open up and unleash their fury!