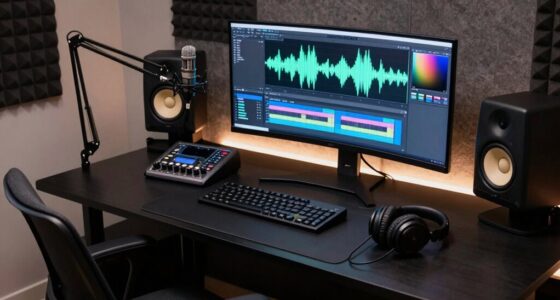
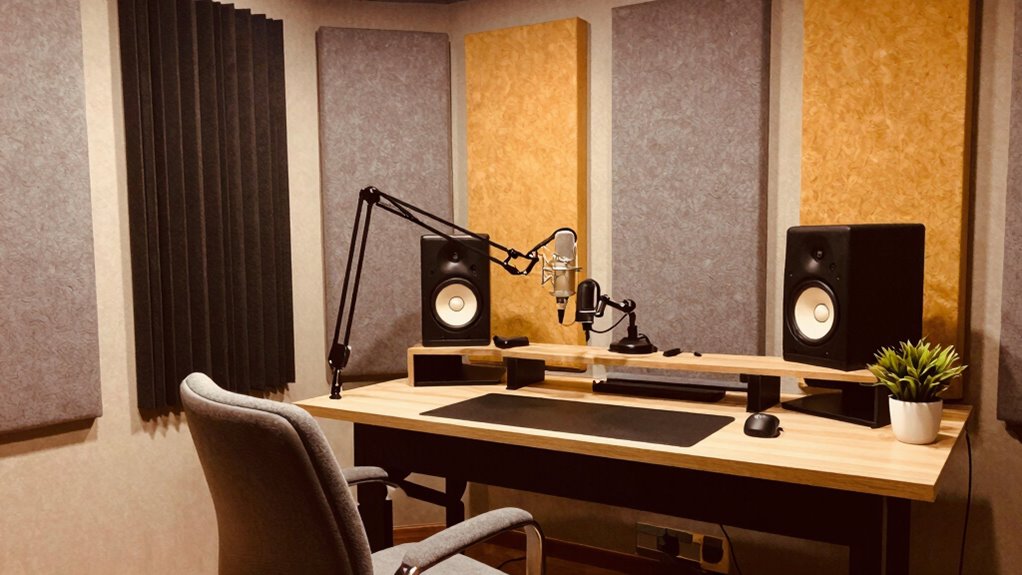

To build a better recording space in a normal room, start by sealing gaps around doors and windows with weatherstripping or acoustic sealant to block outside noise. Use heavy curtains, rugs, and acoustic panels to absorb reflections and control sound. Position your monitors at ear level and in an equilateral triangle with your listening spot. Incorporate bass traps in corners and consider room dimensions for ideal acoustics. Keep exploring to discover even more effective upgrades.

Get audio and creator gear delivered free — and shop member deals
- Fast, free delivery on millions of items
- Access to Prime Big Deal Days deals on October 6–7
- Prime Video, Amazon Music and more included
Key Takeaways
- Seal gaps around doors and windows with weatherstripping and acoustic sealant to reduce external noise intrusion.
- Add bass traps, foam panels, and diffusers to improve room acoustics and control sound reflections.
- Position monitors at ear level and create an equilateral triangle with your listening spot for accurate sound.
- Use heavy curtains, blankets, and rugs to dampen outside noise and minimize sound reflections within the room.
- Consider room dimensions and layout to optimize sound behavior and prevent unwanted echo or phase issues.

Have you ever wondered how the perfect recording space can elevate your sound? Creating a better recording environment in a normal room isn’t just about the gear you own; it’s about shaping the space itself. To truly improve your recordings, you need to focus on soundproofing techniques and acoustic treatments. Soundproofing helps prevent external noise from leaking in and your sound from escaping, while acoustic treatments refine the room’s internal acoustics to deliver cleaner, more professional recordings.
Start with soundproofing techniques. Think of your room as a fortress against unwanted noise. Seal gaps around doors and windows with weatherstripping or acoustic sealant. Heavy curtains or blankets over windows can dampen outside noise and reduce reflections. If you have hard floors, consider adding rugs or carpets—these absorb sound and minimize echo. Mass-loaded vinyl or soundproof drywall can be excellent for walls if you need more substantial soundproofing. Remember, the goal isn’t just to block sound but to control how sound interacts within the space. That’s where acoustic treatments come into play.
Seal gaps, add heavy curtains, rugs, and use soundproof drywall to control sound within your space.
Once you’ve minimized external noise, focus on acoustic treatments to improve the room’s internal sound quality. Use diffusers and absorbers strategically. Foam panels are popular for absorbing high frequencies, which helps tame harsh reflections. Place them at reflection points—like the wall behind your mixing position and directly opposite your speakers. Bass traps are essential for managing low-frequency build-up, especially in corners where bass tends to accumulate. These treatments prevent sound waves from bouncing unpredictably, creating a more balanced and accurate listening environment. Incorporating soundproofing techniques effectively can significantly enhance the overall quality of your recordings. Additionally, understanding the room acoustics can help you make smarter adjustments to your setup.
Positioning your monitors and your listening position also makes a significant difference. Keep your speakers at ear level and form an equilateral triangle with your listening spot. This setup reduces phasing issues and ensures you get an accurate sound. Use stands or isolation pads to decouple your monitors from the desk, preventing vibrations that color your sound. Proper sound interaction within your room is crucial for achieving a natural and balanced sound, making your recordings more true-to-life. Paying attention to room dimensions can also impact sound behavior, so consider these factors when designing your space. The combination of soundproofing techniques and thoughtful acoustic treatments transforms a regular room into a space where your recordings sound clear, natural, and professional.
acoustic panels for recording studio
As an affiliate, we earn on qualifying purchases.
As an affiliate, we earn on qualifying purchases.
Frequently Asked Questions
How Can I Reduce External Noise in My Recording Space?
To reduce external noise, you should start by sealing gaps around your door with door seals, preventing sound leaks. Adding soundproof curtains to windows and walls also dampens outside noise. Consider placing heavy furniture or rugs to absorb sound reflections. Combining these strategies creates a more controlled environment, minimizing external distractions and improving your recording quality. These simple steps make a noticeable difference in noise reduction.
What Is the Best Type of Microphone for Small Rooms?
Think of your small room as a tightrope walker balancing sound. A dynamic microphone is your best bet, as it handles nearby noise and reduces room reflections. Focus on proper microphone placement—keep it close and aimed at your source—and optimize room acoustics with soft furnishings or panels. This combo helps minimize echoes, giving you clearer recordings, even in a cozy space.
How Do I Prevent Sound Reflections Without Extensive Acoustic Treatment?
To prevent sound reflections and control echo in a normal room, start by placing soft furnishings like rugs, curtains, and cushions to absorb sound. Use DIY reflection reduction methods, such as hanging blankets or foam panels on walls. Position your microphone away from hard surfaces, and consider using a portable vocal booth or makeshift shield. These strategies help reduce echo and improve sound clarity without extensive acoustic treatment.
Can I Improve Sound Quality With DIY Soundproofing?
Sure, DIY soundproofing can seem like a magic fix, but don’t expect miracles. You can improve sound quality with DIY panels and soundproof curtains, which absorb and block noise, turning your room into a quieter haven. While they won’t turn your space into an isolation chamber, they’ll reduce echo and outside noise, making your recordings clearer. It’s a cost-effective way to boost sound quality—no wizardry required.
What Equipment Is Essential for a Budget-Friendly Recording Studio?
You need a few key pieces of equipment to set up a budget-friendly recording studio. Start with acoustic panels to control sound reflections and improve clarity. Add soundproof curtains to block outside noise and reduce echo. A decent microphone and headphones are essential for capturing quality audio. Consider a basic audio interface for connectivity. These affordable tools, combined with DIY room treatments, create a functional, budget-conscious space for recording.
As an affiliate, we earn on qualifying purchases.
Conclusion
Creating a better recording space in your normal room is entirely doable with some simple adjustments. Remember, acoustic treatment can reduce echoes by up to 60%, making your recordings clearer. Investing time and effort into soundproofing and arranging your gear thoughtfully pays off, giving you professional-quality results. With just a few tweaks, you’ll find your space transforms into a dedicated studio. So go ahead—start improving today, and watch your recordings sound better than ever!
As an affiliate, we earn on qualifying purchases.
As an affiliate, we earn on qualifying purchases.
Evergreen bestsellers Picks
bestsellers
As an affiliate, we earn on qualifying purchases.