
Latency happens when there’s a delay between playing a note and hearing it through your speakers or headphones, often caused by digital processing or hardware settings. This delay can make your recordings sound ‘off’ because your ears and hands aren’t in sync, disrupting timing. By understanding what causes latency and how to manage it—like adjusting buffer size or using direct monitoring—you can improve your recordings. Keep exploring to learn more about keeping your sessions tight.
Key Takeaways
- Latency causes a delay between playing a note and hearing it, making recordings sound out of sync.
- High buffer sizes or low sample rates increase latency, affecting real-time monitoring and timing.
- Outdated drivers or incompatible hardware can introduce processing delays, making recordings feel ‘off’.
- Complex plugin chains and high CPU usage slow down processing, increasing perceived latency.
- Using direct monitoring and optimizing buffer settings helps minimize latency for tighter recordings.
What Is Latency and Why Does It Matter in Recording?
Have you ever noticed a delay between playing a note and hearing it through your headphones? That’s what we call latency. Digital latency occurs when your audio interface or DAW takes time to process sound, causing a slight lag between your performance and what you hear. Analog delay, on the other hand, involves physical components like cables and mixers that introduce a small but noticeable delay. Latency matters because it can make you feel disconnected from your music or hinder your timing. High latency can disrupt your flow, making it harder to record precisely or stay in sync with other tracks. Understanding these delays helps you optimize your setup for smooth, real-time monitoring and a better recording experience. Additionally, utilizing energy-efficient cloud servers can support your workflow by providing reliable, low-latency processing for your music projects.
How Does Latency Affect Your Monitoring and Playback?

Latency directly impacts your monitoring and playback experience by creating a delay between your input and what you hear through your speakers or headphones. This delay can cause frustrating audio feedback, making it hard to stay in sync with your recordings. High headphone latency makes you feel disconnected from your performance, leading to misaligned timing and compromised creativity. When monitoring isn’t real-time, you’ll notice your recordings sound off or out of sync. To illustrate, consider the following:
| Feeling | Cause | Result |
|---|---|---|
| Disorientation | Audio feedback from latency | Loss of confidence |
| Frustration | Delayed sound | Reduced focus |
| Disconnection | Headphone latency | Poor performance |
Reducing latency guarantees your monitoring feels natural, keeps your recordings tight, and preserves your flow. Ensuring your audio interface and software are optimized can significantly minimize this delay, much like how understanding the net worth of reality TV stars can reflect their financial independence.
What Are the Main Causes of Latency in DAWs and Recording?

What causes latency in DAWs and recording setups? The main culprits are digital delay and hardware conflict. Digital delay occurs because your computer processes audio signals before they reach your speakers or headphones, creating a slight lag. This is especially noticeable when you’re recording or monitoring in real time. Hardware conflict happens when different components, like audio interfaces or drivers, compete for resources or aren’t fully compatible, causing delays in signal transmission. Poorly optimized drivers or outdated firmware can also introduce latency. Additionally, complex plugin chains or high CPU usage can slow down processing, adding to the delay. An understanding of projector technology can help you appreciate how precise timing is crucial for a seamless experience. Understanding these causes helps you identify where latency originates and take steps to minimize it, ensuring your recordings sound more natural and in sync.
How Do Buffer Size and Sample Rate Impact Recording Delay?
Buffer size and sample rate are key settings that directly influence recording delay in your DAW. A smaller buffer size reduces latency because the computer processes audio data faster, giving you more immediate feedback. However, setting it too low can cause CPU overloads and audio glitches. Conversely, a larger buffer size increases latency, resulting in a noticeable delay between input and playback, but offers greater stability during recording. Sample rate also impacts delay; higher sample rates process audio more quickly, lowering latency, but demand more CPU power. Lower sample rates increase delay, making recordings feel less responsive. Adjusting these settings involves balancing latency with system stability and performance. By fine-tuning buffer size and sample rate, you can optimize your recording experience, minimizing delay without sacrificing audio quality. Being familiar with repair fundamentals can help troubleshoot any technical issues that arise during recording sessions.
Which Hardware Factors Contribute to Recording Latency?

Your audio interface quality directly affects how quickly your recordings are processed, impacting overall latency. Adjusting buffer size settings also plays a vital role, with smaller buffers reducing delay but increasing CPU load. By understanding these hardware factors, you can optimize your setup for smoother recording experiences. Additionally, selecting a reliable Soul Sanctuaries can provide insights into equipment and wellness practices that may indirectly enhance your overall recording environment.
Audio Interface Quality
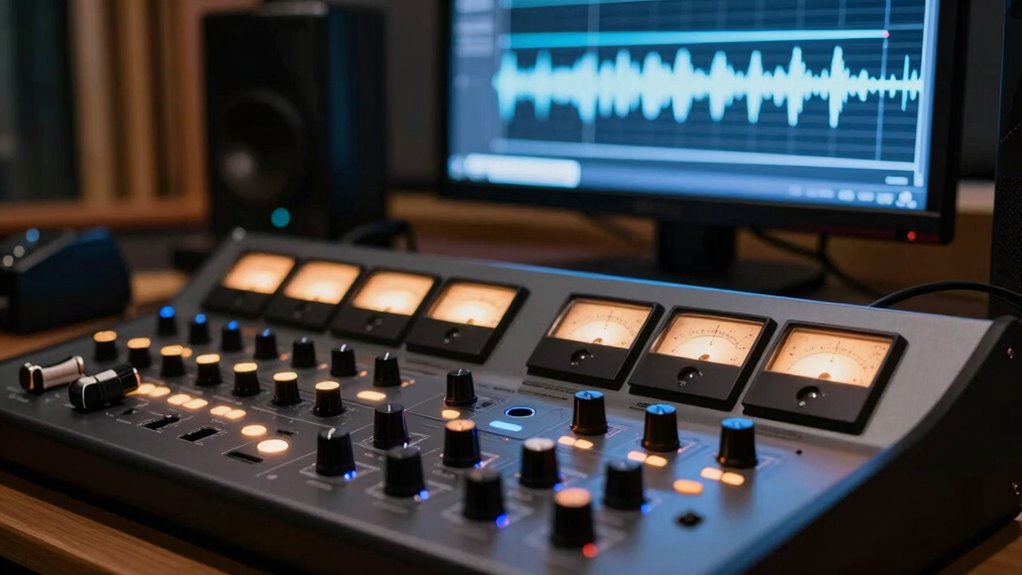
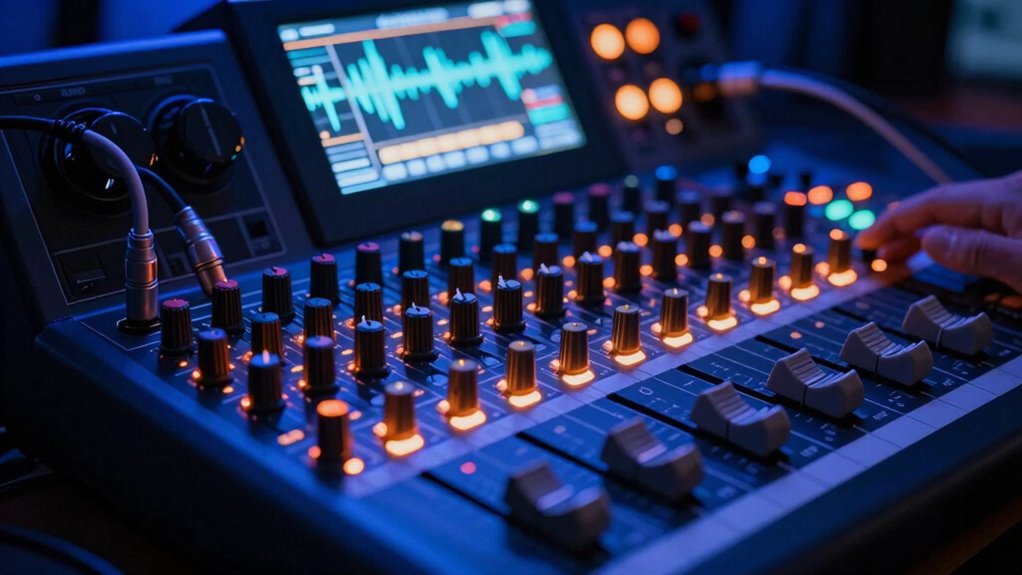
The quality of your audio interface directly impacts recording latency, as higher-quality hardware generally processes audio signals more efficiently. Better audio interface quality means faster, more accurate conversions of analog to digital signals, reducing delay. Additionally, a stable, well-designed driver guarantees consistent communication between your interface and your computer, preventing glitches that increase latency. Cheaper or outdated interfaces often struggle with driver stability, causing irregular delays and dropouts. Investing in a reputable brand with solid build quality and reliable drivers minimizes these issues. Ultimately, high-quality hardware ensures smoother, more responsive recording sessions by reducing processing bottlenecks and maintaining consistent signal flow. Your choice of interface plays a crucial role in achieving low latency and a seamless recording experience.
Buffer Size Settings
When adjusting buffer size settings, hardware capabilities play a significant role in determining recording latency. A smaller buffer size reduces latency because the audio interface processes data more frequently, providing quicker feedback. However, setting it too low can strain your system, causing glitches or dropouts. Conversely, a larger buffer size increases latency but eases the system’s workload, ensuring smoother recording. Sample rate also impacts latency; higher sample rates (like 96kHz or 192kHz) process audio faster, lowering latency, but demand more processing power. Balancing buffer size and sample rate according to your hardware’s capacity is key. If your system struggles, increasing buffer size or lowering sample rate can help maintain stability, even if it slightly increases latency. Adjust these settings carefully to optimize your recording experience.
How to Troubleshoot and Fix Latency Problems Step by Step
Troubleshooting latency issues can seem intimidating, but following a systematic approach makes it manageable. First, check your digital audio interface and ensure its drivers are up to date. Outdated drivers can cause increased signal delay, leading to noticeable latency. Next, review your buffer size settings; a larger buffer reduces CPU load but increases latency, so adjust accordingly. Then, disable any unnecessary background programs that might be taxing your system. Test your audio with a simple project to identify if latency persists. If it does, try switching to a different USB port or cable, as faulty connections can introduce delays. Finally, verify your audio software’s sample rate matches your interface’s settings. By methodically following these steps, you can pinpoint and reduce latency issues effectively. Regular maintenance and ensuring compatibility with your hardware can further improve performance especially with smart appliances, helping to keep your system running smoothly.
Tips to Reduce Latency Without Sacrificing Audio Quality

To reduce latency without sacrificing sound quality, start by optimizing your buffer settings to find the right balance between performance and stability. Using direct monitoring allows you to listen in real-time without the delay introduced by your computer’s processing. These adjustments can considerably improve your workflow while maintaining high audio fidelity. Additionally, ensuring your audio drivers and firmware are up to date can significantly impact latency performance Vetted – Witbeck Vacuums.
Optimize Buffer Settings
Adjusting your buffer settings can considerably reduce latency without sacrificing audio quality. Proper buffer optimization is key to effective latency balancing, ensuring your recordings feel natural. To do this:
- Set a lower buffer size in your DAW, but avoid going too low to prevent glitches.
- Experiment with different buffer values to find the sweet spot between latency and stability.
- Use a dedicated audio interface with enhanced drivers for better performance.
- Regularly update your audio software and drivers to maintain ideal buffer management.
- Understanding buffer management is essential for maintaining a balance between low latency and stable playback.
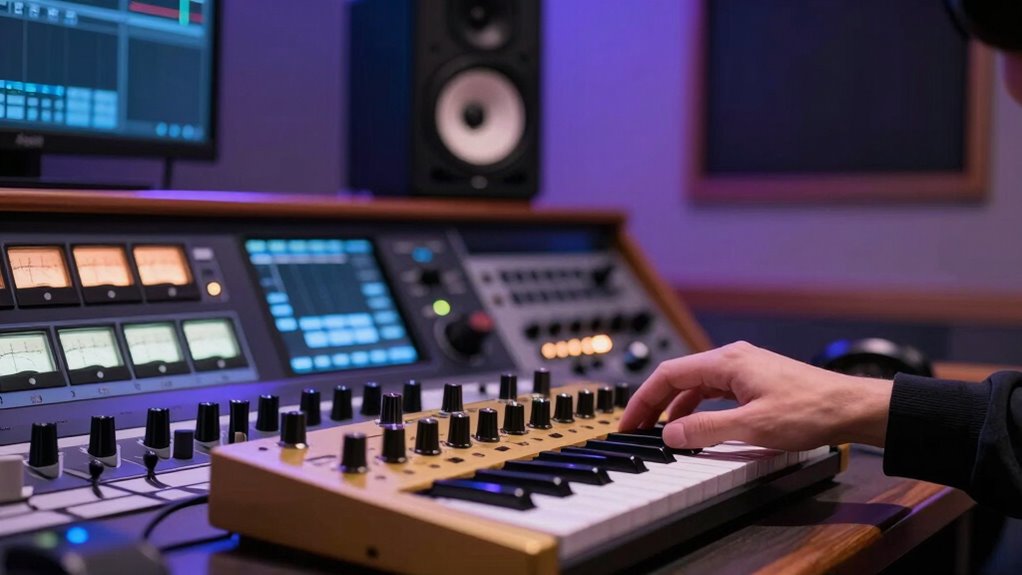
Use Direct Monitoring
Using direct monitoring allows you to hear your audio input in real-time with minimal latency, bypassing the need for complex buffer adjustments. This feature works by sending your microphone or instrument signal directly to your headphones through your audio interface’s hardware, effectively reducing hardware latency. By enabling direct monitoring, you avoid the delays caused by digital processing and buffer settings, ensuring your performance feels more natural. Keep in mind, some interfaces offer blend controls, allowing you to balance between direct and monitored signals. This setup preserves audio quality since it doesn’t rely on your computer’s processing power, making it ideal for recording without feeling the “off” sensation caused by latency. Additionally, hardware efficiency plays a crucial role in minimizing latency and maintaining high audio quality. Use direct monitoring to improve your recording experience and keep latency to a minimum.
When and How to Use Hardware Inserts and Direct Monitoring

Understanding when and how to use hardware inserts and direct monitoring can substantially improve your recording workflow. These techniques optimize hardware integration and signal routing, reducing latency and enhancing real-time control. Use hardware inserts when you want to process a specific track with external gear, ensuring minimal latency and high-quality sound. Direct monitoring is ideal when recording vocals or instruments, providing zero-latency playback directly from your audio interface. Proper configuration of signal routing is essential to keep dry and processed signals separate. Consider testing hardware integration to confirm seamless signal flow without latency issues.
How Latency Shows Up in Different Recording Setups (Home, Studio, Live)
Latency affects your recordings differently depending on your setup. In a home studio, it can cause noticeable delays when monitoring your playback. In a professional studio or live setting, even small delays can disrupt timing and performance.
Home Studio Challenges
In a home studio, latency can quickly become a frustrating obstacle, especially when you’re trying to record vocals or play virtual instruments in real-time. It disrupts your digital audio recording workflows and makes performances feel disconnected. To manage this challenge, consider these points:
- Use lower buffer sizes to reduce delay during recording sessions.
- Optimize your computer’s performance by closing background applications.
- Choose audio interfaces with faster, more efficient drivers.
- Limit the number of plugins and virtual instruments running simultaneously.
These steps help minimize latency, ensuring your recordings feel natural and responsive. While home setups offer flexibility, they often lack the dedicated hardware that studios have, which can make managing latency trickier. Staying proactive with your digital audio setup keeps your recording workflow smooth and your performances tight.
Studio Monitoring Dynamics
Monitoring dynamics vary markedly across different recording environments, affecting how latency manifests and influences your workflow. In a professional studio, high-quality hardware latency is minimized with optimized interfaces and dedicated monitors, providing near real-time feedback. However, even in these setups, monitoring latency can still be noticeable during complex sessions or with heavy plugin use. At home studios, budget equipment and less optimized hardware often increase hardware latency, making it harder to stay in sync with your recordings. This delay can cause you to second-guess your timing or feel disconnected from your performance. Understanding these monitoring dynamics helps you adjust your setup or workflow accordingly, ensuring that latency doesn’t hinder your creativity or precision. Recognizing how hardware latency impacts your environment is key to smoother recording sessions.
Live Performance Latency
When performing live, how latency shows up depends heavily on your setup, whether you’re in a home studio, a professional environment, or on stage. In live settings, even slight delays can disrupt live sync and stage timing, making performances feel off. Here are key ways latency impacts live play:
- Audio Delay: Microphone and instrument signals may arrive late, causing performers to feel out of sync.
- Monitor Latency: Stage monitors might lag, affecting how musicians perceive timing cues.
- Digital Effects: Using plugins or digital processors can introduce delays that hinder real-time performance.
- Wireless Systems: Wireless mics and instruments often add latency, impacting live sync.
Understanding these factors helps you manage stage timing and maintain tight performances.
Best Practices for Keeping Recordings Tight and Synced
To keep your recordings tight and synced, you need to pay close attention to timing and setup from the start. First, verify your hardware compatibility; using devices that work seamlessly together minimizes latency issues. Regularly update your software and drivers because outdated software can cause synchronization problems. Use a reliable audio interface with low latency to improve response times. Set your buffer size carefully—smaller buffers reduce delay but may strain your system, so find a balance. Keep everything configured correctly, and run tests before recording sessions. Consistent hardware and software updates help prevent unexpected syncing issues, maintaining tight recordings throughout your project. Staying aware of these best practices ensures your recordings stay in sync and sound professional.
Frequently Asked Questions
Can Latency Occur During MIDI Recording, and How Is It Different?
Yes, latency can occur during MIDI recording. It happens because your digital signal takes time to process, especially if your buffer size is large. This delay makes it feel like there’s a lag between your performance and what you hear. To reduce it, you can lower the buffer size in your audio settings, which decreases the processing time and helps your MIDI recordings feel more in sync.
How Does Computer Processing Power Influence Recording Latency?
Imagine you’re in a vintage arcade, and your computer’s processing power directly impacts your recording experience. A powerful CPU reduces buffer size and CPU load, minimizing latency. If your processor is slow or overworked, it causes delays because it struggles to process audio data quickly enough. To improve recording latency, upgrade your CPU, lower buffer size, or optimize your system’s CPU load, ensuring smooth, real-time recordings.
Are There Specific Plugins That Increase Latency More Than Others?
Yes, some plugins increase latency more than others, especially those that aren’t well optimized. Reverb, complex EQs, and linear-phase processors tend to add noticeable delay. To minimize this, you should optimize your plugins and adjust your buffer size. Lower buffer sizes reduce latency but may strain your system, so find a balance that maintains performance while keeping latency minimal. Regular plugin updates also help improve optimization.
Can Using External Audio Interfaces Reduce Latency?
Using an external audio interface can dramatically reduce monitoring latency, making it feel almost instant. The right audio interface selection is vital; some models are built specifically to minimize delay, so your recordings feel natural and responsive. Without it, you might experience sluggish monitoring that messes with your flow. Invest in a quality interface, and you’ll notice your latency drops considerably, creating a smoother, more professional recording experience.
What Is the Impact of Latency on Multi-Track Recording Sessions?
Latency can greatly impact your multi-track recording sessions by causing delays between performance and monitoring. To minimize this, you should optimize your hardware and adjust buffer settings in your DAW. Lower buffer sizes reduce latency but may strain your system, so find a balance that ensures smooth recording. Proper hardware optimization helps your system handle real-time processing, allowing you to record multiple tracks without feeling disconnected or out of sync.
Conclusion
Understanding latency helps you troubleshoot and improve your recording experience. Some believe latency is purely a technical glitch, but research suggests it’s also influenced by how our brains perceive timing. By mastering your setup and using the right tools, you can keep recordings tight and natural. Don’t accept “off” moments as inevitable—adjust your gear and settings to guarantee your recordings feel seamless and professional every time.