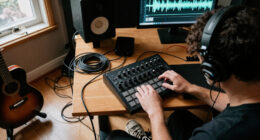
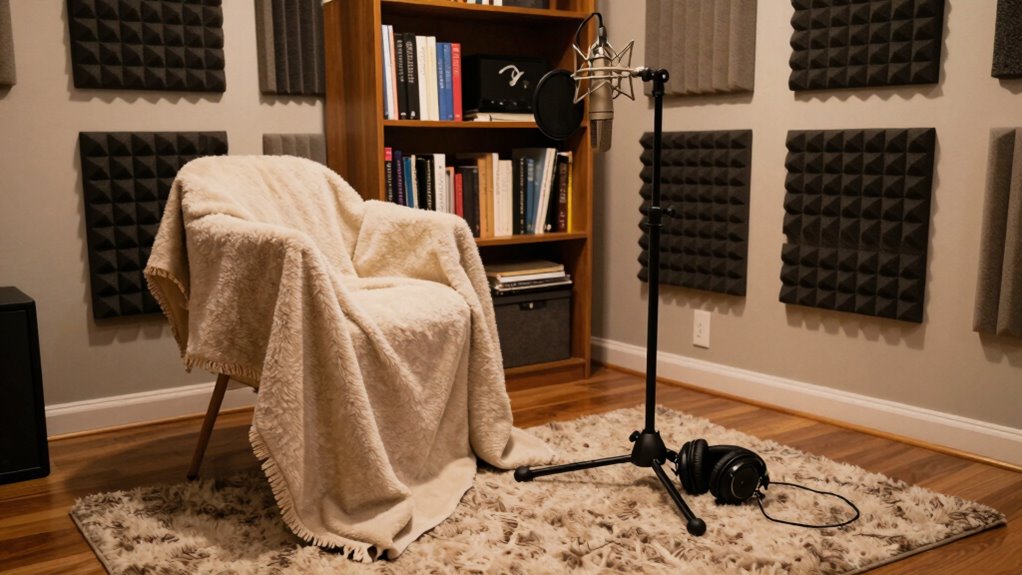

To improve vocal recording in an untreated space, start by adding soft materials like rugs, thick curtains, and cushions to absorb sound and reduce echoes. Place your microphone close to your mouth, about 6-12 inches, and experiment with angles for clearer recordings. Position yourself near a wall or corner to break up sound waves, and consider using DIY acoustic panels or blankets to further minimize reflections. Keep exploring tips to fine-tune your setup and get top-quality sound.

Get audio and creator gear delivered free with Prime
- Fast, free delivery on millions of items
- Prime Video, Amazon Music and more included
- Member-only deals all year
Key Takeaways
- Use soft furnishings, rugs, and thick curtains to absorb sound and reduce reflections.
- Position the microphone close to the mouth and slightly off-axis for clarity.
- Create a dedicated, semi-enclosed recording area using blankets or portable screens.
- Incorporate DIY sound-absorbing panels or natural fiber materials for acoustic treatment.
- Experiment with microphone angles, distances, and room positioning to find the optimal sound.
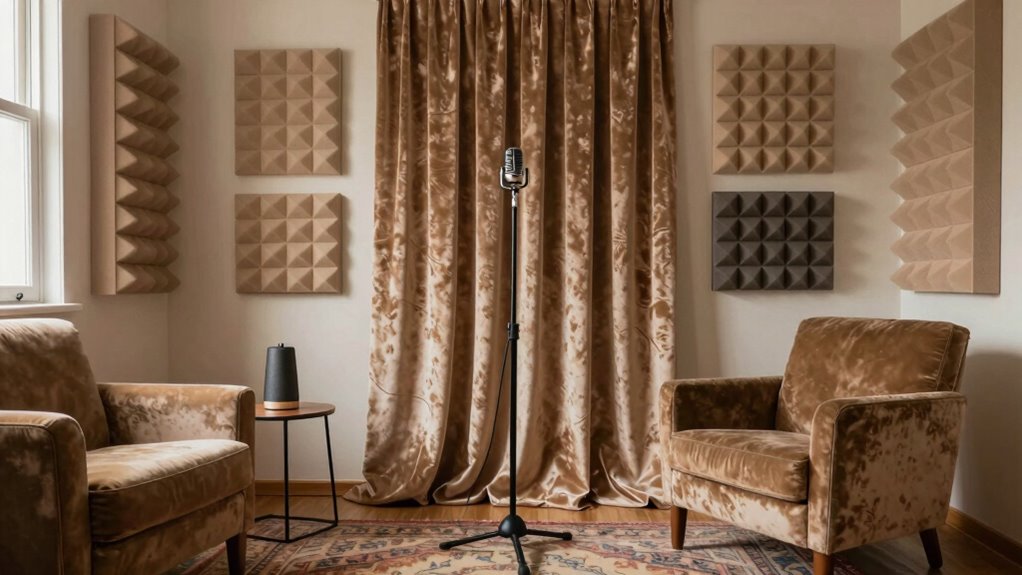
To improve room acoustics, you should introduce soft materials to absorb sound. Place rugs or carpets on the floor, hang thick curtains over windows, and add soft furniture like couches or cushions. These elements help reduce reflections and minimize echo. If you have the option, positioning your recording spot in a corner or near a wall can sometimes help because it breaks up sound waves and prevents them from bouncing directly back into the microphone. Keep in mind, however, that the goal is to balance sound absorption with clarity, so avoid making the room overly dead or muffled. Incorporating biodiversity-friendly materials such as natural fibers for acoustic treatment can also be a sustainable choice. Microphone placement plays a vital role in capturing your voice clearly, especially in an untreated space. Position your microphone close to your mouth—about six to twelve inches—and slightly off-axis to avoid plosive sounds. This proximity helps isolate your voice from room reflections, reducing the impact of unwanted echoes. Experiment with angles and distances to find the sweet spot where your voice sounds full and clear without picking up too much ambient noise. Using a directional microphone, like a cardioid pattern, can also help focus on your voice and reject sounds coming from the sides and rear. Additionally, adding sound-absorbing panels or DIY acoustic treatments can further enhance your recording environment by reducing reflective surfaces. Incorporating diffusers or angled surfaces can help scatter sound waves and prevent flutter echoes, improving overall sound quality. Introducing natural fibers into your acoustic treatment options can also enhance sustainability while effectively managing sound. It’s also helpful to consider room size and shape, as these factors influence how sound behaves within the space. Finally, consider creating a semi-enclosed recording area within your room. You can build a makeshift vocal booth using portable screens or even hanging blankets around you. This creates a small, acoustically treated zone that minimizes room reflections further. Combining strategic room modifications with careful microphone placement will provide a substantial upgrade in your vocal recordings, even without professional studio treatment. With some adjustments, you’ll notice your recordings become clearer, warmer, and more polished—bringing your voice to the forefront with greater clarity.
sound absorbing acoustic panels for home studio
As an affiliate, we earn on qualifying purchases.
As an affiliate, we earn on qualifying purchases.
Frequently Asked Questions
How Can I Prevent External Noise From Entering My Recordings?
To prevent external noise from entering your recordings, you should focus on soundproofing techniques and noise isolation methods. Seal gaps around doors and windows with weatherstripping or heavy curtains. Use portable sound booths or thick blankets to dampen sound leakage. Additionally, place furniture and soft materials in your space to absorb sound. These steps help block outside noise, ensuring cleaner, clearer vocal recordings.
What Are the Best DIY Solutions for Acoustic Treatment?
You can improve your space with DIY panel ideas like hanging thick blankets or building foam panels using insulation and fabric. Incorporate diffusion techniques, such as placing uneven surfaces or reflective objects, to scatter sound waves and reduce echo. These solutions are affordable, customizable, and effective, helping to enhance your vocal recordings without professional treatment. Experiment with positioning to find the best setup that minimizes reflections and absorbs unwanted noise.
How Do I Choose the Right Microphone for Untreated Spaces?
Did you know that choosing the right microphone can reduce noise by up to 50%? To do this, focus on microphone placement and polar pattern. For untreated spaces, opt for a cardioid mic that captures sound primarily from the front, minimizing room noise. Keep the mic close to your mouth, and position it to avoid reflections. This way, you’ll get clearer vocals despite the challenging environment.
Can Specific Clothing or Positioning Improve Vocal Recordings?
Yes, clothing insulation and vocal positioning can considerably improve your vocal recordings. Wearing thicker, insulating clothing helps dampen unwanted room reflections and reduces noise, giving you a cleaner sound. Additionally, adjust your vocal positioning—stay close to the microphone and maintain consistent distance—to capture a warm, full tone while minimizing room noise. These simple tweaks can enhance your recordings without needing professional treatment.
What Affordable Equipment Can Enhance Sound Quality in a Small Room?
You can substantially improve your sound quality with affordable gear like soundproof curtains and acoustic panels. Soundproof curtains block external noise and reduce echo, making your recordings clearer. Acoustic panels absorb sound reflections, improving room acoustics. Place them strategically around your small room, especially behind and beside your recording spot. These budget-friendly solutions help create a more controlled environment, ensuring your vocals sound professional without breaking the bank.
microphone isolation shield for vocals
As an affiliate, we earn on qualifying purchases.
As an affiliate, we earn on qualifying purchases.
Conclusion
Think of your untreated space as a garden, vulnerable to weeds and weeds growing unchecked. With a few thoughtful adjustments—like adding foliage or barriers—you can cultivate a thriving environment for your vocals to blossom. By nurturing this space, you create a sanctuary where your voice can flourish without interference. Remember, even the simplest tools can turn chaos into harmony, transforming your room into a fertile ground for recordings that truly resonate.
As an affiliate, we earn on qualifying purchases.
cardioid condenser microphone for recording
As an affiliate, we earn on qualifying purchases.
As an affiliate, we earn on qualifying purchases.
Halloween Picks
halloween
As an affiliate, we earn on qualifying purchases.