Gain staging is simply about setting the right levels throughout your audio setup to keep your sound clear and prevent distortion. You want the signals strong enough to avoid noise but not so loud they clip or distort. Use meters and listen closely to find that sweet spot at each stage. When levels are balanced, your sound stays clean and professional. Keep things properly adjusted, and you’ll be surprised at how much better your recordings can sound. If you keep going, you’ll see how easy it really is.
Key Takeaways
- Gain staging is simply setting proper volume levels at each stage to keep sound clear and avoid distortion.
- Use meters and listen carefully to ensure signals aren’t too loud or too quiet.
- Start with your source at a strong, balanced level before adding effects or mixing.
- Keep levels within a safe range (not too high, not too low) for clean sound.
- Regularly check and adjust levels throughout the process for consistent, professional audio.
What Is Gain Staging: and Why Is It Important?
Gain staging is the process of adjusting audio signal levels at various points in your setup to guarantee ideal sound quality. If you don’t do this correctly, you risk audio clipping, which causes distortion and destroys signal clarity. When levels are too high, the signal peaks and clips, leading to harsh, unpleasant sounds. On the other hand, if levels are too low, your audio becomes weak and noisy. Proper gain staging ensures each device in your chain receives the right amount of signal, maintaining clarity and preventing distortion. It’s a simple step that makes a huge difference in sound quality, especially when recording or mixing. High refresh rates and the right gain levels work together to provide a seamless audio-visual experience. When you get gain staging right, your audio stays clean, clear, and professional, no matter the complexity of your setup.
How Do Signal Levels Travel Through Your Audio Chain?
Understanding how signal levels move through your audio chain helps you maintain proper gain staging. When an audio signal leaves your source, it’s at a certain level, which then passes through various equipment like mixers, preamps, and processors. Each device amplifies or attenuates the signal to guarantee level consistency. If the signal gets too weak, it can introduce noise; if it’s too strong, it can cause distortion or clipping. As the audio signal travels, it’s vital to keep its level within an ideal range to preserve clarity and avoid unwanted noise. Proper gain staging involves monitoring and adjusting these levels at each stage, ensuring smooth, clean transmission from source to output. This process keeps your audio signal balanced and maintains overall sound quality. Proper gain management is essential for preventing equipment damage and achieving a professional sound.
How Can You Tell When Your Signal Is Too Quiet or Too Loud?
How can you tell if your audio signal is too quiet or too loud? The key is listening closely and watching your meters. If your sound lacks detail or feels weak, your volume control might be set too low, causing a quiet signal. Conversely, if the sound distorts or clips, it’s too loud, and your level is exceeding what your gear can handle. Clear sound depends on proper gain staging, so aim for consistent levels without pushing into distortion. Use your audio interface’s meters or visual indicators to monitor signal strength. When levels are balanced, your sound will stay clean and transparent, ensuring good sound clarity. Trust your ears and meters to fine-tune your setup, avoiding overly quiet or loud signals that compromise quality. Proper signal management ensures your audio remains clear and professional, especially in complex mixing environments.
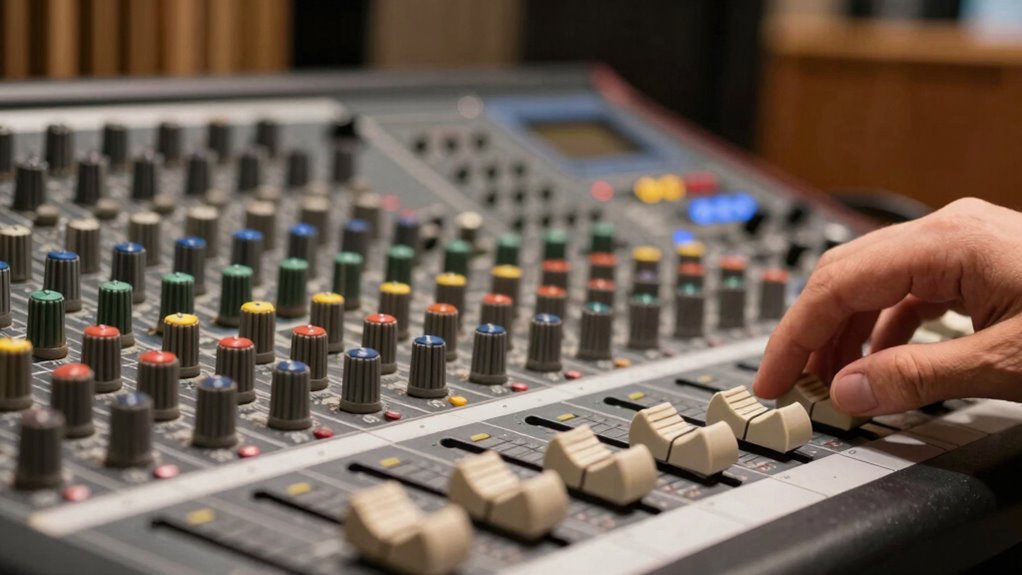
How Do You Properly Set Gain at Each Stage?
To set gain properly at each stage, you need to identify the most effective signal levels that prevent distortion or noise. Use proper metering tools to monitor your levels accurately, ensuring your signal stays within the ideal range. Keep consistent headroom to allow for dynamic peaks without risking clipping or unwanted distortion. Additionally, applying simple, room-by-room solutions can help maintain a calm and organized environment, making it easier to manage your setup effectively.
Identify Optimal Signal Levels
Setting the right gain at each stage is essential for achieving a clear and balanced sound. To identify *ideal* signal levels, focus on maintaining good signal clarity without pushing into distortion. Start by setting your input gain so that the signal peaks around -6 dB to -3 dB on your meters; this leaves headroom for dynamic changes. Watch for overly hot signals that cause clipping, and avoid signals that are too low, which can introduce noise. Proper levels ensure you capture the full dynamic range of your sound without sacrificing detail. Consistently monitoring your levels helps keep the signal clean and prevents issues down the line. By dialing in the right levels early, you set a solid foundation for a professional, balanced mix.
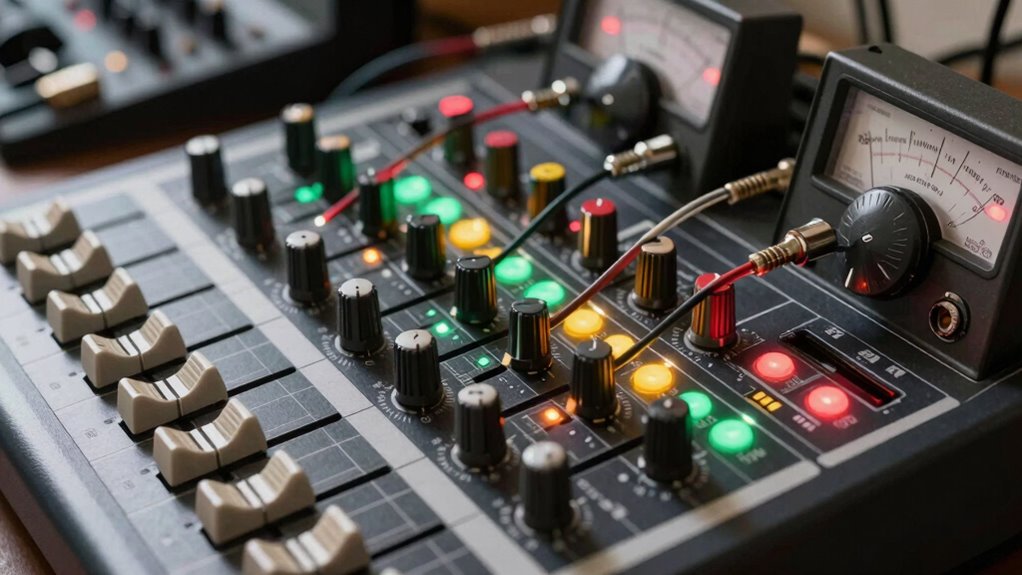
Use Proper Metering Tools
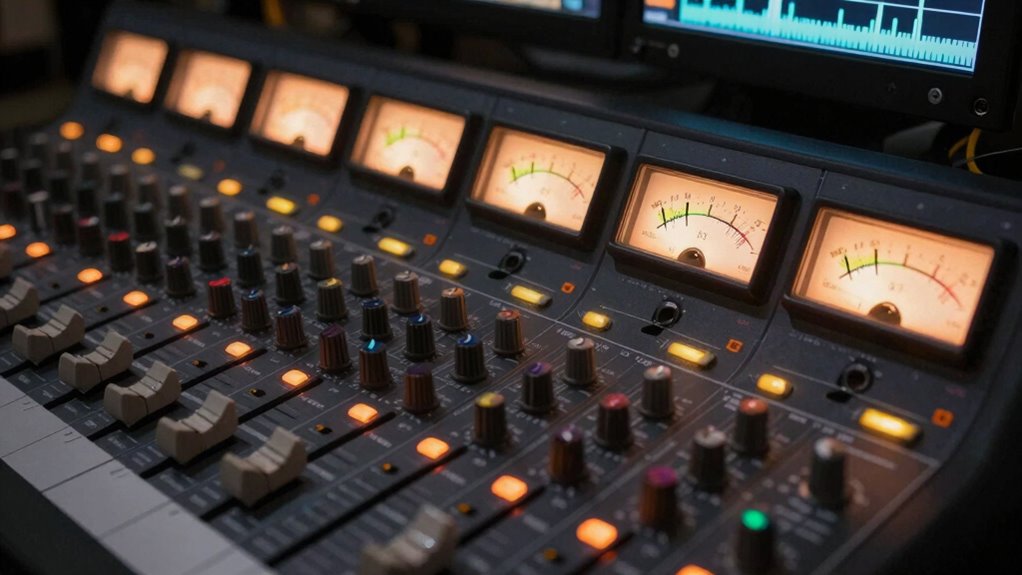
Using proper metering tools is essential for accurately setting gain levels at each stage. These metering tools give you visual feedback on your signal levels, helping you avoid clipping or noise issues. During audio calibration, monitor your meters closely to guarantee your signal stays within ideal ranges. Digital peak meters show you the maximum levels, while VU meters help you maintain consistent audio levels. By trusting these tools, you can set your gain structure properly from input to output. Proper metering ensures your audio remains clean, balanced, and free from distortion. Remember, precise gain staging starts with understanding what your meters tell you, allowing you to make informed adjustments. This simple step is key to achieving professional-sounding recordings and mixes.
Maintain Consistent Headroom
Maintaining consistent headroom across all gain stages guarantees your audio stays clean and avoids distortion. To achieve this, focus on headroom consistency by setting each gain stage so that signals remain well below clipping levels. This prevents unnecessary peaks from overpowering subsequent stages, preserving clarity and dynamic range. Pay attention to level balance, ensuring each step isn’t too hot or too quiet. Use meters to monitor your signal, adjusting gain until the levels stay steady without hitting the red zone. Consistent headroom allows you to work more efficiently, reducing the risk of distortion and noise. Remember, small adjustments early on make a big difference later, keeping your entire chain clean, clear, and professional.
What Common Mistakes Cause Gain Staging Problems?
One of the most common mistakes that causes gain staging problems is ignoring proper signal levels early in the recording or mixing process. When you overlook gain miscalculations, your signals can become too weak or too hot, leading to issues down the line. Overly high levels risk clipping, which causes distortion and makes the audio unusable. Conversely, too low levels can introduce noise and reduce clarity. Failing to set levels correctly from the start makes it harder to maintain clean, balanced sound later. To prevent this, pay close attention to your input and output levels, ensuring they stay within a healthy range. Proper gain staging helps you avoid clipping and keeps your mix transparent and dynamic.
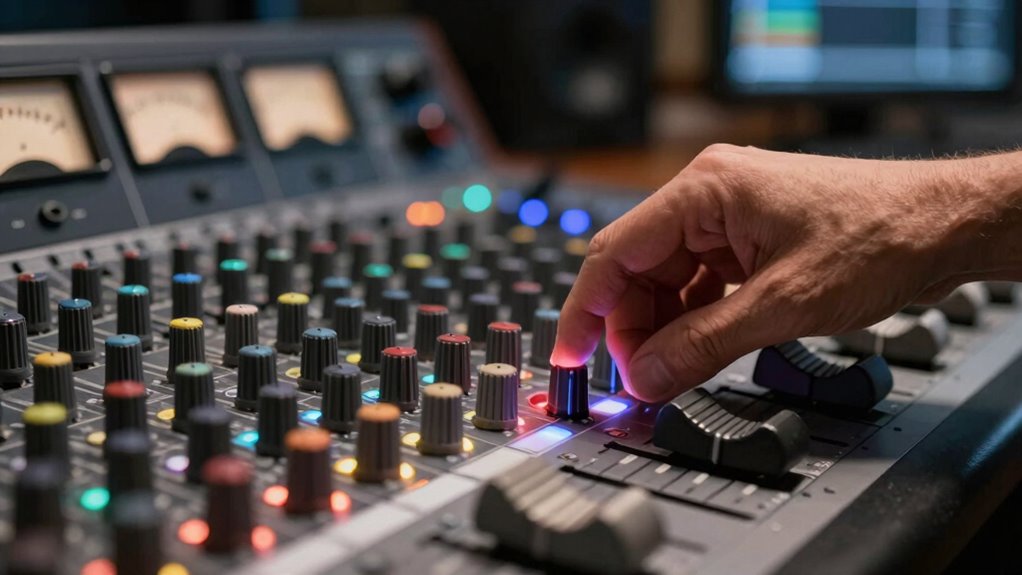
How Can You Use Meters and Indicators to Keep Levels Right?
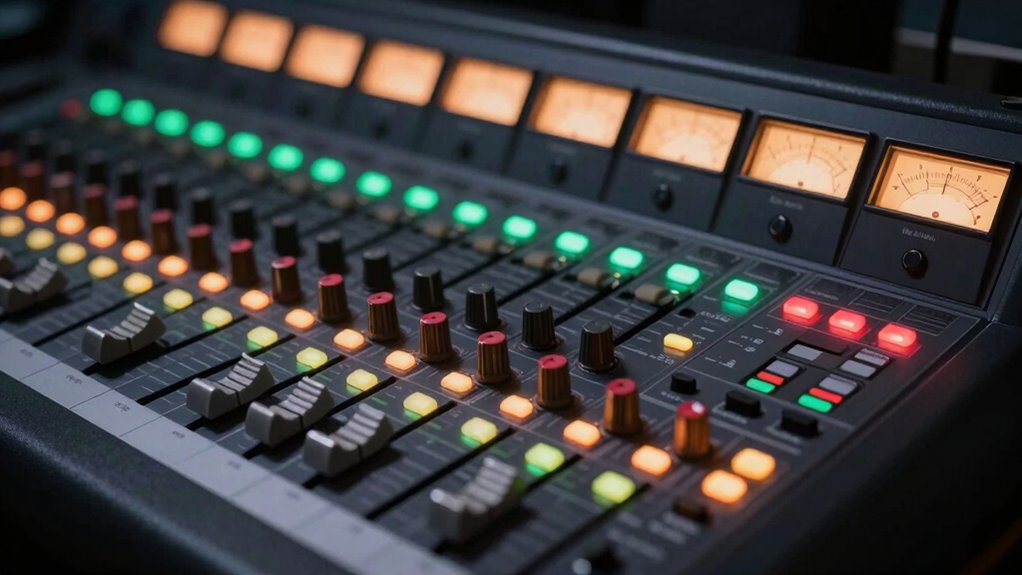
Meters and indicators are essential tools for monitoring your signal levels in real-time. Understanding metering basics helps you interpret what your meters are telling you, so you can make proper adjustments. Proper indicator placement is key—you want your meters where you can see them easily while recording or mixing. Aim to keep levels in the green zone, avoiding the yellow or red zones that signal clipping or distortion. Use peak meters to catch sudden transients and VU meters for average levels. Regularly glance at your meters during recording or mixing, adjusting gain to keep levels consistent. This practice ensures your signal stays clean and balanced, preventing unwanted noise or distortion. Mastering how to read meters and position indicators keeps your gain staging precise and effective. Proper level monitoring helps you maintain audio quality and prevent issues before they escalate.
What Are Best Practices for Maintaining Consistent Levels?

To keep your levels consistent throughout a recording or mix, you need to develop disciplined gain staging habits and actively monitor your signal. Consistent levels help preserve the dynamic range, preventing distortion from overloads and ensuring quiet parts aren’t lost in the noise. Use metering tools regularly to check your signal’s strength and make small adjustments as needed. Keep your gain structure clean by setting initial levels properly and avoiding unnecessary boosting later in the chain. This practice maintains signal clarity, making sure your audio remains transparent and balanced. Avoid letting levels fluctuate wildly, as inconsistent volume can muddy the mix and reduce overall quality. By staying vigilant and disciplined, you’ll preserve both clarity and dynamic range across your project. Additionally, understanding support breakfast can be a metaphor for maintaining a balanced input and output in your audio setup, ensuring everything functions smoothly from start to finish.
How Do You Troubleshoot Gain-Related Audio Issues Fast?

When audio issues arise related to gain, quick troubleshooting is essential to prevent long delays in your workflow. Start by checking your microphone placement—ensure it’s positioned correctly and not too close or far from your source, as poor placement can cause gain problems. Next, verify your audio interface levels, making sure the gain knobs aren’t set too high or too low. Use a headphone monitor to listen closely; if the sound is distorted or too quiet, adjust the gain accordingly. Also, confirm there are no conflicting settings or clipping indicators on your interface. If issues persist, test the microphone with a different cable or input to rule out hardware faults. Keeping these steps in mind helps you troubleshoot gain-related issues quickly and keep your recording on track. Remember that understanding sound quality fundamentals can help you identify and resolve issues more efficiently.
What Are Easy Tips to Improve Your Overall Sound Quality?
To improve your overall sound quality, start by applying proper gain staging techniques to keep levels balanced. Invest in quality audio equipment to guarantee clear, reliable sound, and make sure your mixing environment is optimized for accurate monitoring. These simple steps can make a noticeable difference in your final mix. Additionally, understanding gain staging helps prevent distortion and ensures your audio levels are set correctly throughout the entire signal chain.
Proper Gain Staging Techniques
Proper gain staging is essential for achieving clear, balanced sound in your recordings and mixes. It helps prevent audio clipping and ensures your gain structure is optimized. To improve your gain staging:
- Start with your source, setting levels so they’re strong but not peaking.
- Keep an eye on meters; aim for levels around -12dB to -6dB to avoid clipping.
- Use trim controls to fine-tune input gain without distorting.
- Always check your signals before adding effects or mixing, maintaining a healthy gain structure.
- Remember that a proper power tool setup can help prevent issues and keep your workflow efficient.
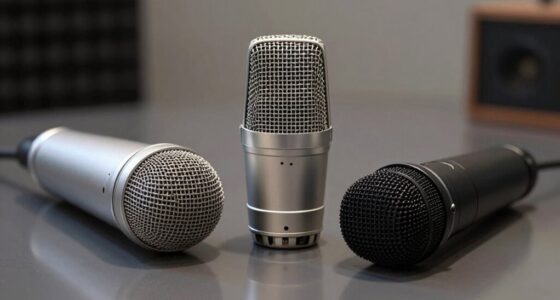
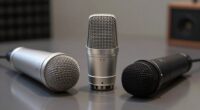
Use Quality Audio Equipment
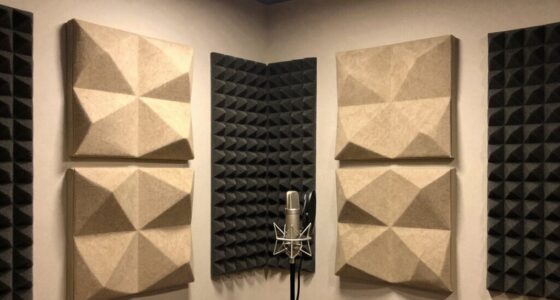
Using quality audio equipment can dramatically improve your overall sound, making your recordings clearer and more professional. Start with proper microphone placement; positioning your mic correctly reduces unwanted noise and captures a more natural tone. Experiment with distance and angle to find the sweet spot for your voice or instruments. Additionally, investing in acoustic treatment like foam panels or bass traps minimizes reflections and echoes in your recording space. This creates a cleaner, more focused sound, allowing your equipment to perform at its best. High-quality microphones, preamps, and monitors ensure your audio signals stay strong without unwanted distortion. Combining good gear with mindful placement and acoustic treatment gives you a solid foundation for achieving professional-sounding recordings. Proper sound quality is essential for capturing your audio clearly and effectively.
Optimize Your Mixing Environment
Improving your mixing environment doesn’t have to be complicated; simple adjustments can make a big difference in your sound quality. Start with proper audio calibration to guarantee your speakers and monitors are balanced and accurate. Reduce the noise floor by eliminating unnecessary background noise with soundproofing or quieter equipment. Keep your workspace organized and free of clutter to prevent distractions and maintain focus. Use acoustic treatments like foam panels or bass traps to improve sound clarity and reduce reflections. Additionally, position your speakers at ear level and in an ideal listening position to get the most accurate mix. These small but effective steps help create a cleaner, more controlled environment that enhances your overall sound quality.
Frequently Asked Questions
Can Gain Staging Prevent Audio Clipping and Distortion?
Yes, gain staging helps prevent audio clipping and distortion by improving your signal to noise ratio and managing headroom effectively. When you set proper gain levels, you guarantee your audio signal stays strong without overloading the system. This careful management allows you to maintain clarity and avoid unwanted distortion, giving you cleaner, professional sound. Proper gain staging is essential for a balanced mix and ideal audio quality.
How Does Gain Staging Affect Dynamic Range?
You might think gain staging only prevents clipping, but it also considerably affects your dynamic range. By setting proper levels, you preserve the full spectrum of loud and soft sounds, boosting audio clarity. When gain is too high, it reduces the effective dynamic range, causing compression and loss of detail. Proper gain staging ensures your mix retains its punch and nuance, making every element stand out clearly without distortion.
What’s the Difference Between Gain and Volume?
Gain controls the input level, helping you set the right levels consistency and prevent distortion early on, while volume adjusts the output level for final listening. Think of gain as the initial boost that shapes your signal’s clarity, and volume as the final dial that balances your sound. By understanding this difference, you keep your levels steady and make sure your mix maintains clarity without unwanted noise or distortion.
Are There Specific Tools for Automatic Gain Adjustment?
Think of your audio as a garden needing regular watering. Yes, there are tools for automatic gain adjustment that act like a sprinkler system, ensuring consistent levels. These tools perform gain normalization by automatically adjusting input levels on the fly, preventing clipping or noise. Whether you’re using plugins, digital mixers, or software features, they help you maintain balanced, clear sound effortlessly, just like a well-tended garden stays healthy with minimal effort.
How Often Should I Revisit My Gain Staging Setup?
You should revisit your gain staging setup whenever you change your signal flow or mixing techniques. Regularly check your levels during each session to guarantee your audio remains clean and distortion-free. As your project evolves, so should your gain staging, especially when adding new tracks or effects. Keep an eye on your meters and trust your ears—this helps maintain ideal sound quality without overloading your gear.
Conclusion
Remember, good gain staging is the foundation of clear, professional sound. Keep your levels balanced, use your meters wisely, and don’t be afraid to trust your ears. As the saying goes, “A stitch in time saves nine”—address gain issues early before they become bigger problems. Stay attentive to your signal chain, and your recordings will sound cleaner and more polished every time. Master gain staging, and let your music shine.