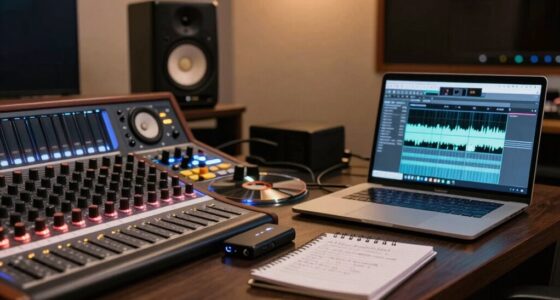
To improve your monitoring quickly, position your monitors to form an equilateral triangle with your listening spot, keeping the speakers at ear level and slightly angled toward you. Keep them a few inches from walls to avoid bass buildup and guarantee they’re perfectly aligned for balanced sound. Proper placement minimizes phase issues and creates a clear stereo image. For more tips on perfecting your home studio setup, keep exploring these essential principles.

Get audio and creator gear delivered free with Prime
- Fast, free delivery on millions of items
- Prime Video, Amazon Music and more included
- Member-only deals all year
Key Takeaways
- Arrange monitors and listening position into an equilateral triangle for optimal sound clarity.
- Position monitors at ear level with tweeters aligned to ensure accurate stereo imaging.
- Keep monitors a few inches from walls to prevent boundary bass buildup and reflections.
- Use acoustic treatments like bass traps and foam panels at reflection points to reduce echoes.
- Experiment with monitor distances and angles to quickly find the best sound for your room.

Setting up your home studio with a proper triangle configuration is essential for achieving ideal sound quality. When your monitors are correctly positioned, you gain a more accurate representation of your recordings, making mixing and editing much more precise. To do this effectively, you need to focus on acoustic treatment and speaker positioning, both of which play critical roles in creating the perfect listening environment.
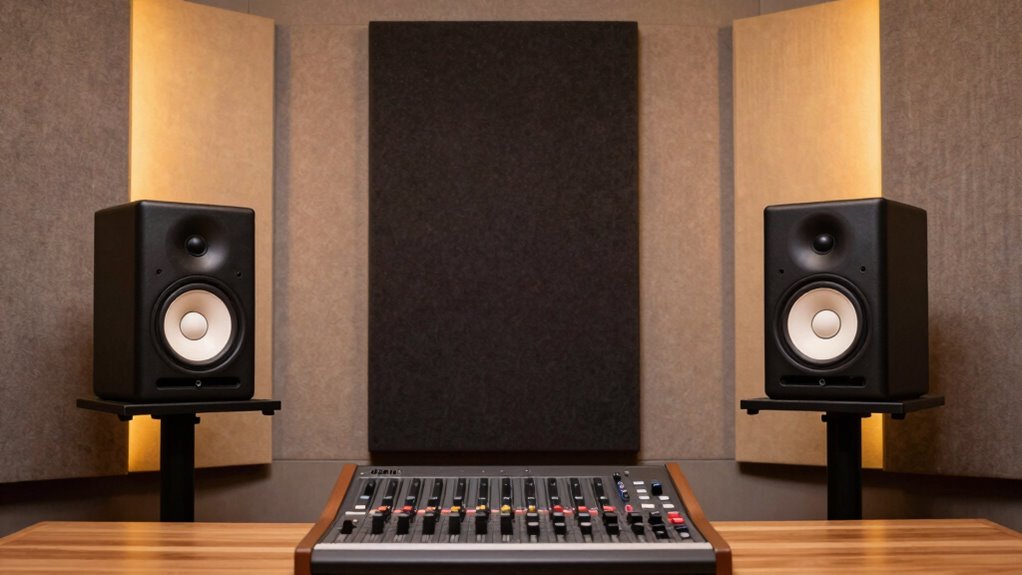
Start by placing your speakers so they form an equilateral triangle with your listening position. This means the speakers should be the same distance apart as they are from your ears when you sit comfortably at your desk. This setup minimizes phase issues and ensures your monitors’ sound waves reach your ears simultaneously, resulting in more accurate stereo imaging. You might need to experiment slightly with distances, but generally, positioning your speakers about 2 to 3 feet apart and at ear level works well for most home studios.
Position your speakers to form an equilateral triangle with your listening spot for optimal sound accuracy.
Acoustic treatment is equally important in refining your monitor placement. Without proper treatment, sound reflections and room modes can distort what you hear, making it harder to judge your mix accurately. Install bass traps in the corners to absorb low frequencies and foam panels on the walls at the reflection points—these are spots where sound waves bounce directly from your monitors to your ears. Using acoustic treatment strategically reduces flutter echoes, standing waves, and harsh reflections, giving you a cleaner, more controlled sound environment. This clarity makes it easier to judge your mixes and ensures your speaker positioning actually delivers ideal results.
As you set up, keep in mind that your monitors should be at ear level, with the tweeters aligned with your ears. Tilting the speakers slightly upward or downward can affect the soundstage, so aim for a flat, level orientation. Also, avoid placing your monitors too close to walls or corners, as this can cause bass buildup and muddy the sound. Ideally, leave a few inches of space around your speakers to prevent unwanted boundary effects.
In addition, consider the shape and size of your room. Smaller rooms may require more acoustic treatment to counteract early reflections, while larger spaces may need strategic placement to avoid dead spots. Regularly listen and adjust your speaker positioning based on how the sound interacts with your room, always keeping the triangle configuration in mind. Proper room acoustics and strategic placement can significantly improve your monitoring accuracy, helping you produce professional-quality recordings faster and more confidently.
As an affiliate, we earn on qualifying purchases.
Frequently Asked Questions
How Do I Adjust the Triangle for Different Room Sizes?
To adjust the triangle for different room sizes, start by repositioning your speakers based on room dimensions, ensuring they form an equilateral triangle with your listening position. In smaller rooms, bring the speakers closer together and closer to your ears, while in larger spaces, increase the distance to maintain proper speaker placement. Always aim for equal distance between speakers and your listening spot to optimize monitoring.
What Materials Improve the Triangle’s Acoustic Properties?
Want crystal-clear sound? Use materials with high sound absorption and dense textures to improve your triangle’s acoustics. Dense materials like acoustic foam, mineral wool, or heavy curtains soak up unwanted reflections, while softer, porous substances prevent echo. Carefully selecting these materials enhances sound clarity and stereo imaging, making your monitoring more precise. Don’t underestimate the power of good absorption—you’ll notice the difference in every mix.
Can I Use the Triangle Setup for Multiple Monitors?
Yes, you can use the triangle setup for multiple monitors. It helps improve monitoring accuracy by evenly distributing sound and minimizing room reflections. Position each monitor at equal distances and angles, forming an equilateral triangle with your listening position. This setup reduces reflections and creates a balanced stereo image, making it easier to hear details and make precise adjustments. Keep your monitors at ear level for ideal results.
How Often Should I Recalibrate the Triangle Setup?
You should recalibrate your monitor placement and speaker positioning whenever you notice changes in sound quality or after moving your monitors. Typically, doing this every few months is sufficient, but if your setup shifts or acoustics change, recalibrate sooner. Regular checks ensure your triangle setup stays ideal, helping you maintain accurate monitoring. Keep an eye on sound clarity and make adjustments as needed to keep your studio sounding its best.
Does the Triangle Setup Affect Soundproofing?
The triangle setup doesn’t directly impact soundproofing. In fact, many soundproofing myths suggest placement alone can block noise, but proper acoustic treatment is essential. A well-placed triangle helps with accurate monitoring, yet it won’t prevent sound from escaping. You should focus on combining acoustic treatment with soundproofing techniques for real noise control, as setup angles mainly improve sound clarity rather than soundproofing.
acoustic treatment bass traps foam panels
As an affiliate, we earn on qualifying purchases.
As an affiliate, we earn on qualifying purchases.
Conclusion
By setting up your home studio with a proper triangle, you’ll notice clearer, more accurate monitoring—crucial for mixing and mastering. Studies show that correct speaker placement can improve your mix accuracy by up to 30%. So, take the time to optimize your setup; it pays off in professional-sounding tracks. With a simple triangle setup, you’ll hear your music more precisely and make better mixing decisions faster. Your sound quality will definitely level up.
As an affiliate, we earn on qualifying purchases.
As an affiliate, we earn on qualifying purchases.
Halloween Picks
halloween
As an affiliate, we earn on qualifying purchases.