If your home recordings sound bad, signal flow confusion is often the culprit. When cables are misconnected or equipment routes aren’t clear, you can get noise, distortion, or feedback. Keep your setup organized, follow a straightforward signal path, and use diagrams to visualize your connections. Staying aware of potential problems helps improve sound quality. Continue exploring to discover simple tips and tools that can keep your signal flow clear and your recordings professional.
Key Takeaways
- Incorrect signal routing can cause feedback, noise, and distortion, degrading sound quality during home recordings.
- Misconnected cables or devices create signal loops that muddy or muffling audio.
- Redundant or tangled signal paths introduce interference and reduce clarity.
- Poorly organized setups lead to confusion, increasing the risk of routing mistakes.
- Proper mapping and labeling of connections prevent signal flow issues and improve overall sound.
What Is Signal Flow and Why Is It Important in Home Recording?
Understanding signal flow is vital in home recording because it determines how your audio signals move through your equipment. Proper signal flow ensures you maintain high audio fidelity, meaning your recordings sound clear and professional. When your signal path is well-organized, your gear works together smoothly, preventing unwanted noise or distortion. Equipment compatibility plays a key role; each device must connect correctly to avoid signal loss or issues. If you understand how signals travel from your microphone or instrument through your mixer, interface, and speakers, you can troubleshoot problems more efficiently. Mastering signal flow helps you optimize your setup, achieve cleaner recordings, and avoid common pitfalls that degrade sound quality. Streamline Your Life With Easy Document Management can also help you keep track of your setup and connections, reducing confusion. In short, it’s the backbone of effective, high-quality home recording.
How Can You Tell if Your Signal Flow Is Confusing Your Sound?

How can you tell if your signal flow is confusing your sound? One sign is unexpected audio feedback, which occurs when your sound loops back into the microphone or input, creating a loud, screeching noise. This usually indicates a problem with your signal path. Another clue is signal distortion—if your recordings sound muffled, distorted, or overly harsh, your signal may be getting muddled or amplified incorrectly along the flow. These issues often happen when cables, mixers,, or effects are connected improperly, causing signals to clash or feedback loops to form. Proper signal routing is essential to prevent these problems and ensure clear, secure recordings. Pay attention to sudden changes in sound quality or strange noises. Recognizing these signs early helps you troubleshoot your signal flow before they seriously impact your recordings.
Mapping Your Signal Path From Microphone to Speakers
Mapping your signal path from microphone to speakers involves identifying each component the audio passes through and understanding their order. Start with your microphone placement; placing it correctly captures the sound accurately and reduces unwanted noise. From there, the signal travels to your audio interface or mixer, which amplifies and routes the sound. Next, it moves to your recording device or computer, where processing occurs. Finally, the signal reaches your speakers. Proper speaker positioning is vital; speakers should be placed at ear level and angled toward you to guarantee accurate sound reproduction. Understanding this flow helps you troubleshoot issues and fine-tune each stage. Clear mapping of your signal path ensures your recordings sound better and minimizes confusion during setup.
Simple Tips to Streamline Your Signal Flow Setup
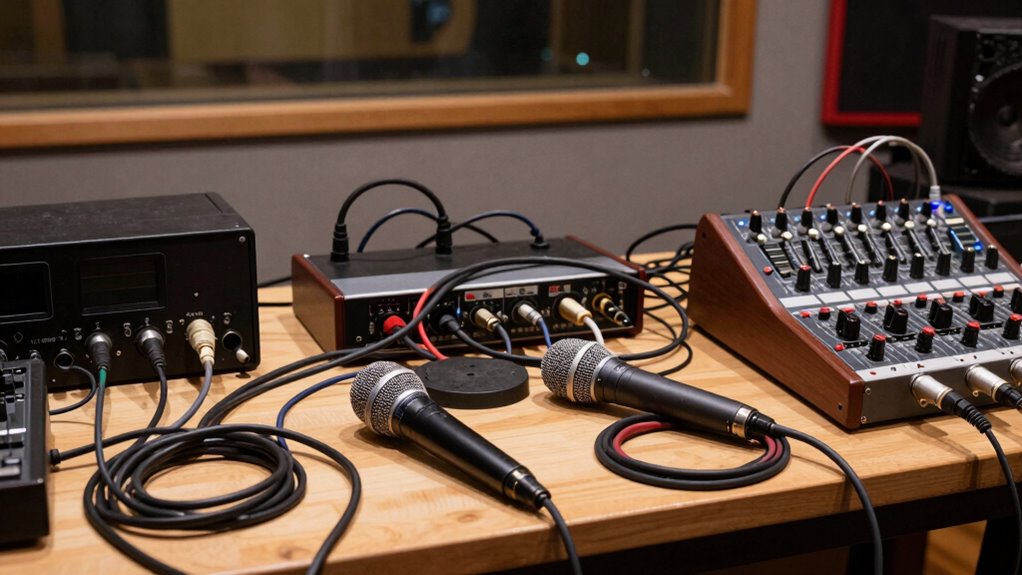
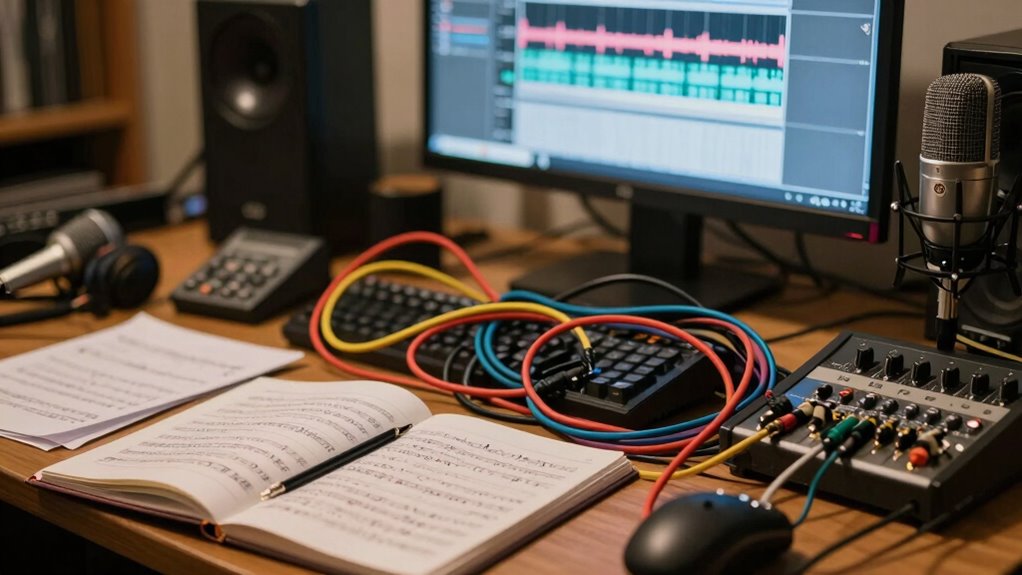
To streamline your signal flow setup, start by organizing your equipment logically and labeling cables clearly. Proper microphone placement reduces unwanted noise and makes it easier to connect your gear efficiently. When setting up, position your microphone where it captures the best sound without interference. Next, focus on headphone calibration to ensure accurate monitoring. Adjust your headphone levels so you can hear your recordings clearly without distortion, preventing confusion during mixing. Keep your cables neat and color-coded if possible, to quickly identify connections. This organization minimizes accidental disconnections and makes troubleshooting simpler. Clear labeling and thoughtful placement help you follow your signal flow in a straightforward manner, reducing errors and saving time during recording and mixing. Understanding signal flow is essential for maintaining clarity and consistency throughout your recording process.
Troubleshooting Common Signal Flow Problems in Your Home Studio

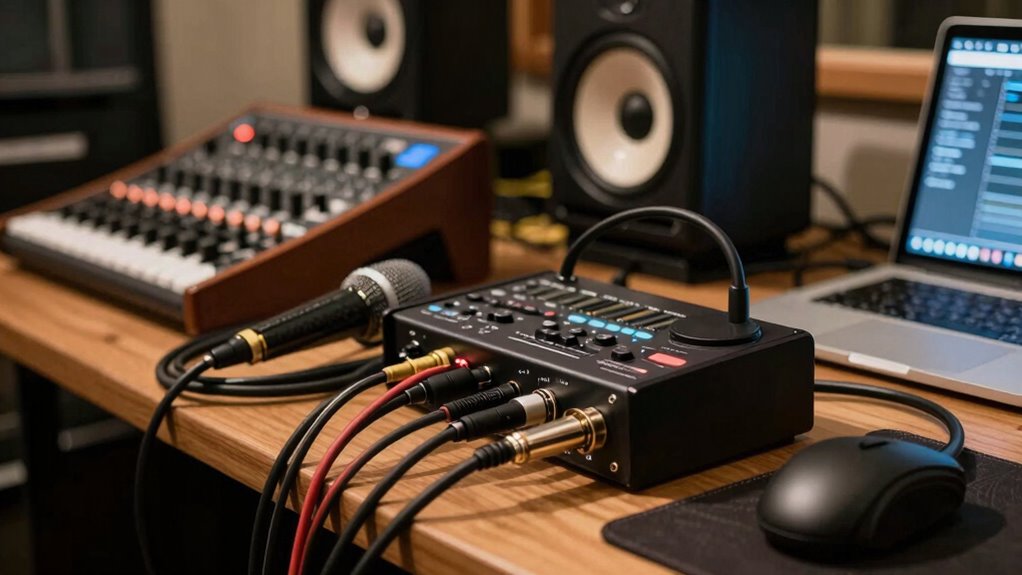
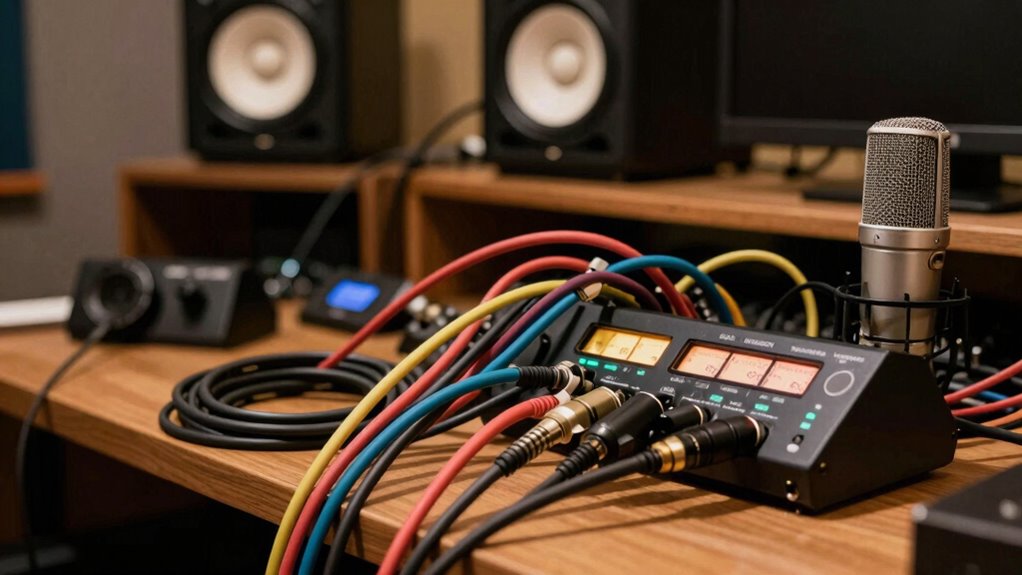
Troubleshooting signal flow issues in your home studio can seem intimidating, but many problems stem from simple mistakes or misconfigurations. First, check your microphone placement—ensure it’s positioned correctly for the sound you want and not too far from your audio interface. Poor placement can cause weak or muddy signals. Next, review your cable management; tangled or loose connections often cause dropouts or noise. Make sure all cables connect securely and are routed properly, avoiding unnecessary crossings that can introduce interference. If your setup still isn’t working, test each component individually, starting from the microphone to the interface, to identify where the signal fails. Clear cable management and proper microphone placement are vital for reliable signal flow and clean recordings. Additionally, understanding the importance of signal flow can help you diagnose and fix issues more effectively.
Using Signal Flow Diagrams to Avoid Recording Mistakes
Using signal flow diagrams helps you see the entire audio path clearly, so you can catch mistakes before recording. By visualizing each connection, you prevent issues like feedback or signal loss. This simple step keeps your recordings clean and avoids common errors that can ruin your sound. Additionally, understanding audio signal flow ensures your setup supports optimal sound quality and long-term reliability.
Visualizing Signal Paths
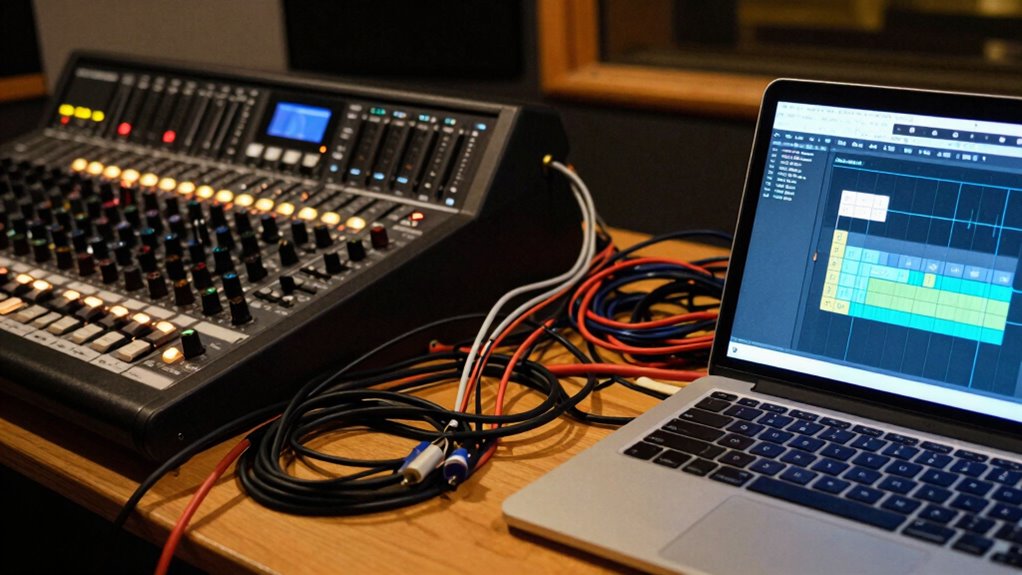
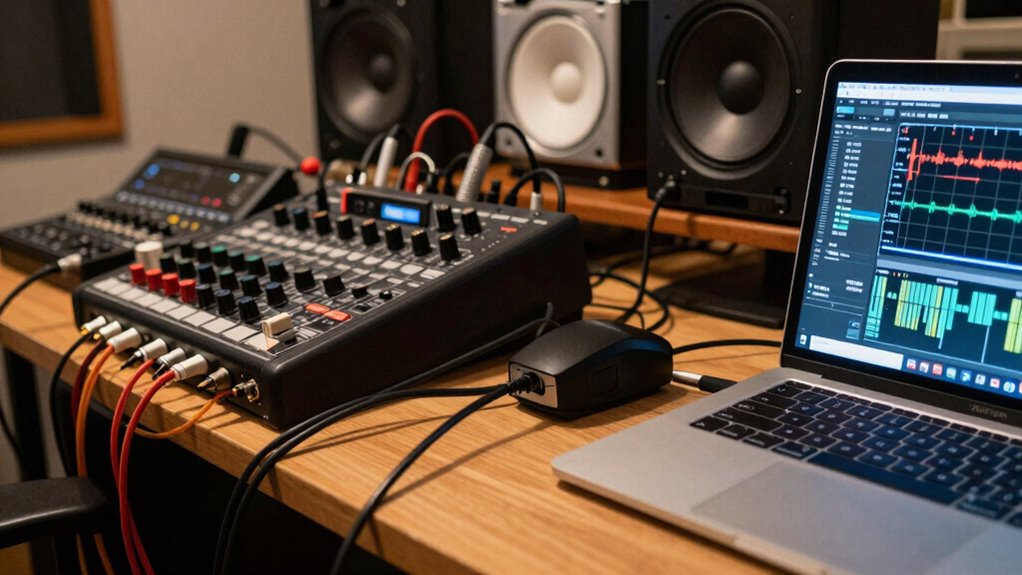
Visualizing signal paths with diagrams can considerably reduce recording mistakes by giving you a clear map of your setup. Using visualization techniques helps you understand how audio flows through each device, minimizing confusion. Diagramming strategies, such as simple block diagrams or flowcharts, allow you to see the entire signal chain at a glance. When you sketch out your signal path, you can identify potential issues before recording, like wrong connections or signal loss points. This proactive approach guarantees you’re confident with your setup and reduces troubleshooting later. Keep diagrams simple and organized, focusing on key components like microphones, interfaces, and monitors. Regularly updating your diagrams as your setup evolves keeps your understanding sharp and your recordings clean. Understanding your home recording equipment and its signal flow is essential for achieving professional-quality audio.
Preventing Common Mistakes
Creating clear signal flow diagrams can substantially help you avoid common recording mistakes. When you visualize the path from microphone placement to the recording device, it’s easier to catch issues like phase cancellation or improper gain. For example, understanding how microphone placement affects sound capture ensures you record clear, balanced audio. Additionally, including headphone monitoring in your diagram helps prevent feedback loops or latency problems that can frustrate you during tracking. By mapping out each step, you see where errors might occur, allowing you to correct them proactively. This clarity reduces miscommunications and technical mishaps, saving you time and frustration. Using signal flow diagrams as a reference keeps your setup organized, ensuring your home recordings sound professional and free of common pitfalls.
Essential Tips and Tools to Master Signal Flow and Improve Your Recordings
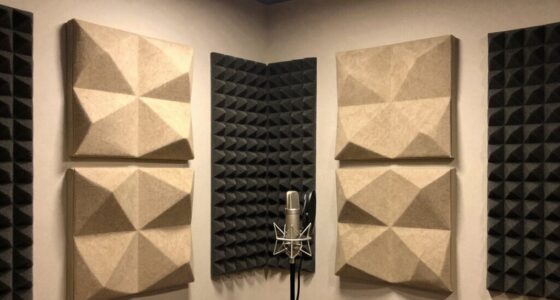
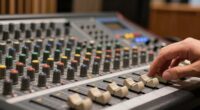
Mastering signal flow is essential for producing high-quality recordings, and understanding how each component interacts can prevent common issues like noise, distortion, or phase problems. To do this, focus on studio ergonomics—arrange your gear logically to minimize cable clutter and accidental disconnections. Use clear signal paths, starting with proper connection order from your microphone to your audio interface and then to your monitors. Acoustics optimization also plays a pivotal role; treat your room with bass traps and diffusers to reduce reflections and standing waves that can muddy your signal. Keep your workspace organized, label cables, and plan your setup before recording sessions. These tips help you troubleshoot quickly, maintain consistent signal flow, and achieve cleaner, more professional sounds. Additionally, integrating smart room acoustics solutions can automatically adapt your environment to optimize sound quality.
Frequently Asked Questions
How Does Signal Flow Affect Overall Recording Quality?
Signal flow directly impacts your recording quality because it determines how your audio travels through your setup. If your cable routing is confusing or your audio interface isn’t properly connected, noise and signal loss can occur. Make certain each cable is correctly routed and your audio interface is set up properly. Clear signal flow ensures your sound remains clean, crisp, and professional, giving you the best possible recording results.
Can Signal Flow Issues Cause Equipment Damage?
Like a treacherous river, poor signal flow can damage your equipment if you’re not careful. Incorrect cable management or an unstable power supply can cause electrical surges or shorts, risking component failure. Always guarantee your cables are well-organized and your power supply is stable to prevent damage. Taking these precautions keeps your gear safe, helping your recording setup stay functional and reliable over time.
What Are Common Signs of Poor Signal Flow?
You’ll notice poor signal flow when your recordings have low volume, excessive noise, or unexpected hums. Bad cable quality or loose connections often cause these issues. To fix this, do connection troubleshooting by checking every cable and ensuring solid connections. Replacing low-quality cables can also improve sound clarity. If problems persist, test different equipment to isolate the faulty part, ensuring your signal flows smoothly and your recordings sound professional.
Are There Software Tools to Help Visualize Signal Flow?
Yes, there are software tools that help you visualize signal flow with ease. Visualization software like Logic Pro, Ableton Live, and Reaper include built-in signal flow diagrams or routing views, making complex setups clearer. Even if you’re new, these tools simplify understanding your signal path, so you can troubleshoot and optimize your recordings without frustration. Don’t worry—these visual aids turn confusion into clarity, making your home recordings sound professional.
How Often Should I Review My Signal Path During Recording Sessions?
You should review your signal path regularly during recording sessions, especially when adjusting cable management or equipment placement. Check your connections often to catch any loose or misplaced cables that could cause signal flow issues. Keep your gear organized and labeled, so you can quickly identify and troubleshoot problems. Frequent reviews help maintain a clean, efficient setup, ensuring your recordings sound clear and professional without unnecessary noise or signal loss.
Conclusion
Mastering your signal flow might seem messy at first, but with mindful mapping and minimal mistakes, your music will sound magnificent. By understanding and untangling your setup, you’ll eliminate errors and elevate your recordings. Keep practicing, stay patient, and use helpful tools to troubleshoot. Remember, clear connections create confident sounds. So, streamline your signal flow, stay savvy, and soon your studio will sing with stunning sound!