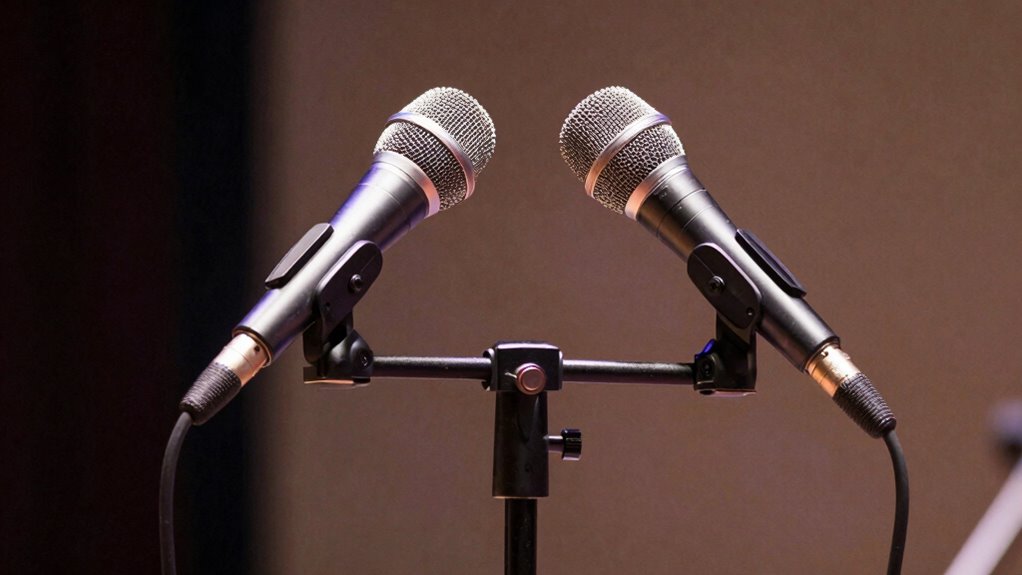
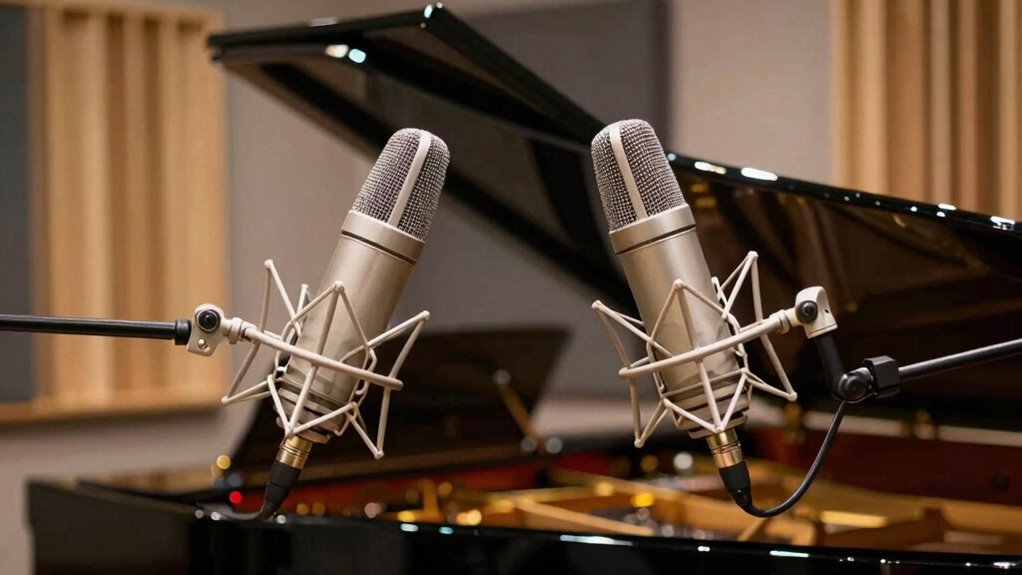
Stereo miking with two microphones captures a natural, live feel by recording space, width, and depth similar to how we hear in real life. Techniques like XY, AB, and Blumlein set up mics to create an immersive stereo image, emphasizing the environment and instrument placement. Proper mic choice, placement, and environment control are key to avoiding phase issues and achieving a balanced sound. If you want to understand how to optimize your stereo recordings effectively, there’s more to discover.
Key Takeaways
- Using two microphones captures space and width, creating an immersive, live-like stereo image similar to natural hearing.
- Proper placement and angling of the mics, like XY or AB setups, enhance depth and realism in recordings.
- Microphone selection and orientation focus on facing the source to preserve live dynamics and minimize phase issues.
- Controlling environment acoustics and minimizing external noise ensures a clear, natural stereo feel.
- Post-production adjustments like panning and reverb further enhance the live, spacious quality of stereo recordings.
What Is Stereo Miking and Why Does It Matter?

Have you ever wondered how recordings capture the sense of space and width in music? That’s where stereo miking comes in. It uses two microphones to create a more immersive listening experience, mimicking how we naturally hear sounds. Stereo miking is essential because it enhances stereo imaging, giving each instrument a distinct position in the soundstage. But it’s also important to contemplate mono compatibility; if played in mono, the stereo image should still sound balanced and clear. Good stereo miking preserves the width and depth of a performance without sacrificing mono compatibility. This technique helps listeners feel like they’re right there with the performers, making recordings more lively and engaging. Understanding Youngster Choice stereo miking’s fundamentals matters for any audio enthusiast.
Understanding XY, AB, and Blumlein Stereo Microphone Setups

When setting up microphones for stereo recording, choosing the right configuration can considerably impact the sound stage and image you capture. XY, AB, and Blumlein are common stereo microphone setups, each offering unique advantages in stereo imaging. XY uses two cardioid microphones placed at a 90 to 135-degree angle, ensuring good mono compatibility and focused imaging. AB employs two microphones spaced apart, creating a wide stereo image with natural depth. Blumlein pairs two figure-eight microphones at a 90-degree angle, capturing a detailed, immersive soundstage with excellent room ambiance. Your choice depends on the desired stereo image and the room’s acoustics. Proper microphone placement in these setups helps you create a natural, cohesive stereo image, bringing the live feel to your recordings. Additionally, understanding polar patterns and their influence on stereo imaging can greatly enhance your setup.
How to Choose the Best Microphones for Stereo Recording
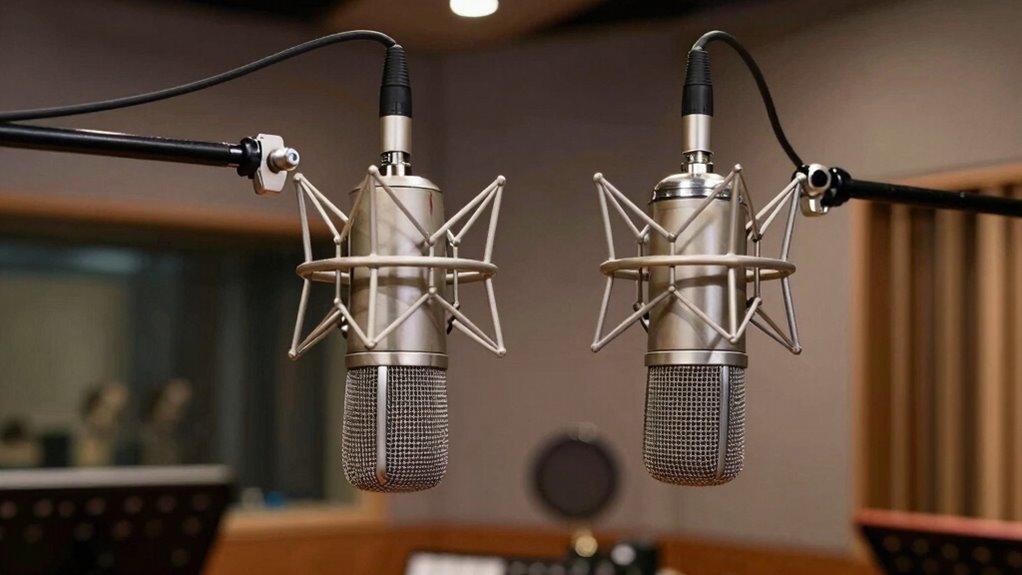
Choosing the right microphones for stereo recording depends on the sound you want to achieve and the environment you’re working in. Consider microphone sensitivity—higher sensitivity captures more detail and quieter sounds, which is ideal for capturing subtle nuances. Lower sensitivity mics can handle louder sources without distortion. For stereo imaging, select microphones that complement your desired spread and depth. For example, cardioid mics provide focused stereo images, while omnidirectional mics create a more expansive feel. Also, think about the environment’s acoustics; some mics are better suited for live, reflective spaces, while others excel in controlled settings. By matching microphone sensitivity and polar patterns to your goals, you’ll guarantee your stereo recordings have a realistic, immersive sound that captures the live feel you’re after. Additionally, understanding the different types of microphones can help you choose the best tools for achieving a natural and authentic live sound.
How to Set Up Your Stereo Microphone Configuration
To set up your stereo microphone configuration effectively, you need to focus on proper mic placement, selecting the right pattern, and ensuring phase coherence. These steps help capture a balanced and clear stereo image. Getting these right will make your recordings sound more natural and professional. Additionally, understanding microphone polar patterns can significantly influence your setup by helping you choose the best mic orientation for your environment.
Proper Mic Placement
Proper mic placement is essential for capturing the stereo image accurately and achieving a balanced sound. You should focus on microphone orientation and spacing techniques to optimize your setup. Keep the mics at appropriate distances to avoid phase issues and ensure a cohesive image. Position the microphones so they face the source directly, adjusting their angle to capture the desired stereo spread. Use spacing techniques like the XY or ORTF methods to control the stereo width. The right placement depends on the environment and source, so experiment with distances and angles. Additionally, understanding the evolution of arcade games can inspire creative approaches to sound design and placement in your recordings.
Choosing the Right Pattern
Selecting the right stereo microphone pattern is key to capturing a balanced and natural sound. Different microphone patterns, such as cardioid, figure-eight, and omnidirectional, influence how sound is picked up and how stereo imaging appears. For a wider, more immersive stereo image, a figure-eight or coincident pair like XY may work best. If you want a more focused sound with less room ambience, cardioid patterns are ideal. Omnidirectional mics excel in capturing the natural ambiance of a space. Your choice depends on the source and the desired stereo image. Consider how each pattern affects the stereo imaging, ensuring the sound remains natural and well-balanced. Selecting the correct pattern helps produce a clear, authentic stereo image that faithfully reproduces your live sound. Additionally, understanding the microphone pattern can help you tailor your setup for different acoustic environments.
Adjusting for Phase Coherence
Ensuring phase coherence is essential for achieving a clear and natural stereo image when setting up your microphones. Proper phase alignment prevents sound waves from canceling each other out, which can cause thin or hollow recordings. To check phase coherence, listen for a full, balanced sound when both mics are active. If you notice thinness or comb filtering, adjust the mic positions slightly to improve phase response. Use a polarity switch if available to correct phase issues quickly. Keep in mind that frequency response differences between mics can also affect phase coherence. Here’s a helpful guide:
| Tip | Explanation |
|---|---|
| Check phase visually | Use phase correlation meters or stereo analyzers |
| Listen critically | Detect phase cancellation or coloration |
| Adjust mic placement | Fine-tune distances for phase alignment |
| Use polarity switch | Correct phase issues instantly |
| Be aware of phase response | Differences can impact your stereo image and should be managed during setup. |
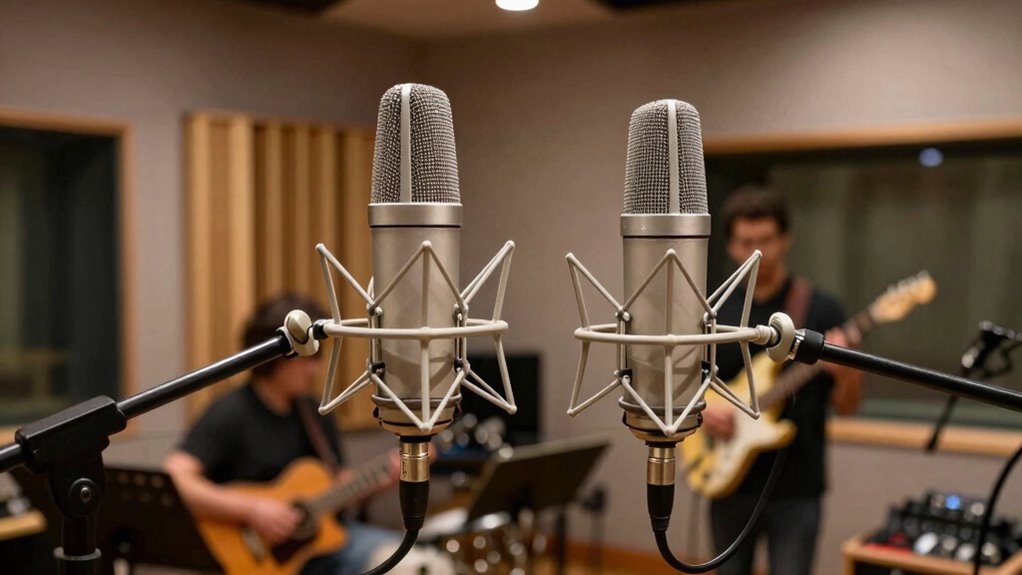
Tips to Capture a Natural Stereo Live Sound

To capture a natural stereo live sound, start by choosing the right microphone placement. Position your mics to enhance spatial perception, allowing listeners to perceive depth and distance accurately. Using techniques like the XY or ORTF setups helps create a balanced stereo image that closely mirrors what you hear from the audience’s perspective. Keep the mics at a reasonable distance from the source to preserve the sense of space and avoid a cluttered sound. Be mindful of room acoustics, as too much reverberation can diminish clarity and immersion. Proper microphone technique is essential for achieving a natural and immersive live sound experience. By carefully adjusting placement, you’ll achieve a more authentic, immersive experience that draws listeners into the live scene, making them feel as if they’re right there in the room.
Common Stereo Miking Mistakes and How to Avoid Them
One common mistake in stereo miking is placing microphones too close to the sound source, which can lead to an overly narrow stereo image and a loss of natural spaciousness. To avoid this, guarantee proper phase alignment by checking that both mics capture sound coherently; misalignment causes phase cancellation and a flat sound. Additionally, regular equipment calibration is essential for accurate stereo imaging. Here are key tips:
Avoid placing microphones too close to sound sources to maintain natural spaciousness and proper stereo image.
- Check phase alignment before recording to prevent phase issues.
- Use proper spacing between microphones to maintain a balanced stereo image.
- Calibrate equipment regularly for consistent levels and response.
- Avoid placing mics too close to sound sources to preserve natural room ambiance.
- Incorporate support breakfast practices to ensure your recording environment remains conducive to capturing high-quality sound.
Following these steps helps you create a natural, spacious stereo image without common pitfalls.
Comparing Stereo Miking Techniques: XY, AB, and Blumlein
When choosing a stereo miking technique, understanding the differences between XY, AB, and Blumlein methods helps you capture the desired sound image. XY uses two microphones placed at a 90-degree angle, which provides a focused stereo image with minimal phase issues, ideal for instrument placement. AB employs spaced pair microphones, often several feet apart, creating a wide, spacious sound but requiring careful attention to microphone sensitivity to avoid phase cancellation. Blumlein pairs use two figure-eight microphones placed at a 90-degree angle, offering detailed stereo imaging with excellent depth. Each technique impacts how instruments are perceived; XY offers clarity with less sensitivity to positioning, while AB and Blumlein demand precise placement to balance instrument placement and avoid phase problems. Choose based on the sound you want to achieve. Proper microphone placement is essential for capturing the best stereo image and minimizing phase issues.
How to Optimize Your Environment for Stereo Recording
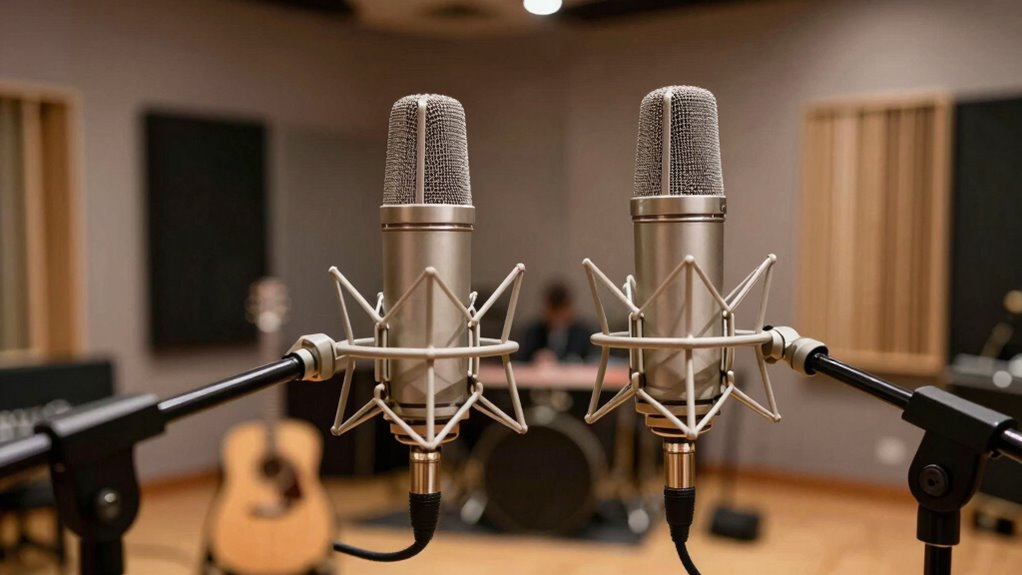
Your recording environment plays a vital role in capturing clear stereo images. Make sure your control room has good acoustics and is free from echoes that can distort sound. Also, minimize external noise to keep your recordings clean and focused.
Control Room Acoustics
Have you ever considered how the acoustics of your control room impact the quality of your stereo recordings? Proper room treatment and speaker placement are essential. To optimize your space, focus on these four steps:
- Add bass traps and diffusers to manage reflections and reduce standing waves.
- Position speakers at ear level, forming an equilateral triangle with your listening position.
- Use absorptive panels behind speakers and around the room to minimize echo.
- Make certain there’s enough space between your speakers and walls to prevent sound coloration.
These adjustments help create a balanced environment, allowing your stereo image to translate accurately. Proper room treatment and strategic speaker placement improve clarity, detail, and the live feel of your recordings.
Minimize External Noise
Controlling the acoustics in your control room isn’t just about interior treatment; external noise can also profoundly impact your stereo recordings. To minimize disruptions, choose a quiet location away from busy streets or equipment noise. Use microphone shockmounts to reduce vibrations transferred from wind noise or handling. Seal windows and doors tightly, and consider adding weather stripping to block drafts. When recording outdoors or in noisy environments, employ windshields or dead cats on mics to cut down wind noise. Keep noise sources like fans or computers away from your recording area.
| Noise Source | Solution |
|---|---|
| Wind noise | Use windshields or dead cats |
| External traffic | Choose a quiet location |
| Vibrations | Use shockmounts |
| Drafts or drafts | Seal windows and doors |
| Equipment noise | Isolate with acoustic panels |
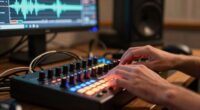
Enhancing Your Stereo Recordings During Mixing and Post-Production
Enhancing stereo recordings during mixing and post-production allows you to shape the overall sound and create a more immersive experience for listeners. Focus on improving stereo imaging by adjusting the panning of tracks and emphasizing the spatial relationship between sounds. Proper microphone placement during recording provides a solid foundation for these enhancements. To optimize your stereo recordings, consider:
- Fine-tuning panning to clarify stereo image and separation
- Applying EQ to balance frequencies across channels
- Using reverb or delay to add depth and space
- Employing stereo widening tools carefully to avoid phase issues
These techniques help you craft a more realistic and engaging soundstage, making your recordings feel lively and present. Properly enhancing during mixing ensures your stereo miking setup shines through in the final mix.
Frequently Asked Questions
Can Stereo Miking Be Used Effectively in Small or Noisy Rooms?
Yes, stereo miking can work in small or noisy rooms if you consider room acoustics and microphone polar patterns. Choose mics with cardioid or hypercardioid patterns to reject unwanted noise and focus on the source. Position the mics carefully to minimize room reflections, and experiment with angles to balance the live feel with noise reduction. Proper placement and mic choice make stereo miking effective even in challenging environments.
How Does Microphone Placement Affect Stereo Image Width?
Like a DJ at a turntable, your microphone placement shapes your stereo image width. Adjusting the microphone angle and ensuring proper phase alignment makes the soundstage wider or narrower. When mics face more apart, the stereo image expands. Conversely, narrowing their angle tightens the sound. Keep phase aligned to avoid phase cancellation, which can narrow the image. Proper placement creates a spacious, immersive feel, like you’re in the middle of the performance.
Are There Digital Tools That Simulate Stereo Miking Techniques?
Yes, there are digital tools that simulate stereo miking techniques. You can use software emulation and plugin options designed to recreate the effect of two-mic setups. These plugins analyze your mono or stereo signals and apply virtual stereo image processing, mimicking techniques like XY, AB, or Blumlein miking. They’re great for adding a live feel to recordings, especially when real stereo miking isn’t feasible.
What Are the Best Practices for Recording Stereo in Live Outdoor Settings?
When recording stereo outdoors, you should choose microphones that handle ambient noise well and suit your environment, like shotgun or hypercardioid mics. Position them carefully to capture the ambiance and avoid excessive wind noise, using windscreens. Keep a safe distance from sources to prevent overloads. Regularly monitor and adjust your levels to balance the live sound, ensuring a natural stereo image that captures the energy of the outdoor setting.
How Does Stereo Miking Differ When Recording Different Instrument Types?
When recording different instrument types with stereo miking, you choose your instrument pairing carefully, like using XY for bright acoustic guitars or ORTF for drums, to capture their unique sound. You also consider room acoustics, adjusting mic placement to enhance natural resonance or reduce unwanted reflections. This tailored approach guarantees each instrument’s character shines through, creating a rich, balanced stereo image that feels lively and true to the performance.
Conclusion
Think of stereo miking as painting with sound, where each microphone adds a stroke of depth and emotion. When you master these techniques, you create a vivid sonic landscape that surrounds your listeners like a warm embrace. Your recordings become a window to live moments, capturing the essence of performance and environment. Embrace the art of stereo miking, and let your soundscapes become a timeless symphony that speaks directly to the soul.