To diagnose bad sound quickly, start by identifying common causes like distortion or background noise. Check all hardware connections and settings to make sure everything is secure and correct. Test your audio source on different devices to see if the problem persists. Isolate whether speakers, cables, or the source are faulty by swapping or testing each component. Finally, use diagnostic tools like sound level meters to pinpoint issues. Keep going to learn more tips for fast, effective troubleshooting.
Key Takeaways
- Check all physical connections and ensure audio devices are properly plugged in and undamaged.
- Verify volume settings and audio configurations on both source and output devices.
- Test the sound with different sources and devices to identify if the issue is source-specific.
- Use diagnostic tools like sound level meters or spectrum analyzers to identify distortion or interference.
- Replace or repair equipment if persistent poor quality or hardware failure signs are detected.

Decibel Meter, TopTes TS-501B Sound Level Meter with 2.25” Backlit LCD Screen, Portable SPL Tester with A/C Weighted, Range 30-130dB, MAX/MIN, Data Hold, Use for Home, Noisy Neighbor, Factory – Orange
2.25-inch LCD Screen with Backlight: This TS-501B sound level meter is measured noise levels are expressed in decibels…
As an affiliate, we earn on qualifying purchases.
As an affiliate, we earn on qualifying purchases.
What Causes Bad Sound, and How Can You Recognize It?
Bad sound often stems from issues with your audio equipment or the environment, making it difficult to enjoy clear, crisp audio. You might notice audio distortion, where sounds become fuzzy, muffled, or crackling. Background noise is another common culprit, adding unwanted sounds that overpower your main audio. These problems can happen if your microphone is too close to a noisy source or if your speakers pick up echoes. Recognizing bad sound involves listening carefully for these distortions and persistent background noise. If your audio sounds unnatural, muffled, or interrupted, it’s likely due to equipment or environmental issues. Addressing these causes early helps ensure better sound quality and a more enjoyable listening experience. Additionally, poor sound can be exacerbated by improper speaker placement or insufficient room acoustics, which are important factors to consider for optimal audio performance.

Primeda Auidophile 2RCA Male to 2RCA Male Stereo Audio Cable,Gold Plated | 4N Oxgen-Free Copper Core (3 Feet (1M))
Heavy Duty, Strong and Rugged Cable, Low-frequency vigorous and thick, IF is sweet, high-frequency resolution of first-class.
As an affiliate, we earn on qualifying purchases.
As an affiliate, we earn on qualifying purchases.
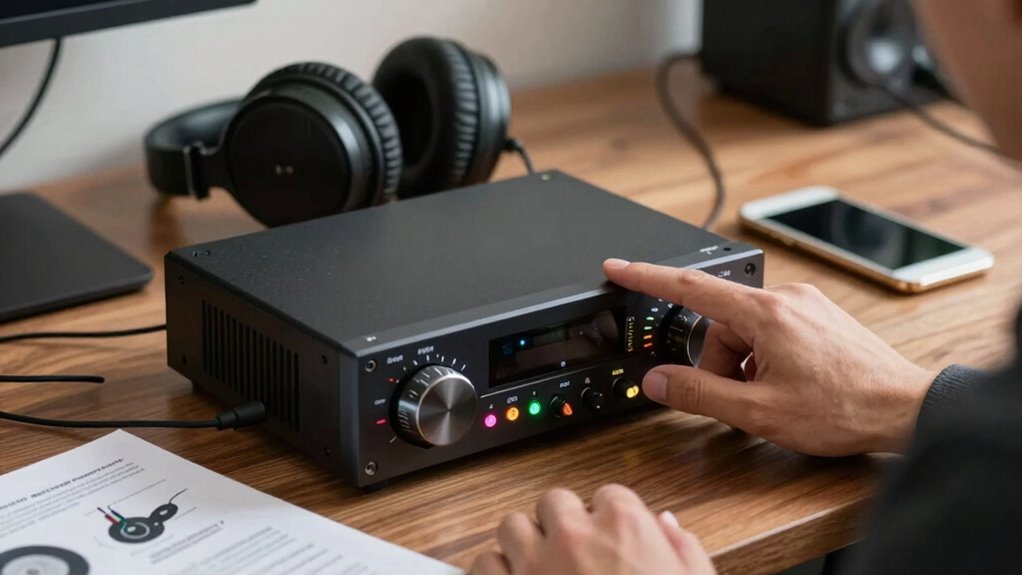
Check Your Hardware Connections and Settings Quickly

Many sound issues can be quickly resolved by checking your hardware connections and settings. First, confirm your audio jack is securely plugged into the device. A loose connection can cause poor sound quality or no sound at all. Second, verify your volume control settings; make sure the volume isn’t muted or turned down too low. Third, inspect any external speakers or headphones to confirm they are properly connected and functioning. If using headphones, check the audio jack for debris or damage. These simple checks often fix common problems and help isolate the issue before exploring more complex solutions. Taking a moment to verify these hardware and setting basics can save you time and frustration. Additionally, ensuring your connected equipment and apps are properly configured can further streamline your troubleshooting process.

SeeSii TinySA Ultra+ ZS407 7.3GHz Spectrum Analyzer: 2025 Upgraded 4 Inch HW V0.5.4 100kHz-7.3GHz Handheld Tiny Frequency Analyzer – 2-in-1 RF Signal Generator 100kHz to 900MHz MF/HF/VHF UHF
2025 Upgraded Tinysa Ultra+ ZS407 Spectrum Analyzer: Supports an ultra-wide frequency range of 100kHz–7.3GHz, delivering precise test data…
As an affiliate, we earn on qualifying purchases.
As an affiliate, we earn on qualifying purchases.
Test Your Audio Source on Different Devices to Confirm the Issue
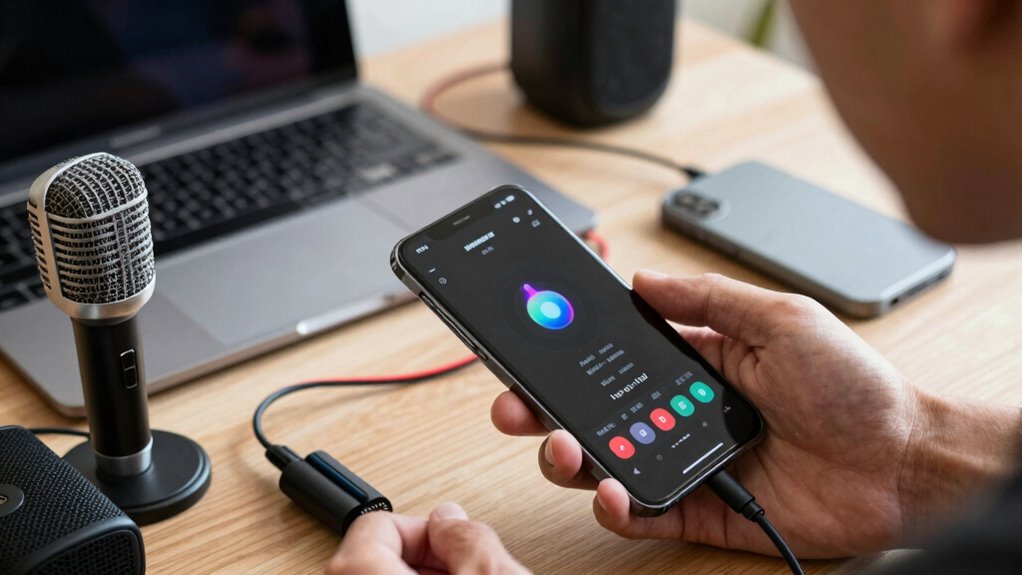
To determine whether the audio problem lies with your device or the source itself, try playing the same audio on different devices. This audio source testing helps you identify if the issue is with the original device, the file, or the connection. Use a variety of devices, such as a smartphone, tablet, or computer, to compare performance. Pay attention to whether the sound quality remains poor across all devices or improves on some. If the audio sounds bad on multiple devices, the problem likely stems from the source. Conversely, if it sounds fine elsewhere, your device or setup may be at fault. Conducting a thorough device comparison makes it easier to pinpoint where the fault lies, speeding up your troubleshooting process. Understanding the reliable, well-researched methods behind audio diagnostics ensures you can troubleshoot with confidence and accuracy.

Soundcore by Anker Q20i Hybrid Active Noise Cancelling Headphones, Wireless Over-Ear Bluetooth, 40H Long ANC Playtime, Hi-Res Audio, Big Bass, Customize via an App, Transparency Mode (Black)
Hybrid Active Noise Cancelling: 2 internal and 2 external mics work in tandem to detect external noise and…
As an affiliate, we earn on qualifying purchases.
As an affiliate, we earn on qualifying purchases.
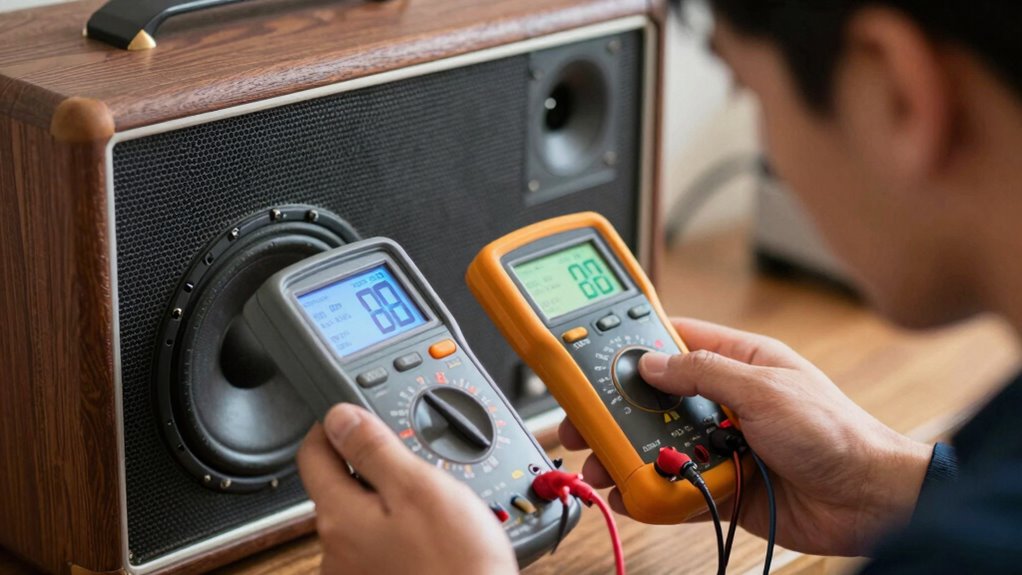
How to Isolate Whether Speakers, Cables, or Your Source Are the Problem
When troubleshooting audio issues, it is essential to systematically isolate whether the speakers, cables, or the source itself are causing the problem. Start with speaker identification by connecting your speakers to a known good source or device. If the sound is clear, the speakers are likely fine. Next, check cable integrity by replacing or testing cables with a multimeter or known working cables. Faulty cables can cause intermittent or no sound. It is also helpful to consider simple troubleshooting steps to streamline the process. Finally, verify the source device by playing audio from a different device or input. If the problem persists across sources, the issue likely resides within the source. This methodical approach helps pinpoint the root cause efficiently, saving you time and effort in fixing your audio problem.
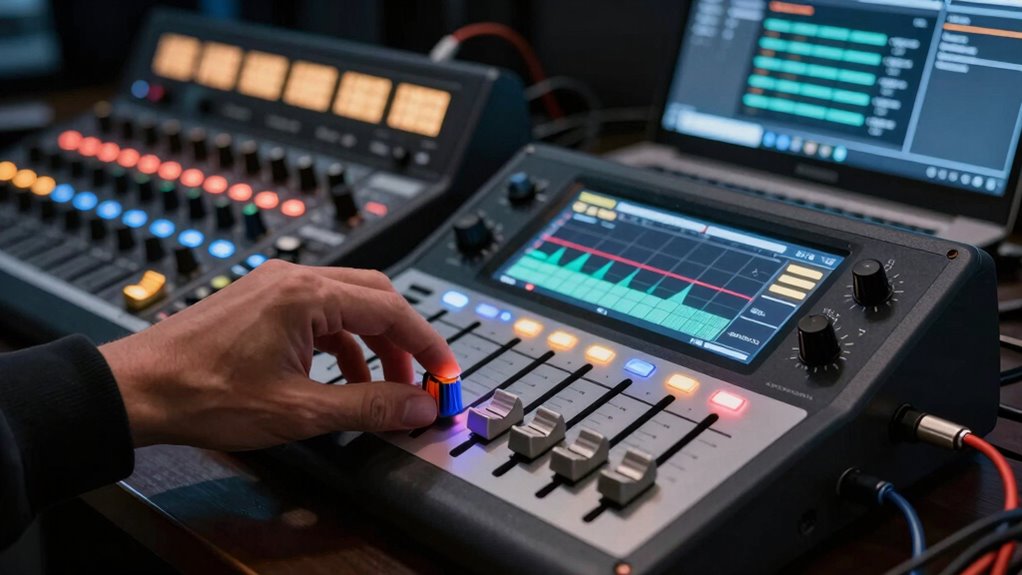
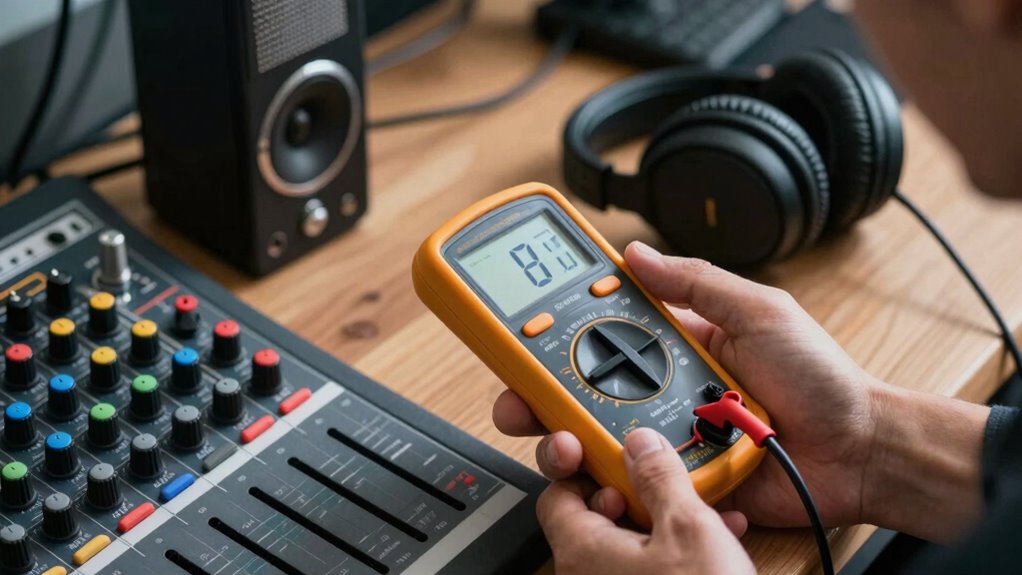
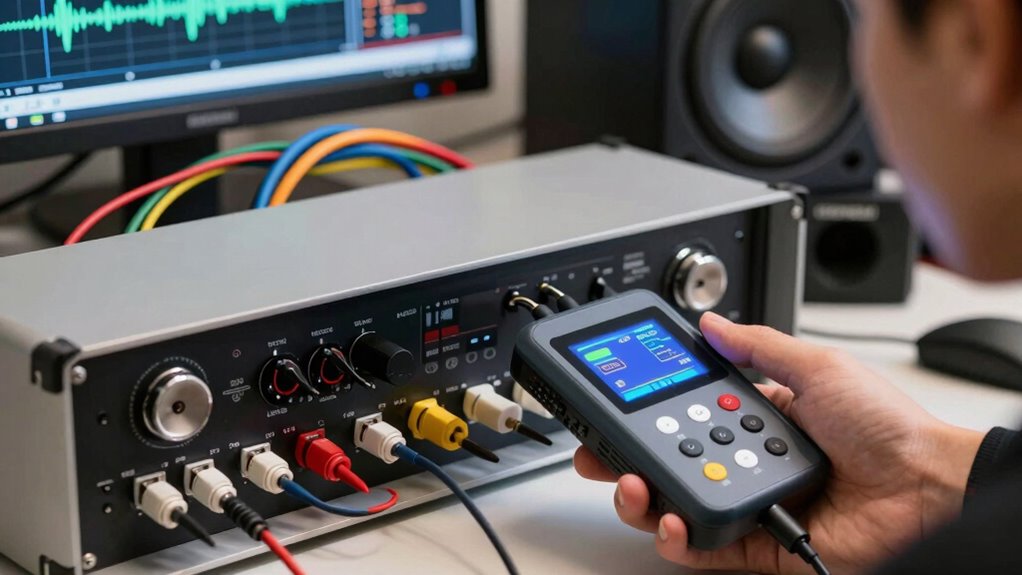
Use Diagnostic Tools to Detect Sound Problems
Using diagnostic tools can quickly identify where audio issues originate. Audio testing devices, such as multimeters or sound level meters, help you measure signal strength and quality at different points in your setup. Signal analysis tools, like spectrum analyzers or digital audio workstations, allow you to visualize sound waves and spot irregularities. By performing systematic audio testing, you can pinpoint whether the problem lies with the source, cables, or speakers. These tools provide objective data, making troubleshooting more efficient and less guesswork. With accurate signal analysis, you can detect issues like weak signals, interference, or distortion early in the process. Using diagnostic tools saves time and helps you target repairs more precisely, ensuring faster resolution of sound problems. Incorporating precise measurements into your troubleshooting process enhances your ability to identify and resolve issues effectively.
Step-by-Step Fixes for Common Sound Issues

Start by checking all your cable connections to make certain they’re secure and properly plugged in. Then, adjust your sound settings to confirm they match your preferences and device requirements. These simple steps can often resolve many common sound issues quickly. Additionally, ensuring your device uses energy-efficient hardware can help prevent performance-related sound problems.
Check Cable Connections
Loose or disconnected cables are a common cause of sound issues, so it’s important to verify all connections before diving into more complex troubleshooting. Faulty or low-quality cables can reduce connection stability and cause audio problems. To guarantee everything is secure:
- Check that all cables are firmly plugged into the correct ports, avoiding loose or wobbly connections.
- Inspect the cable quality; replace any frayed, damaged, or low-quality cables that might impair signal transmission.
- Confirm that cables are connected to the right devices, ensuring compatibility to maintain connection stability.
- Refer to Support Breakfast for tips on selecting high-quality cables and accessories to improve your audio setup.
Adjust Sound Settings
After confirming that your cables are secure and in good condition, the next step is to examine and adjust your sound settings. Start with sound calibration to ensure your device’s audio output matches your environment. Check your device’s volume adjustment, making sure it’s not muted or set too low. Access your sound settings menu, and verify that the correct playback device is selected. If available, run a calibration or test audio to identify any discrepancies. Adjust the equalizer or sound balance if necessary. Sometimes, resetting sound settings to default can resolve issues. Fine-tuning these parameters helps eliminate common sound problems, ensuring your audio output is clear, balanced, and properly calibrated. Additionally, audio output configuration plays a crucial role in diagnosing sound issues effectively.
When to Call a Professional or Consider Replacing Equipment
If your equipment continues to have issues despite your efforts, it might be time to call a professional. Look for signs like persistent distortion, strange noises, or frequent outages, which often indicate more serious problems. Sometimes, replacing your gear is the best option to restore quality and save yourself ongoing repairs. Additionally, considering the cost-effectiveness of repairs versus replacement can help you make an informed decision, as security systems are designed to provide reliable protection and may require replacement if they fail to perform properly.
When to Seek Help
Wondering when it’s time to call in a professional or replace your audio equipment? If troubleshooting hasn’t fixed persistent issues, consider these signs:
- Your audio calibration seems off despite adjustments, indicating a deeper problem.
- Noise cancellation features no longer reduce background noise effectively, suggesting hardware failure.
- You experience consistent, unexplained distortion or loss of sound quality that can’t be fixed with simple fixes.
Additionally, persistent issues may point to hardware deterioration, which requires expert assessment.
If you encounter these issues, it’s best to seek expert help. Professionals can perform advanced diagnostics, guarantee proper audio calibration, and address noise cancellation problems that might be beyond your reach. Recognizing these signs early helps prevent further damage and ensures you get ideal sound quality without unnecessary frustration.
Equipment Replacement Signs
Sometimes, your audio equipment reaches a point where repair no longer makes sense, and replacement becomes the smarter choice. If you notice persistent issues with audio quality despite troubleshooting, it might be time to contemplate new gear. Signs include unreliable performance, distorted sound, or inconsistent speaker placement. When equipment is old or damaged, fixing it may cost more than replacing it.
| Sign | Explanation | Action |
|---|---|---|
| Poor audio quality | Repeated distortion or muffled sound | Consider replacing equipment |
| Speaker placement issues | Inability to position speakers correctly | Upgrade or replace speakers |
| Frequent failures | Equipment breaks down often | Call a professional or replace |
If these signs persist, consult a pro or replace your gear for ideal sound.
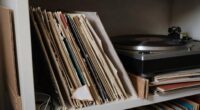
Tips to Prevent Future Sound Troubles

Preventing future sound troubles starts with proper setup and regular maintenance. To keep your audio quality high, follow these tips:
- Regularly check and update your sound calibration to guarantee all devices are synchronized for peak performance.
- Clean your audio equipment and cables to prevent signal interference that can degrade sound quality.
- Schedule routine inspections to catch issues early, such as loose connections or worn components, before they affect sound performance.
Frequently Asked Questions
Can Software Updates Fix Sound Issues Automatically?
Yes, software updates can fix sound issues automatically by improving software compatibility and resolving hardware conflicts. When you update your system, it often includes bug fixes and driver improvements that address sound problems. Keep your device’s software current to prevent or resolve sound issues quickly. Regular updates ensure your hardware and software work together smoothly, reducing the chances of conflicts that cause bad sound quality or malfunction.
How Do I Identify if My Audio Driver Is Corrupted?
Think of your audio driver as the conductor of your sound orchestra. If it’s corrupted, you might notice strange audio glitches or static, like a discordant note. To identify this, check Device Manager for warning signs, or see if sound issues persist after updates. If problems continue, reinstall the driver. When your conductor falters, the entire performance suffers, revealing driver corruption through disrupted sound harmony.
What Are the Signs of a Failing Amplifier?
You’ll notice a failing amplifier if it overheats frequently, which indicates it’s struggling to dissipate heat. Sudden cutouts or distorted sound also point to issues, especially if a power surge caused the problem. Additionally, if the amp feels unusually warm or emits a burning smell, it’s a sign that it’s failing. Address these signs promptly to prevent further damage and ensure your audio remains clear and reliable.
Is Ambient Noise Affecting My Sound Quality?
Imagine a faint mist softly obscuring a clear view—that’s how ambient noise can subtly impact your sound quality. Yes, noise interference might be causing sound distortion, making your audio less crisp and more muddled. You might not notice it right away, but it can profoundly affect your listening experience. Check for sources of ambient noise nearby, and consider shielding your equipment to reduce interference for clearer, more accurate sound.
How Often Should I Perform Sound System Maintenance?
You should perform sound system maintenance regularly, ideally every few months, to guarantee peak performance. During this process, check speaker placement to prevent sound distortions and ensure even coverage. Also, inspect cable management to avoid loose or damaged cables that can cause sound issues. Regular maintenance helps catch problems early, maintains sound clarity, and prolongs your system’s lifespan. Don’t wait for problems—stay proactive for the best sound quality.
Conclusion
Don’t let bad sound ruin your experience. By following these quick troubleshooting steps, you can identify and fix common issues yourself—no need to be tech-savvy. If problems persist, calling a professional isn’t a sign of failure but a smart move. Remember, with a little patience and the right approach, you’ll get your audio back to perfect in no time. So go ahead, troubleshoot confidently and enjoy crystal-clear sound again!