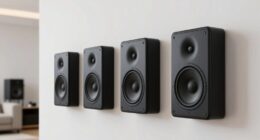
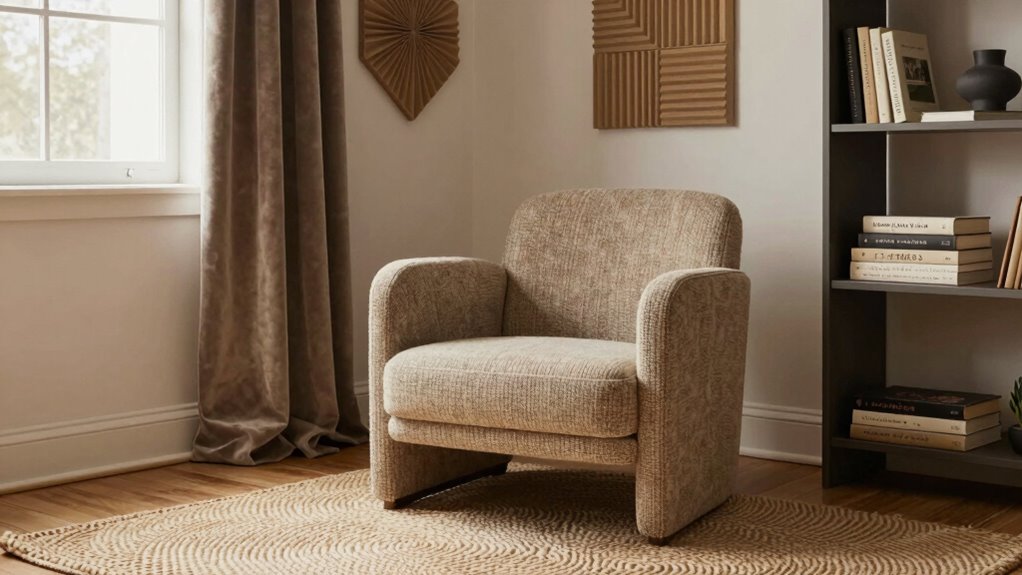

To make small but effective acoustic improvements, start by sealing gaps around doors and windows with weatherstripping to block noise leaks. Add soft furnishings like rugs, cushions, or heavy curtains to absorb sound and reduce echoes. Experiment with furniture placement and place acoustic panels or bookshelves filled with books on walls to improve sound distribution. These simple tweaks can notably enhance your space’s acoustics. Keep exploring, and you’ll discover even more ways to optimize your sound environment.

Get audio and creator gear delivered free with Prime
- Fast, free delivery on millions of items
- Prime Video, Amazon Music and more included
- Member-only deals all year
Key Takeaways
- Add weatherstripping and heavy curtains to reduce sound leaks and external noise intrusion.
- Incorporate acoustic panels and soft furnishings to absorb echo and improve sound clarity.
- Rearrange furniture to optimize sound distribution and minimize reflective surfaces.
- Use rugs, carpets, or soft textiles on hard floors to dampen sound reflections.
- Target specific problem areas with simple, cost-effective solutions like extra drywall or sealing gaps.

If you’re looking to improve your room’s acoustics without a complete overhaul, small adjustments can make a noticeable difference. You don’t need to invest in expensive equipment or redesign the space entirely; simple changes can considerably enhance sound clarity and reduce unwanted noise. One of the most effective ways to start is by exploring soundproofing techniques. These methods aren’t just for blocking noise from outside; they also help contain sound within the room, making your space more controlled. For example, adding weatherstripping to doors and windows can prevent sound leaks. Placing heavy curtains or acoustic drapes over windows and walls can absorb echo and reduce external noise intrusion. If you have thin walls, consider installing mass-loaded vinyl or adding an extra layer of drywall—these are straightforward soundproofing techniques that can make a real difference without turning your room into a construction site. Additionally, understanding soundproofing materials can help you choose the most effective options for your space. Incorporating soundproofing techniques into your setup can further enhance the overall acoustic environment. Paying attention to sound transmission can also help identify specific problem areas needing targeted solutions.
Beyond soundproofing, focusing on acoustic treatment options can greatly improve the sound quality inside your space. Acoustic panels, for example, are easy to install and come in various sizes and styles, making them suitable for any decor. They absorb sound waves that bounce around the room, minimizing echo and creating a clearer, more pleasant listening environment. Rugs and carpets also play an essential role by absorbing sound on hard floors, especially in rooms with tile or hardwood surfaces. Additionally, furniture placement matters—soft furnishings like sofas, cushions, and bookshelves filled with books can all reduce sound reflection and help you achieve a warmer, more balanced acoustic profile. Incorporating acoustic treatment methods can further optimize the sound environment and make your space more inviting. To get the most benefit, consider experimenting with room layout adjustments, as even small shifts can significantly influence sound distribution and quality.
As an affiliate, we earn on qualifying purchases.
Frequently Asked Questions
Can DIY Acoustic Treatments Be as Effective as Professional Installations?
DIY acoustic treatments can be quite effective if you choose the right materials and installation techniques. Decorative panels and DIY soundproofing options like foam or fabric-covered panels can considerably reduce noise and improve sound quality. You’ll want to carefully place these treatments in key areas, such as walls and corners, to maximize their impact. While professional installations may offer a more polished finish, your DIY efforts can deliver noticeable acoustic improvements at a fraction of the cost.
What Are the Best Budget-Friendly Materials for Soundproofing?
Imagine wrapping your room in a cozy, silent blanket—budget-friendly soundproofing materials can do just that. Use mass-loaded vinyl or thick moving blankets to block noise, foam panels for absorbing echoes, and weatherstripping for sealing gaps. Don’t fall for soundproofing myths; cheap materials won’t turn your space into a sound fortress overnight. Instead, combine these budget options thoughtfully, and you’ll notice a real difference without breaking the bank.
How Do I Measure the Current Acoustic Quality of a Room?
To measure your room’s acoustic quality, start by evaluating the sound level with a decibel meter or smartphone app, capturing ambient noise during different times. Use acoustic metrics like reverberation time (RT60) to understand how long sound lingers. This data helps identify problem areas, allowing you to make targeted improvements. Regular measurements give you a clear baseline, so you can track progress as you enhance your space’s sound environment.
Will Small Acoustic Improvements Affect Overall Home Value?
Small acoustic improvements can boost your home’s value, despite soundproofing myths suggesting otherwise. While major renovations matter most, minor upgrades like better soundproofing or strategic acoustic design tips enhance appeal and comfort. You might worry these changes won’t pay off, but they signal quality and livability to buyers. So, yes, small acoustic tweaks can positively influence your home’s overall value, making it more attractive and functional.
How Long Do Small Acoustic Upgrades Typically Last?
Small acoustic upgrades generally last 5 to 15 years, depending on quality and usage. You’ll want to contemplate sound durability when choosing materials, as higher-quality options tend to have better upgrade longevity. Regular maintenance and avoiding excessive wear can extend their lifespan. Keep in mind that environmental factors like humidity or temperature fluctuations may impact how long your acoustic improvements remain effective, so choose resilient materials for lasting results.
soundproof weatherstripping for doors and windows
As an affiliate, we earn on qualifying purchases.
As an affiliate, we earn on qualifying purchases.
Conclusion
By making small acoustic tweaks, you’re like a gardener tending to a delicate plant—each careful adjustment helps it flourish. Don’t underestimate the power of simple steps like adding rugs, curtains, or rearranging furniture. These tweaks may seem minor, but they can transform your space into a peaceful haven. Think of your room as a symphony; even the tiniest change can improve the harmony, making your environment more comfortable and enjoyable for everyone.
As an affiliate, we earn on qualifying purchases.
sound absorbing rugs and carpets
As an affiliate, we earn on qualifying purchases.
As an affiliate, we earn on qualifying purchases.
Fall Picks
fall essentials
As an affiliate, we earn on qualifying purchases.