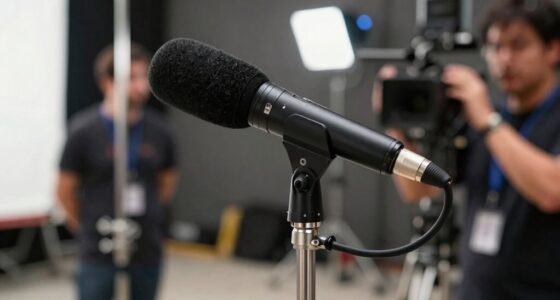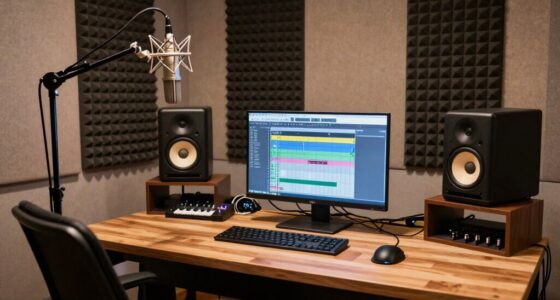
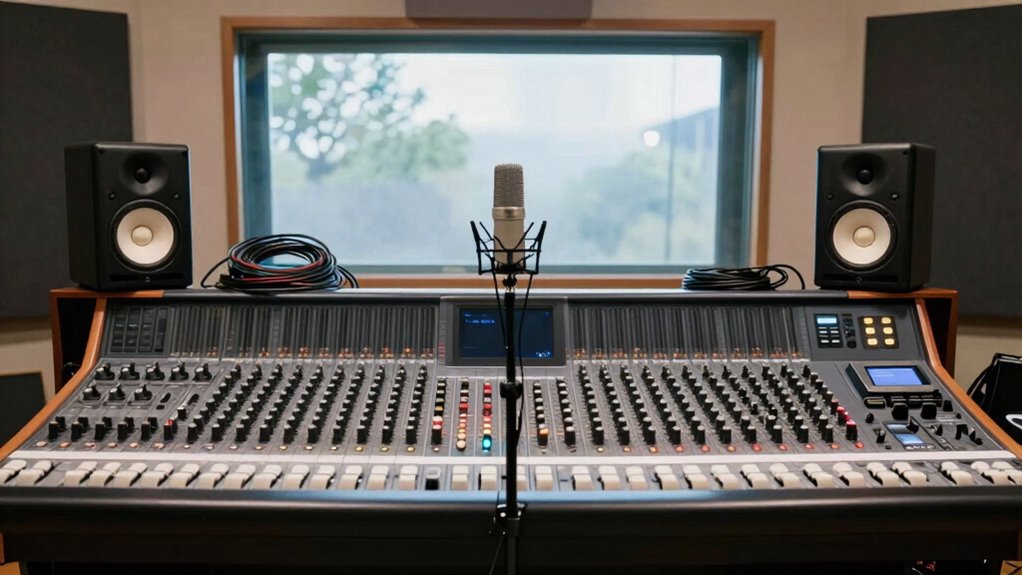

To record more cleanly before touching any plugins, start by optimizing your environment—use soft materials like rugs and curtains to absorb unwanted sound and minimize reflections. Guarantee microphone placement is precise, keeping it 6-12 inches from your source and aiming it directly for clarity. Choose the right mic type for your space, and avoid surface reflections by using acoustic treatment. Focusing on setup and technique first is key; keep exploring to discover even more tips.

Get audio and creator gear delivered free with Prime
- Fast, free delivery on millions of items
- Prime Video, Amazon Music and more included
- Member-only deals all year
Key Takeaways
- Optimize room acoustics with absorption panels, rugs, and curtains to minimize reflections and reverb.
- Position the microphone correctly, maintaining 6-12 inches from the source and aiming directly at it.
- Choose the appropriate microphone type (dynamic or condenser) based on your environment and source.
- Use a pop filter and experiment with mic angles to reduce plosives and unwanted sounds.
- Monitor your recordings regularly to identify and address issues before relying on plugins.
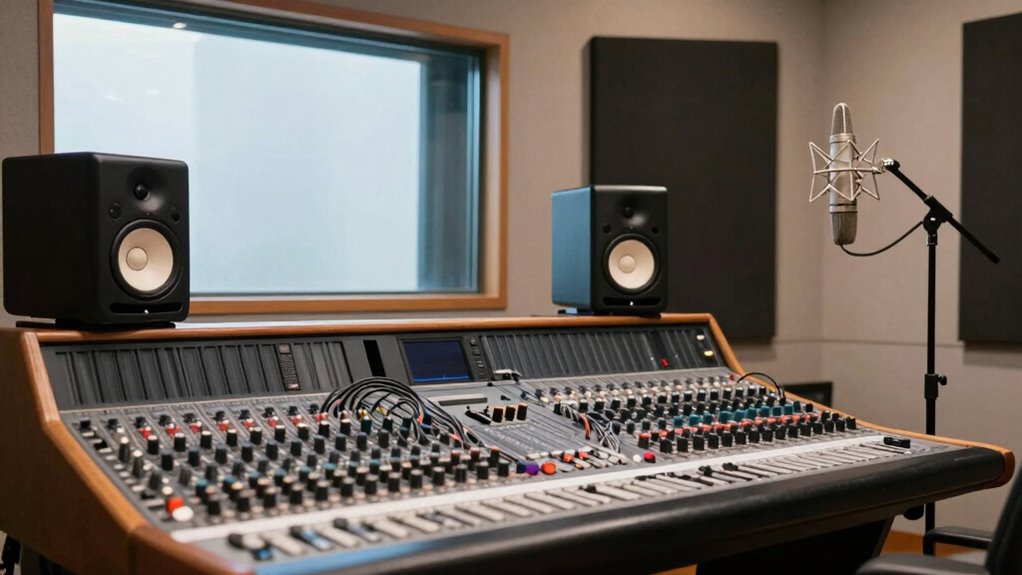
Before you reach for any plugins, mastering the art of clean recordings starts with proper preparation and technique. The foundation of a clear, professional sound depends heavily on your environment and how you handle your microphone. First, consider your room acoustics. A space filled with reflective surfaces, like bare walls or windows, can cause unwanted echoes and reverb that muddy your recordings. To combat this, add soft materials—like rugs, curtains, or foam panels—to absorb excess sound and minimize reflections. If you can’t make physical adjustments, try recording in smaller rooms or spaces that naturally dampen sound, preventing the room from coloring your recordings.
Start with a well-treated space and proper mic placement for cleaner, more professional recordings.
Once your space sounds controlled, focus on microphone placement. Positioning your microphone correctly is vital for capturing a clean, balanced signal. Keep the microphone at an appropriate distance from the source—usually 6 to 12 inches for vocals—to avoid capturing too much room ambiance or mechanical noise. Use a pop filter to reduce plosive sounds and ensure the mic is aimed directly at the source, not from an angle that captures unnecessary room reflections or background noise. If you’re recording instruments, experiment with angling the mic slightly to avoid picking up unwanted resonances or sounds from nearby surfaces.
Pay attention to the microphone type too. Dynamic mics tend to reject more ambient noise, making them ideal for noisy environments, while condenser mics are more sensitive but require a quieter space and precise placement. The key is to find the sweet spot where your microphone captures the source clearly without picking up too much of the room’s acoustics. Consider the proximity effect—being too close can boost bass frequencies and cause uneven tone, while too far away invites more room sound. Additionally, controlling room acoustics is crucial for achieving cleaner recordings and reducing reliance on post-processing. Proper microphone technique plays a significant role in capturing high-quality sound from the start, making your recordings more natural and polished. Developing an understanding of acoustic treatment can further enhance your recording environment and improve overall sound quality. Regularly checking your setup with monitoring helps ensure your recordings stay clean and true to the source. Incorporating these practical tools into your setup can make a significant difference in the clarity of your recordings and reduce the need for extensive editing later.
acoustic treatment panels for recording
As an affiliate, we earn on qualifying purchases.
As an affiliate, we earn on qualifying purchases.
Frequently Asked Questions
What Equipment Is Essential for Clean Recordings?
You need a quality microphone suited for your recording style; condenser mics are great for vocals, while dynamic mics excel with loud sources. Proper equipment maintenance, like regular cleaning and checking connections, guarantees peak performance. Additionally, investing in a pop filter and shock mount helps reduce unwanted noise and vibrations. These essential items, combined with good microphone types and diligent maintenance, create a solid foundation for clean, professional recordings.
How Do Room Acoustics Affect Recording Quality?
You might think your room’s sound reflections are harmless, but they really sabotage your recording quality. Poor room acoustics, like untreated surfaces, cause unwanted echoes and muddiness. Proper room treatment minimizes sound reflections, making your recordings clearer and more professional. Ignoring this step is like trying to speak in a noisy crowd—your voice gets lost. So, invest in acoustic treatment and take control of your sound environment.
What Are Common Microphone Placement Mistakes?
You often make microphone placement mistakes by positioning the mic too close or too far from the source, which affects sound quality. Poor microphone positioning can lead to unwanted noise or feedback, while inadequate sound isolation allows background noise to bleed in. To improve, guarantee proper distance and angle, and use sound isolation techniques like gobos or blankets. This helps capture clearer recordings and reduces the need for extensive editing later.
How Can I Reduce Background Noise During Recording?
To reduce background noise during recording, start with noise suppression tools on your microphone or recording software. Use soundproofing techniques like adding acoustic panels or blankets to your recording space, which minimizes echo and external sounds. Keep your microphone away from noisy appliances, and consider using a dynamic microphone that naturally rejects background noise. These steps help create cleaner recordings by controlling ambient sounds before you even start editing.
What Are Best Practices for Setting Recording Levels?
You should set your recording levels so your dynamic microphone captures a clear signal without clipping. Start by speaking or singing at your expected loudest volume and adjust the input gain until the meter peaks around -12dB to -6dB. This prevents distortion and allows for clean signal boosting later. Always monitor closely, ensuring your levels stay consistent, and avoid pushing the gain too high, which can introduce unwanted noise.
As an affiliate, we earn on qualifying purchases.
Conclusion
So, next time you’re about to plunge into a plugin frenzy, remember: your best edits happen before you hit record. Skip the endless tweaking and embrace the glorious chaos of a clean, well-prepared recording. After all, why bother with fancy plugins when your talent and a little discipline can make your tracks shine? Save yourself the headache—less is more, unless you’re aiming for a sonic disaster. Happy recording, superstar!
As an affiliate, we earn on qualifying purchases.
sound absorption rugs and curtains
As an affiliate, we earn on qualifying purchases.
As an affiliate, we earn on qualifying purchases.
Halloween Picks
halloween
As an affiliate, we earn on qualifying purchases.