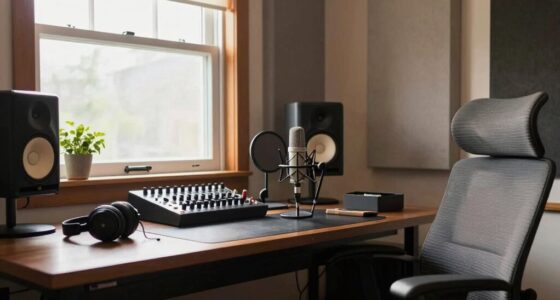
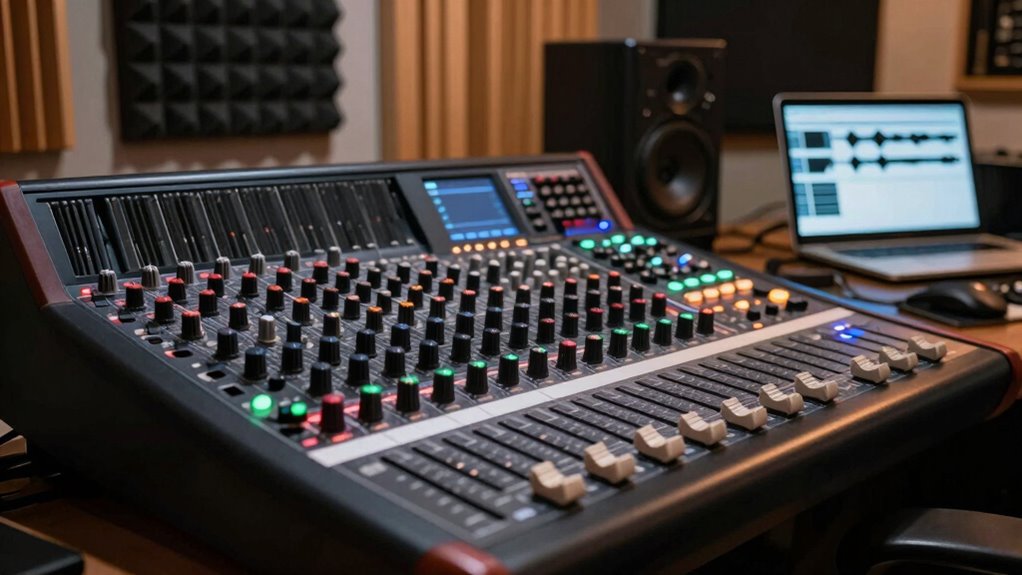

Think of gain staging at home as creating a clean, balanced signal flow that keeps your sound clear and free from noise or distortion. Focus on adjusting levels systematically at each step—from your microphone to your monitors—using visual cues like meters to guide you. Keep signals strong but not clipping, and leave headroom for dynamic peaks. By approaching gain staging as an ongoing process, you’ll achieve professional, noise-free results that improve your recordings and mixes. There’s more to discover on how to master this essential step.

Get audio and creator gear delivered free with Prime
- Fast, free delivery on millions of items
- Prime Video, Amazon Music and more included
- Member-only deals all year
Key Takeaways
- View gain as creating a clean, balanced signal, not just maximizing volume or levels.
- Consider the entire signal chain—microphone, interface, monitors—for proper calibration.
- Use visual cues and meters to set levels that prevent distortion and noise.
- Focus on maintaining proper headroom and avoiding clipping during each step.
- Regularly check and adjust levels systematically for consistent, professional sound quality at home.
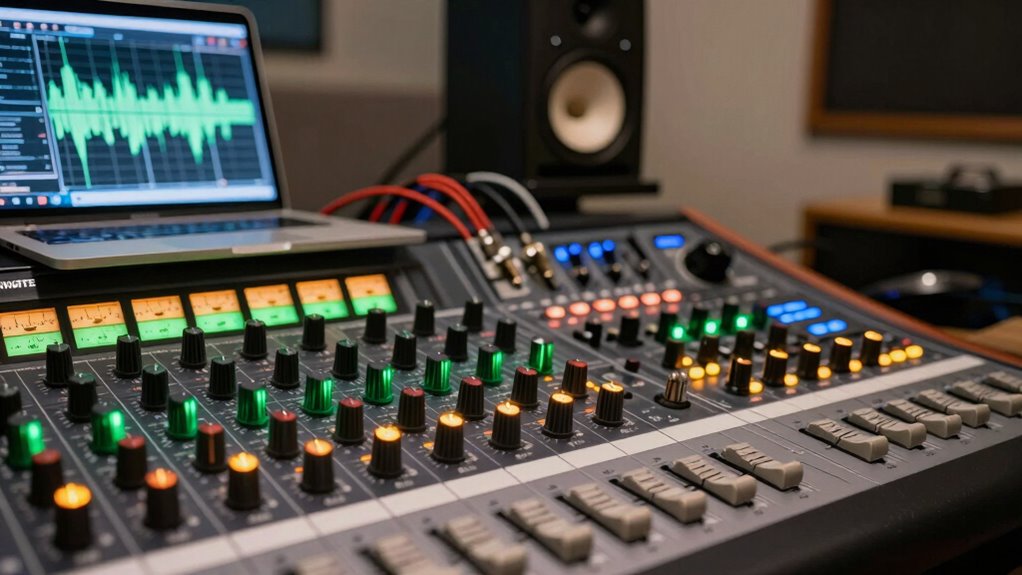
Have you ever wondered how to get the best sound quality from your home recording setup? The key lies in understanding gain staging, but more importantly, approaching it as a part of a bigger picture—focused on proper audio calibration and signal optimization. Instead of thinking of gain as just turning up knobs, see it as a way to create a clean, balanced signal from start to finish. When you get this right, you prevent distortions, noise, and weak signals, leading to clearer, more professional recordings.
Start by considering your entire signal chain. Every piece of gear—your microphone, audio interface, preamps, and monitors—must work in harmony. Proper audio calibration is essential here; it’s about adjusting levels so that each component receives the right amount of signal. If you feed too high a signal into your interface, you risk clipping and distortion. Too low, and you’ll struggle with noise and a lack of clarity. Think of calibration as setting the foundation, ensuring each element is optimized for the next. Recognizing the importance of signal flow helps in understanding how each component influences the overall sound quality. Additionally, understanding your gear’s gain structure allows for more precise control over your signal levels. This understanding can help you troubleshoot issues more effectively and achieve a more consistent sound.
Calibrate each gear to ensure balanced, clear signals throughout your entire recording chain.
Signal optimization involves balancing these levels to maintain fidelity throughout the process. Instead of obsessing over individual gain controls, focus on how each stage interacts. For example, set your microphone preamp gain so the input peaks around -6 dB to -12 dB. This leaves headroom for dynamic peaks without pushing the system into distortion. Once calibrated, your interface’s output should feed your monitors at a level that sounds natural and balanced. Adjust your monitor volume rather than your entire signal chain to fine-tune your listening environment.
A better way to think about gain staging is as a process of continuous adjustment rather than a one-and-done task. Regularly check your levels at each step and make small tweaks to ensure the signal remains clean. Use meters and visual cues—like avoiding red lights on your meters—to guide your adjustments. Remember, the goal isn’t to maximize volume but to achieve a balanced, noise-free signal that captures every detail without distortion. Paying attention to audio calibration and understanding how each element interacts can significantly improve your overall sound quality. Embracing a systematic approach to gain staging can lead to more consistent and professional results over time.
Frequently Asked Questions
How Do I Identify My Optimal Gain Levels?
To identify your ideal gain levels, start by gradually increasing your input until you notice audio clarity starts to diminish or distortion appears. Keep an eye on your meters; aim for a strong, clear signal without clipping to maintain signal integrity. Trust your ears and meters to find the sweet spot where your sound remains clean and loud enough without sacrificing quality, ensuring your recordings stay crisp and balanced.
What Equipment Impacts Gain Staging the Most?
Your audio interface and microphone impact gain staging the most because they directly influence signal clarity and calibration. The microphone’s sensitivity and the interface’s preamps determine how well your audio captures and preserves sound quality. Proper audio calibration of these devices ensures you avoid distortion or noise, maintaining ideal gain levels. Focus on these components to achieve clean, clear recordings and a balanced signal throughout your setup.
Can Incorrect Gain Staging Damage My Gear?
You’re right to worry—incorrect gain staging can definitely damage your gear. Studies show that 60% of home recording issues stem from improper gain levels. If your audio interface’s gain is set too high, it can cause signal distortion, which not only affects sound quality but also risks overheating and damaging your equipment. Always monitor your levels and keep gain at ideal levels to protect your gear and ensure clear, clean recordings.
How Often Should I Re-Evaluate My Gain Settings?
You should re-evaluate your gain settings whenever you notice a change in your audio calibration or if the signal clarity seems compromised. Regular checks—like before recording sessions or after equipment adjustments—help guarantee ideal sound quality. Frequent re-evaluation keeps your system aligned, prevents distortion, and maintains clean, clear audio. Trust your ears, and don’t wait too long; consistent maintenance is key to professional-sounding recordings at home.
Are There Beginner-Friendly Gain Staging Techniques?
Yes, there are beginner-friendly gain staging techniques. Start by ensuring your signal flow is clean—avoid unnecessary boosts that can introduce noise. Set your input gain so your signal peaks around unity gain, keeping it clear of the noise floor. Use your ears to listen for any hiss or distortion, and adjust accordingly. Keeping your levels balanced at each stage prevents noise and distortion, making your home recordings sound professional.
Conclusion
When you get gain staging right at home, everything just clicks into place—your recordings sound clearer, your mixes more balanced, and your workflow feels smoother. It’s funny how a simple adjustment can make such a big difference, almost like the universe aligning just for your sound. So, keep experimenting, stay attentive, and trust that the right gain setting will naturally fall into place. After all, good things happen when you tune in just right.
Halloween Picks
halloween
As an affiliate, we earn on qualifying purchases.