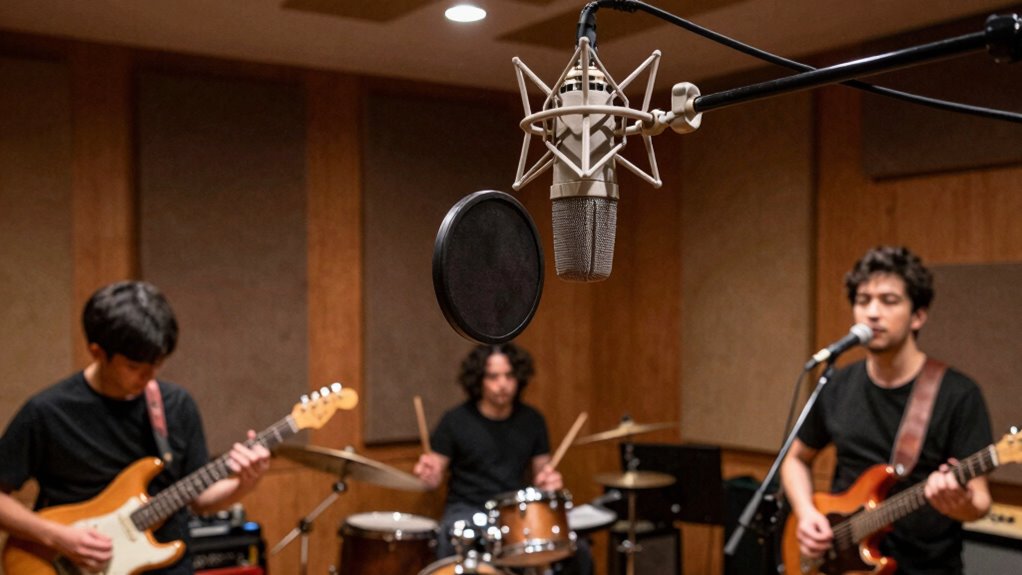
To record a band practice with one stereo mic, start by choosing a quality stereo microphone and position it at head height, about 3 to 6 feet from the band. Use techniques like XY or ORTF to capture a natural stereo image, balancing clarity and room ambiance. Experiment with distance to find the sweet spot that captures full instrument spectrum while maintaining depth. Continue exploring to learn more about optimizing your setup for the best sound.

Get audio and creator gear delivered free with Prime
- Fast, free delivery on millions of items
- Prime Video, Amazon Music and more included
- Member-only deals all year
Key Takeaways
- Use a single stereo microphone with XY or ORTF setup at head height facing the band.
- Position the mic 3 to 6 feet from the ensemble to balance clarity and ambient sound.
- Focus on capturing a natural stereo image that reflects instrument separation and room ambiance.
- Adjust mic distance to achieve a balanced spectrum, avoiding overly close or distant placements.
- Consider room acoustics and experiment with placement to optimize stereo width and overall sound quality.
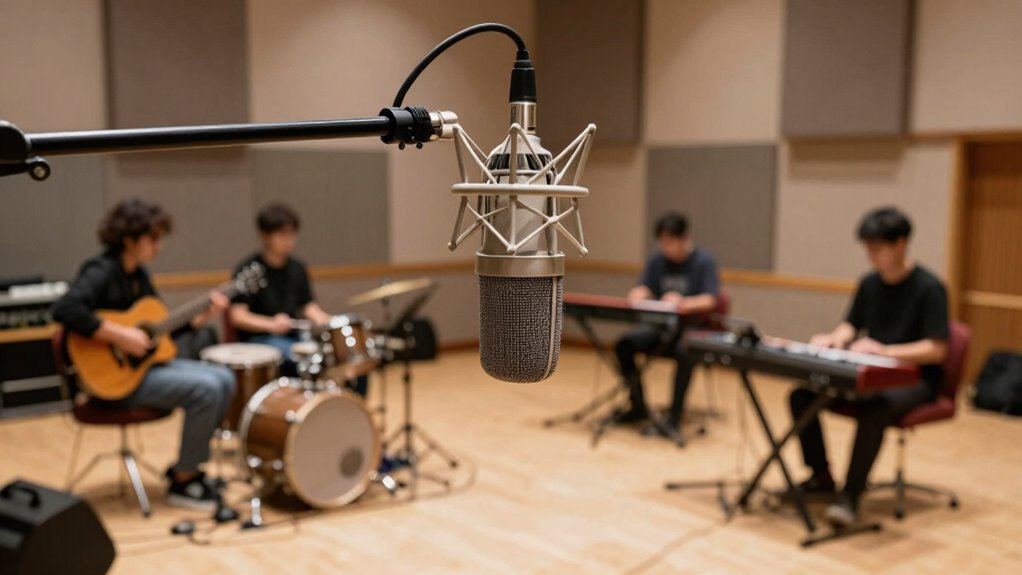
Capturing a band practice with just one stereo microphone is a practical way to record your sessions without complicated setup or equipment. The key to a successful recording lies in how you position your microphone and how well you can capture stereo imaging to create a natural, immersive sound. When choosing your microphone placement, think about the overall sound you want to achieve. You’re aiming to pick up the full spectrum of the band’s performance, from vocals and guitars to drums and bass, in a balanced way. Placing the stereo mic too close could result in a narrow, unbalanced sound, while positioning it too far might make the mix feel distant and indistinct.
To optimize stereo imaging, you want to position your microphone where it can capture the width and depth of the band’s soundstage. A common technique is to set up the microphone at a central point, roughly at head height, facing the ensemble. The goal is to capture a natural stereo image, so the listener perceives the separation between instruments as they hear it live. The stereo microphone, whether using a XY, ORTF, or another stereo technique, should be placed to maximize the sense of space without sacrificing clarity.
Experimenting with microphone placement is essential. You might start with the microphone at a distance of about 3 to 6 feet from the band, adjusting based on the room size and acoustics. Moving the mic closer reduces the ambient sound, but it can also narrow the stereo image and make the recording feel more focused on certain instruments. Conversely, moving it farther away enhances ambiance and stereo width but risks capturing unwanted room noise.
stereo microphone for band practice
As an affiliate, we earn on qualifying purchases.
As an affiliate, we earn on qualifying purchases.
Frequently Asked Questions
What Type of Stereo Microphone Is Best for Band Practice?
You should choose a stereo microphone with a wide stereo image width and versatile polar patterns like XY or ORTF. These patterns capture a natural, immersive sound by emphasizing the stereo image, making it ideal for band practice. A mic with adjustable polar patterns allows you to tailor the stereo width and focus on the overall sound, ensuring you get a balanced, clear recording of your band’s performance.
How Should I Position the Mic for Optimal Sound?
Imagine capturing the essence of your band’s energy—where do you position your mic? Start by placing it at the center of the room, slightly above head height, to embrace room acoustics and balance all instruments. Keep it equidistant from each player, avoiding corners or reflective surfaces that could distort sound. Adjust microphone placement until you find the sweet spot, revealing a full, immersive sound that tells your band’s story.
Can I Record Multiple Takes With One Mic?
Yes, you can record multiple takes with one mic by using overdubbing techniques. After capturing a take, stop recording, then reposition or reset your mic if needed before recording the next part. While a multi-mic setup offers more flexibility, with careful planning, a single stereo mic can still effectively record layered performances. Just guarantee consistent mic placement and levels across takes to maintain a cohesive sound.
How Do I Avoid Phase Issues in Stereo Recording?
To avoid phase issues in stereo recording, position your mic carefully to minimize phase cancellation, keeping the capsules equidistant from the sound source. Regularly listen in mono to check for phase problems and adjust mic placement if you notice phase cancellation. This guarantees your recording remains mono compatible, preventing phase issues from causing parts of your sound to disappear or weaken when played back in mono.
What Is the Ideal Room Setup for Stereo Recording?
You should optimize your room setup by choosing a space with good room acoustics—avoid excessive echo or dead spots. Position your stereo mic centrally, slightly above head height, and angle it to capture the whole band evenly. Keep some distance from reflective surfaces like walls or windows to reduce unwanted reflections. Experiment with microphone placement to find the sweet spot that balances clarity and natural sound without causing phase issues.
As an affiliate, we earn on qualifying purchases.
Conclusion
Think of recording your band practice with one stereo mic like capturing a lively conversation at a busy party. Just as you’d position yourself to hear the full story, place your mic to embrace the entire room. I once tried this during a practice, and it felt like catching a snapshot of the band’s energy—authentic and alive. With patience and the right placement, you’ll preserve that raw, spontaneous magic just like a perfect memory frozen in time.
As an affiliate, we earn on qualifying purchases.
portable stereo microphone for recording
As an affiliate, we earn on qualifying purchases.
As an affiliate, we earn on qualifying purchases.
Halloween Picks
halloween
As an affiliate, we earn on qualifying purchases.