To create smooth music videos, focus on essential stabilization tools like gimbals and stabilizer rigs, which help counteract handheld jitters during dynamic shots. Gimbals use motors to stabilize your camera in real-time, while professional rigs give you more control for heavier setups. Lightweight stabilizers are perfect for spontaneous moments. Pair these with good lighting and smart angles for the best results. Keep exploring to discover more techniques that can elevate your footage even further.
Key Takeaways
- Gimbals are essential for real-time stabilization during dynamic, mobile shots in music videos.
- Professional stabilizer rigs provide better control for heavier camera setups and complex movements.
- Post-production software like Adobe Premiere Pro or DaVinci Resolve can smooth out remaining jitters.
- Proper lighting and camera angles help reduce shaky footage at the source, minimizing stabilization needs.
- Combining hardware stabilizers with strategic filming techniques yields the most polished, professional results.

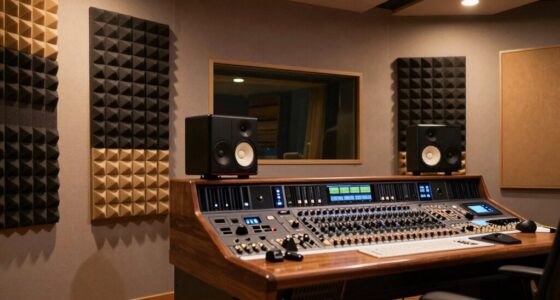
Creating dynamic music videos often means capturing energetic shots that can be shaky and difficult to watch. That’s where stabilization tools come into play, helping you keep your footage smooth and professional. But before diving into the tech, it’s essential to understand how lighting techniques and camera angles influence the overall stability of your shots. Good lighting not only enhances the visual appeal but also allows your camera to operate at lower ISOs, reducing noise and the need for excessive stabilization. Bright, even lighting helps you shoot at faster shutter speeds, which naturally minimizes motion blur and shakiness. Meanwhile, thoughtfully choosing camera angles can make a huge difference in how stable your footage appears. For example, low-angle shots or wide perspectives can sometimes mask small jitters better than tight, close-up shots. By planning your angles carefully, you can create a more stable visual flow, even during energetic movements.
Good lighting and strategic angles enhance stability, making energetic shots smoother and more professional.
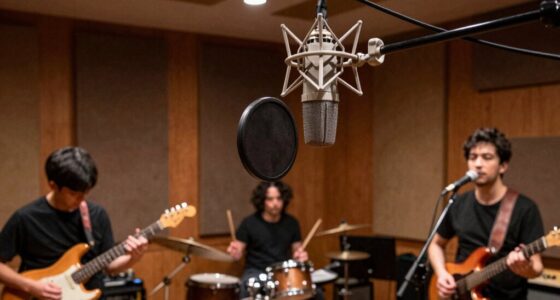
Once you’ve set the scene with proper lighting and camera angles, the real magic happens with stabilization tools. Handheld shooting is often unavoidable in music videos, especially when you’re chasing the rhythm or capturing spontaneous moments. Here, gimbals are a game-changer. They use motors and sensors to counteract your movements in real-time, keeping your camera steady regardless of how much you’re moving around. If you’re working with a heavier camera, consider a professional stabilizer rig; these give you more control and reduce fatigue, allowing for longer shots without shaky results. For lighter setups, handheld stabilizers or even motorized stabilizer accessories can do the trick seamlessly. Additionally, understanding the principles of camera stabilization can help you choose the right tools and techniques for your specific needs. Incorporating proper stabilization techniques into your workflow ensures your footage remains smooth, even in challenging shooting conditions. Being aware of stabilization principles can also guide you in troubleshooting issues during filming.
In addition to physical tools, software stabilization can help salvage shaky footage in post-production. Programs like Adobe Premiere Pro or DaVinci Resolve offer stabilization features that smooth out minor jitters and shakes. However, relying solely on software isn’t ideal because it can sometimes crop your footage or introduce warping artifacts. That’s why combining stabilization hardware with thoughtful lighting and camera angles leads to the best results. It’s about reducing the amount of correction needed later, so your footage remains crisp, vibrant, and dynamic. Understanding the stabilization techniques and how they work together with your filming setup can significantly improve your final product. Incorporating proper planning and setup into your workflow ensures that stabilization is more effective and less reliant on post-production fixes.
Ultimately, the most effective stabilization tools for music videos are those that complement your filming techniques. Use lighting to keep your ISO low and shutter speeds high, choose camera angles that hide minor jitters, and invest in gimbals or stabilizers to keep your shots steady when movement is unavoidable. When all these elements work together, your music videos won’t just capture the energy—they’ll look polished and professional, no matter how lively the scenes get.

DJI RS 3 Mini, 3-Axis Gimbal Stabilizer for Cameras Canon/Sony/Panasonic/Nikon/Fujifilm, 2 kg (4.4 lbs) Tested Payload, Camera Gimbal with Native Vertical Shooting, Black
795g (1.75lbs) Lightweight and Portable – DJI RS 3 Mini is an ultra-compact gimbal stabilizer for camera convenient…
As an affiliate, we earn on qualifying purchases.
As an affiliate, we earn on qualifying purchases.
Frequently Asked Questions
How Do Stabilization Tools Impact Overall Video Editing Workflow?
Stabilization tools considerably improve your overall video editing workflow by reducing camera shake, making footage smoother and more professional. This streamlines editing efficiency because you spend less time fixing shaky clips and more time focusing on creative aspects. With effective stabilization, you can quickly enhance the visual quality of your music videos, ensuring a polished final product without lengthy corrections, ultimately saving you time and effort during editing.
Are Stabilization Tools Compatible With Mobile Editing Apps?
Yes, stabilization tools are often compatible with mobile editing apps. Many apps now include stabilization feature integration, allowing you to smooth out shaky footage directly on your device. Check for mobile app compatibility before starting your project, as some apps may have limited stabilization capabilities. Using these tools on mobile makes editing more convenient, enabling you to quickly enhance your music videos without needing advanced desktop software.
Can Stabilization Tools Be Used for Live Music Video Recordings?
While live recording stability can be challenging, stabilization tools are often adaptable for live music videos, especially with mobile app compatibility. You can use these tools to smooth out shaky footage in real-time or during post-production, ensuring your energy stays enthralling. Though live stabilization isn’t perfect, these tools help you deliver a polished, emotionally engaging video, capturing the raw excitement without sacrificing quality.
What Is the Cost Difference Between Basic and Advanced Stabilization Tools?
Basic stabilization tools typically cost a few hundred dollars, making them budget options for beginners. In contrast, professional-grade features in advanced stabilization gear can range from $1,000 to over $10,000, depending on complexity and quality. You’ll find that investing in higher-end tools offers smoother footage and more reliable performance, but it’s essential to weigh your budget against the level of stabilization you need for your music videos.
How Do Stabilization Tools Affect Video File Size and Quality?
Stabilization tools like image stabilization can increase your video file size because they add processing data to smooth out footage, which may also impact quality if overused. File compression helps reduce size but might compromise quality if too aggressive. Using stabilization wisely, you find a balance where your video remains clear and manageable, ensuring your music video looks professional without creating huge files that are hard to share or store.

Zeadio Camera Smartphone Handheld Stabilizer, Triple Cold-Shoe Handle Grip Compatible with All Camera Action Camera DSLR Smartphone
Multifunctional — Come with Smartphone Video Rig, both sides handles and Removable handle ideal for recording different wonderful…
As an affiliate, we earn on qualifying purchases.
As an affiliate, we earn on qualifying purchases.
Conclusion
Imagine filming a music video with shaky footage and feeling like you’re trying to dance on a rollercoaster — chaotic and frustrating. That’s where stabilization tools come in, turning jittery shots into smooth performances, much like a steady hand guiding a dance partner. Studies show that viewers stay engaged twice as long with stabilized footage. So, embrace these tools—they’re your secret move to keep your audience captivated and your vision crystal clear.
DJI RS 3 Mini, 3-Axis Gimbal Stabilizer for Cameras Canon/Sony/Panasonic/Nikon/Fujifilm, 2 kg (4.4 lbs) Tested Payload, Camera Gimbal with Native Vertical Shooting, Black
795g (1.75lbs) Lightweight and Portable – DJI RS 3 Mini is an ultra-compact gimbal stabilizer for camera convenient…
As an affiliate, we earn on qualifying purchases.
As an affiliate, we earn on qualifying purchases.
![Movavi Video Editor 2026 Personal License [PC Download]](https://m.media-amazon.com/images/I/411V4+wskgL._SL500_.jpg)
Movavi Video Editor 2026 Personal License [PC Download]
Boost your videos with rad transitions, titles, and intros
As an affiliate, we earn on qualifying purchases.
As an affiliate, we earn on qualifying purchases.