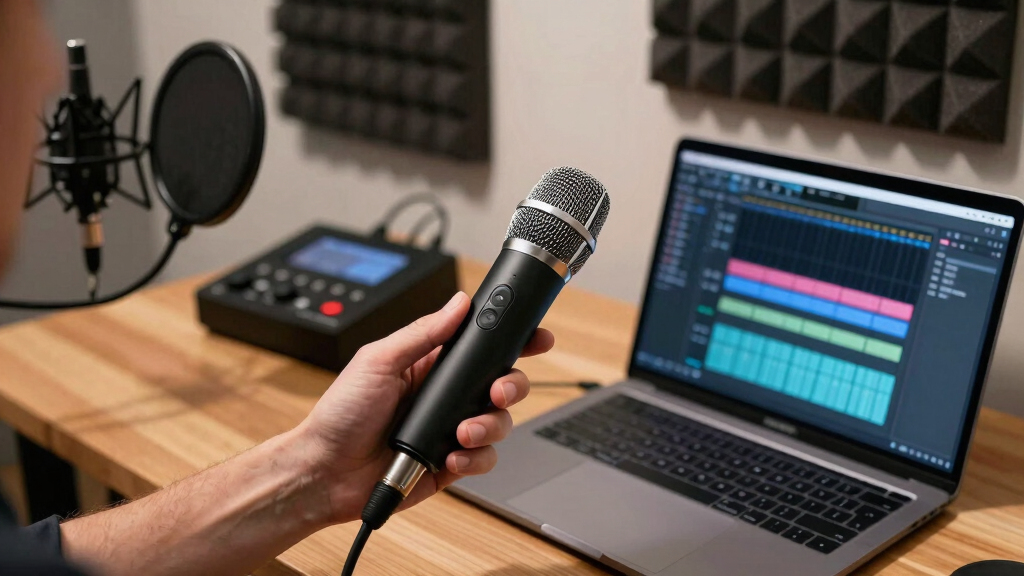
This guide walks you through selecting, setting up, and testing a portable microphone to enhance audio for your videos, podcasts, or live streams. Designed for creators of all experience levels, it ensures you can produce clear, professional sound wherever you record.
Difficulty: Beginner | Time: 20-30 minutes
What You’ll Need
Tools & Materials:
- Portable microphone suitable for creators (e.g., lapel, handheld, shotgun)
- Smartphone or camera with audio input
- Charging cable or batteries for the microphone
- Audio adapter if needed
Knowledge:
- Basic knowledge of recording devices
- Familiarity with your recording device’s input options
Check compatibility of the microphone with your device before purchase. Fully charge or prepare batteries in advance.
portable microphone for content creators
As an affiliate, we earn on qualifying purchases.
As an affiliate, we earn on qualifying purchases.
Before You Start
Ensure your recording device is working properly and has available input ports. Read the microphone’s manual for specific compatibility and setup notes. Avoid recording in extremely noisy environments until you test the microphone first.
lapel microphone for smartphones
As an affiliate, we earn on qualifying purchases.
As an affiliate, we earn on qualifying purchases.
Step-by-Step Instructions
Step 1: Select the appropriate microphone
Choose a portable microphone suited for your recording needs, such as a lapel mic for mobility, a shotgun mic for directional sound, or a handheld mic for interviews. Verify compatibility with your device (smartphone, camera, audio recorder).
Tip: Opt for a microphone with a built-in windscreen or consider purchasing one separately to reduce wind noise.
Check: You have a microphone compatible with your device and suited for your recording environment.
Step 2: Charge or insert batteries into the microphone
Connect the microphone to its power source, either by charging it fully or inserting fresh batteries. Follow the manufacturer’s instructions for your specific model.
Tip: Use high-quality batteries or fully charge rechargeable units to avoid power loss during recording.
Check: The microphone indicator shows it is powered on and ready for use.
Step 3: Connect the microphone to your recording device
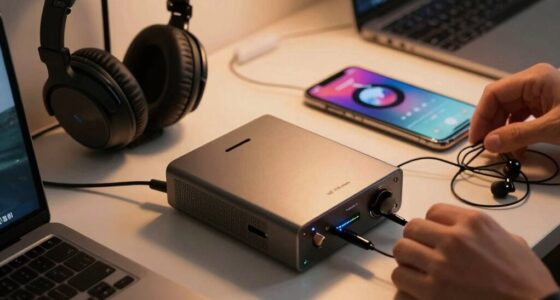
Plug the microphone’s output cable into the input port of your device. Use an adapter if necessary, ensuring a snug fit without forcing the connector.
Tip: Check your device’s input type (3.5mm jack, USB-C, Lightning) and use appropriate adapters to ensure compatibility.
Check: The microphone is securely connected, and your device recognizes it (e.g., audio input indicator lights up or shows in settings).
Step 4: Configure your device’s audio settings
Access your device’s audio or recording settings. Select the connected microphone as the input source if prompted. Adjust volume levels to avoid clipping or low sound.
Tip: Test the input levels with a short recording to confirm sound is captured clearly and at appropriate volume.
Check: Your device records audio clearly from the microphone without distortion or background noise.
Step 5: Perform a test recording
Record a short clip in your typical recording environment, speaking naturally or performing your usual activity. Play it back to evaluate sound quality.
Tip: Listen with headphones for accurate assessment. Check for background noise, muffling, or uneven sound levels.
Check: The playback shows clear, consistent audio with minimal noise or interference.
shotgun microphone for cameras
As an affiliate, we earn on qualifying purchases.
As an affiliate, we earn on qualifying purchases.
Common Mistakes to Avoid
- Using incompatible cables or connectors — Verify device input types and use correct adapters or cables before connecting.
- Not testing the microphone before recording important content — Always perform a quick test recording and playback to confirm setup.
- Recording in noisy environments without windshields or filters — Use windshields or filters and select directional microphones to reduce unwanted noise.
handheld microphone for interviews
As an affiliate, we earn on qualifying purchases.
As an affiliate, we earn on qualifying purchases.
Troubleshooting
Problem: Microphone not recognized by device
Solution: Check all connections, try different cables or adapters, and restart your device.
Problem: Audio is too quiet or distorted
Solution: Adjust input volume levels, ensure the microphone is properly powered, and re-test with different settings.
Problem: Background noise is excessive
Solution: Use a directional microphone, add windshields, and record in quieter environments.
What Success Looks Like
You can record audio with your portable microphone that is clear, balanced, and free of significant background noise. Playback should reveal consistent sound quality, and your device should recognize the microphone without errors.
Next Steps
Regularly test your microphone before each recording session. Store it properly to prevent damage. Consider investing in additional accessories like windshields or adapters for different environments. If sound quality issues persist, check for firmware updates or consult the manufacturer’s support.
Frequently Asked Questions
Can I use a portable microphone with my smartphone?
Yes, most portable microphones are compatible with smartphones if you have the correct adapter (e.g., TRRS or USB-C). Ensure the microphone supports mobile devices before purchasing.
How do I improve sound quality in windy outdoor conditions?
Use a windscreen or dead cat filter on the microphone, choose a directional mic to focus on your voice, and record in a sheltered location when possible.
What if my microphone’s battery dies during recording?
Always check and fully charge or replace batteries before recording. Keep spare batteries handy for longer sessions.
Can I connect multiple microphones at once?
It depends on your device. Some recorders or cameras support multiple inputs; otherwise, you may need a mixer or audio interface to combine signals.