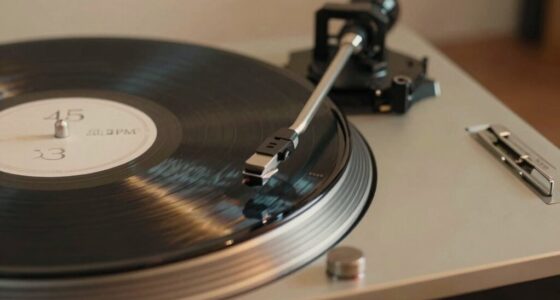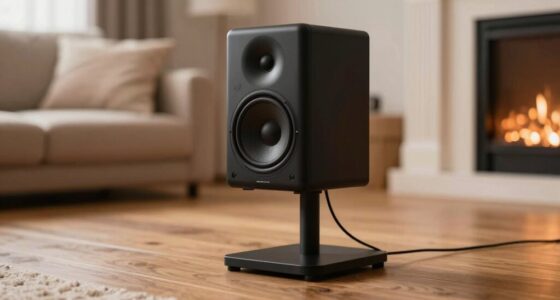


To plan a turntable shelf and component rack that works, focus on vibration isolation by choosing dense, stable materials and placing the setup away from high-traffic or vibrating areas. Organize cables neatly using clips or conduits, and guarantee components have enough space for proper ventilation and easy access. Prioritize both function and style, selecting materials that complement your space. If you want to learn more about creating an effective setup, keep exploring the best design practices.

Get audio and creator gear delivered free with Prime
- Fast, free delivery on millions of items
- Prime Video, Amazon Music and more included
- Member-only deals all year
Key Takeaways
- Select dense, vibration-damping materials and stable surfaces to minimize external vibrations affecting the turntable.
- Position shelves away from speakers and high-traffic areas for optimal sound isolation.
- Incorporate cable management solutions to prevent clutter, noise, and accidental disconnections.
- Design adjustable, modular racks for easy upgrades and flexible component placement.
- Ensure the rack is sturdy, aesthetically pleasing, and allows for easy access and proper ventilation.
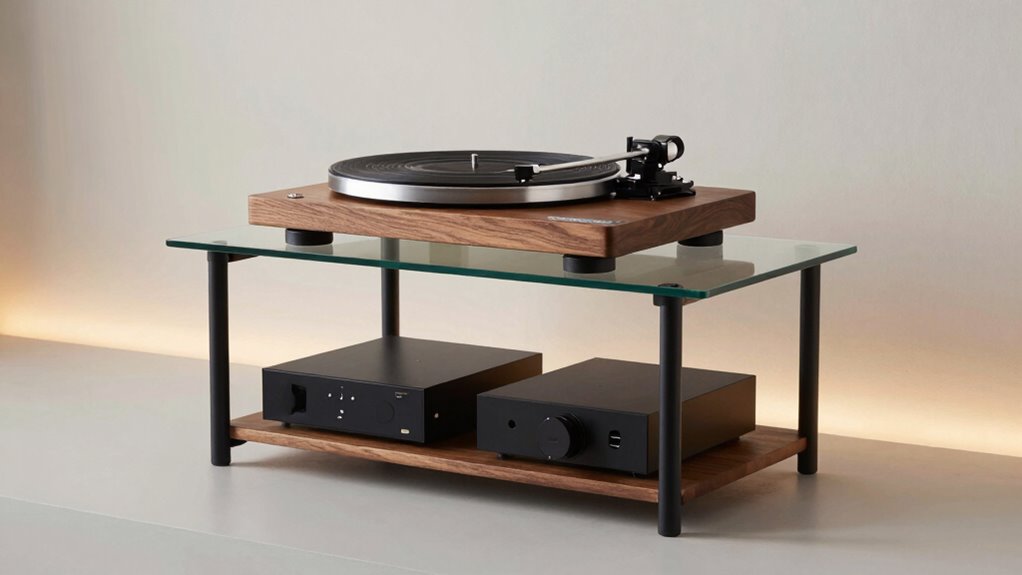
If you’re looking to enhance your audio setup, planning a dedicated turntable shelf and component rack is a smart move. The right setup not only improves sound quality but also keeps your gear organized and accessible. To start, focus on creating a stable, vibration-free environment for your turntable. Audio isolation is critical here; you want a surface that minimizes vibrations from footsteps, speakers, or other equipment. Using materials like dense wood, concrete, or specialized isolating platforms helps prevent unwanted noise from reaching your turntable, ensuring cleaner sound reproduction. Position your shelf away from speakers and high-traffic areas to further reduce vibrations and airborne disturbances.
Create a stable, vibration-free environment for your turntable with dense materials and strategic placement away from vibrations.
Next, consider how you’ll manage your cables. Proper cable management isn’t just about aesthetics; it’s essential for maintaining audio integrity. Use cable clips, sleeves, or conduits to route cables neatly along the sides or back of your rack. Keeping cables organized reduces clutter, prevents accidental disconnections, and minimizes electromagnetic interference, which can degrade sound quality. Be mindful of the length of your cables—too long, and you risk picking up noise; too short, and you might strain connections. Invest in quality connectors and ensure all connections are secure to avoid static or intermittent audio signals. Additionally, understanding the importance of audio isolation can help you achieve the best sound quality by reducing vibrations and external noise that interfere with playback. Incorporating vibration damping materials into your shelf design can further enhance this effect, providing an extra layer of protection against external disturbances.
When designing your shelf and rack, think about accessibility and flexibility. Position your turntable at a comfortable height—eye level or slightly below—to make operation easier. Place your audio components, such as amplifiers and receivers, nearby but with enough space for ventilation. Adequate airflow helps prevent overheating, which could impact performance. Incorporate adjustable shelves or modular racks if you plan to upgrade or change components down the line. This approach saves you from reconfiguring your entire setup later.
Finally, pay attention to the overall aesthetic. A well-designed rack not only improves function but also complements your living space. Choose materials and finishes that match your décor, and ensure the structure is sturdy enough to support the weight of your gear. Remember, a well-planned turntable shelf and component rack isn’t just about looks—it’s about creating an environment where your audio equipment can perform at its best, with minimal interference and maximum ease of use. By prioritizing audio isolation and thoughtful cable management, you set yourself up for the best possible listening experience.
turntable vibration isolation platform
As an affiliate, we earn on qualifying purchases.
As an affiliate, we earn on qualifying purchases.
Frequently Asked Questions
What Materials Are Best for Acoustic Isolation?
For acoustic isolation, you should choose materials that excel in vibration damping, like rubber, cork, or specialized isolators. These materials absorb vibrations effectively, preventing them from reaching your turntable or components. Make certain material compatibility by selecting options that won’t degrade over time or react negatively with your equipment. Combining layers of different damping materials can also enhance isolation, giving you clearer sound and better performance.
How to Ensure Proper Cable Management?
You’ll want your cables to flow like a gentle stream, not a tangled snake. Use cable routing techniques to keep wires neatly tucked away, avoiding clutter. Position your power strip strategically—near your components but out of sight—to prevent power cords from crossing paths. Secure loose cables with clips or ties, creating a clean, organized setup that not only looks sleek but also minimizes interference, letting your audio shine.
What Are the Ideal Dimensions for a Turntable Shelf?
The ideal turntable shelf should be around 18-24 inches wide and 16-20 inches deep, providing enough space for stability. Opt for materials with good vibration damping, like MDF or acrylic, to reduce resonance. Make certain the height is adjustable or at least level with your listening position. Proper size and material choices help minimize vibrations, resulting in clearer sound and better overall performance for your turntable setup.
How Do I Prevent Vibrations From Affecting Sound Quality?
Vibrations can shake your sound like a leaf in the wind, so you need effective vibration dampening and isolation techniques. Use materials like rubber or sorbothane pads under your turntable, and choose a sturdy, isolated shelf that minimizes contact with vibrations. Additionally, avoid placing your setup near speakers or high-traffic areas. These steps help to keep vibrations from affecting sound quality, ensuring a clearer, more accurate playback.
Can I Customize a Rack for Future Component Upgrades?
Yes, you can customize a rack for future component upgrades. Look for a design with upgrade compatibility, such as adjustable shelves or modular sections. A customizable design allows you to easily add or rearrange components as your system evolves. This way, you won’t need to replace the entire rack, saving money and effort. Planning ahead with a flexible, upgrade-compatible rack guarantees your setup stays current and adaptable over time.
audio component rack with cable management
As an affiliate, we earn on qualifying purchases.
As an affiliate, we earn on qualifying purchases.
Conclusion
In summary, carefully planning your turntable shelf and component rack guarantees ideal sound quality and easy access. While some believe that proximity to speakers affects audio performance, studies show that proper placement and isolation are more critical than mere distance. By prioritizing stability, vibration reduction, and accessibility, you create a listening environment that truly enhances your experience. Remember, thoughtful design isn’t just about aesthetics but about achieving the best possible sound—proof that good planning makes all the difference.
As an affiliate, we earn on qualifying purchases.
turntable shelf with ventilation
As an affiliate, we earn on qualifying purchases.
As an affiliate, we earn on qualifying purchases.
Columbus Day / Indigenous Peoples' Day Picks
long weekend sales
As an affiliate, we earn on qualifying purchases.