To get the best sound without spending a lot on gear, try these three mic positions: First, place the mic 6-12 inches from your mouth and slightly angled for clarity and warmth. Second, use a pop filter just a few inches away to reduce plosives. Third, adjust the mic’s angle and position based on your voice tone and environment. Experiment with these tweaks to improve your sound—more tips are just a few adjustments away.
Key Takeaways
- Position the mic 6-12 inches from your mouth for clarity and minimized noise.
- Slightly angle or move the mic to improve tone if the sound is muffled or thin.
- Use a pop filter 1-2 inches in front to reduce plosives and protect the mic.
- Place the mic off to the side or slightly above/below to avoid capturing ambient noise.
- Experiment with proximity and angle adjustments to find the clearest, most natural vocal tone.

While high-quality gear can make a difference, the way you place your microphone has a far greater impact on your sound. Proper mic placement can considerably enhance vocal clarity and reduce unwanted background noise, making your recordings or live performances sound professional without needing expensive equipment. The key is to find the right position that captures your voice directly while minimizing the room’s acoustics and external sounds.
Proper mic placement greatly enhances sound quality by capturing your voice clearly and minimizing background noise.
Start by positioning the microphone around 6 to 12 inches from your mouth. This distance strikes a good balance—close enough to pick up your voice clearly and reduce the pickup of ambient sounds, but not so close that you risk distortion or unwanted plosives. If you notice your voice sounds muffled or bass-heavy, try moving the mic slightly further away or adjusting its angle. Conversely, if your voice sounds too distant or thin, bringing the mic closer can help. Remember, small adjustments can make a big difference in vocal clarity.
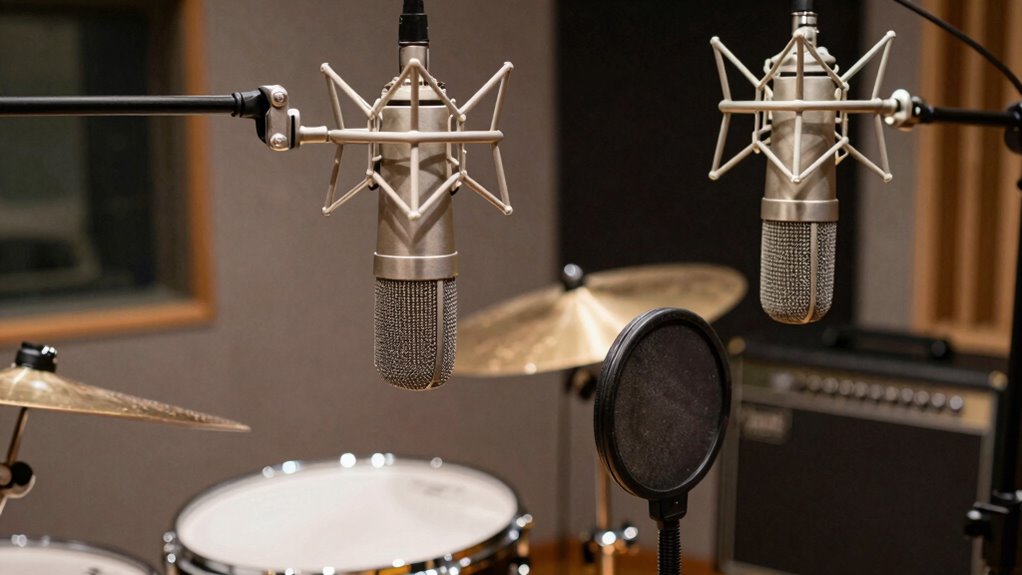
To further improve clarity, angle the microphone slightly downward or upward, aiming it directly at your mouth. This helps focus the pickup on your voice and reduces the amount of background noise captured. Avoid pointing the mic directly at noisy sources or reflective surfaces that can cause unwanted echoes or room reverberations. If you’re recording in a noisy environment, positioning the mic closer to your mouth while keeping it off to the side can help block out background noise, making your vocals stand out more prominently.
Another effective technique is to use a pop filter or windscreen in front of the mic. These accessories not only reduce plosive sounds but also help prevent saliva from hitting the microphone capsule, extending its lifespan. Positioning the pop filter about an inch or two from your mouth ensures that your vocal clarity remains high without sacrificing comfort.
Additionally, experimenting with different mic polar patterns (if your microphone supports them) can help you find the best setting for various recording environments and sources.
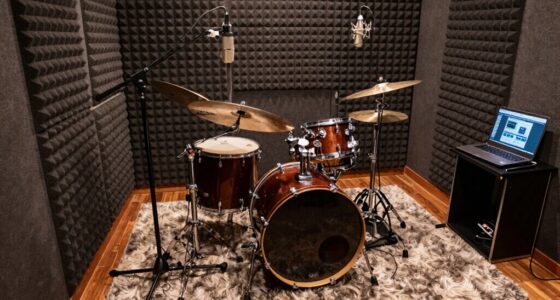
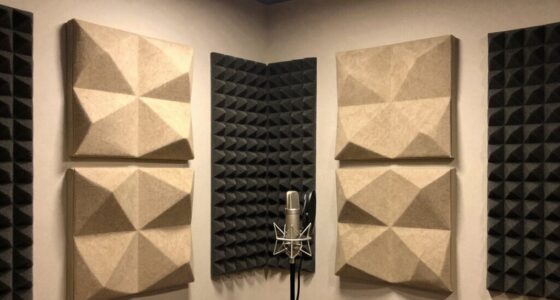
Lastly, consider the environment you’re recording in. Even with perfect mic placement, a noisy or echo-prone room can undermine your efforts. Use sound-absorbing materials like foam panels or blankets to dampen reflective surfaces. This minimizes background noise and room reverberations, allowing your voice to shine through more clearly.
In essence, mastering mic placement is about trial and error. Small positional tweaks have a profound impact on vocal clarity and background noise reduction. Focus on proximity, angle, environment, and room acoustics , and you’ll find your sound improves dramatically—more than any fancy gear ever could.

Aokeo Professional Microphone Pop Filter Mask Shield For Blue Yeti and Any Other Microphone,Mic Dual Layered Wind Pop Screen With Flexible 360° Gooseneck Clip Stabilizing Arm
Double Layered Screen Pop Filters:The first screen blocks air blasts as any pop filter normally would; The gap…
As an affiliate, we earn on qualifying purchases.
As an affiliate, we earn on qualifying purchases.
Frequently Asked Questions
How Do I Choose the Best Mic Placement for Different Instruments?
To choose the best mic placement for different instruments, you should focus on instrument-specific placement and technique adaptation. Start by experimenting with positions that highlight each instrument’s unique sound, like close-miking for clarity or distant placement for ambiance. Adjust the angle and distance based on the instrument’s sound characteristics, and adapt your technique as needed to capture the best tone without unwanted noise or phase issues.
Can Mic Placement Techniques Vary for Live vs. Studio Recordings?
Mic placement methods definitely differ for live environments and studio sessions. In a live setting, you’ll prioritize positioning that prevents problems, providing punch and clarity without clutter. Conversely, in the studio, you focus on consistency and capturing the cleanest sound possible. You adapt techniques to suit each scenario, ensuring your sound stays sharp and stable, whether on stage or in the studio. Flexibility and focus make your mic work truly shine.
What Common Mistakes Should I Avoid When Positioning Microphones?
When positioning microphones, avoid common mistakes like placing them too close, which causes unwanted proximity effect, or too far, leading to poor sound capture. Be mindful of phase cancellation, which happens if mics aren’t aligned properly, creating hollow or thin sounds. Check your placement regularly, and listen carefully to make certain your setup captures a clear, balanced sound without phase issues or exaggerated bass.
How Does Room Acoustics Influence Mic Placement Effectiveness?
Room acoustics greatly influence mic placement effectiveness because reflections can cause echo and muddiness. You should consider how room reflections impact sound and use acoustic treatment like panels or diffusers to minimize unwanted echo. Position your microphone away from reflective surfaces, and experiment with placement to find a spot where room reflections are managed. Proper acoustic treatment and mindful mic positioning ensure clearer recordings and better sound quality.
Are There Specific Mic Placements Recommended for Various Vocal Styles?
Did you know that the right mic placement can boost vocal clarity by up to 30%? For different vocal styles, you should adjust your position: close-mic for intimate vocal tones, slightly off-axis for softer genres like jazz, and a bit farther for powerful genres like rock. Use genre-specific techniques to capture the unique character of each vocal style, ensuring your recordings sound professional and true to the artist’s intent.
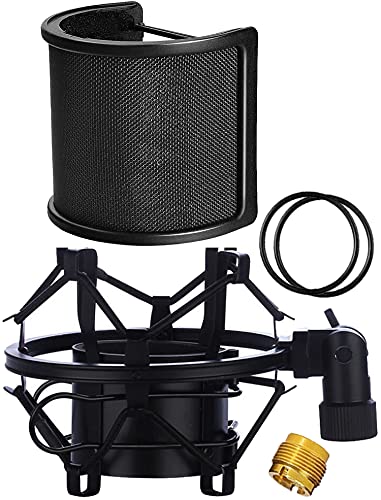
Microphone Shock Mount with Pop Filter, Mic Anti-Vibration Suspension Shock Mount Holder Clip for Diameter 46mm-51mm Microphone
Shock mount (size: 45mm-53mm,1.77inch-2.1inch ) for microphone type: Diameter of 46mm-51mm (1.8 inch-2 inch)microphone. Compatible with Many Condenser…
As an affiliate, we earn on qualifying purchases.
As an affiliate, we earn on qualifying purchases.
Conclusion
Remember, your mic placement can make all the difference—sometimes more than expensive gear. For instance, imagine you’re recording vocals and place the mic just a few inches above the singer’s mouth instead of using a costly preamp. The clarity and warmth you get from that simple adjustment might surprise you. So, before investing in new gear, experiment with these three positions first. You might find that the perfect sound is just a placement away.

Amazon Basics USB Condenser Microphone for Streaming, Recording, and Podcasting on PC, Plug and Play, Cardioid Pickup, Adjustable Stand with 360° Rotation, Clear Sound, 5.8 x 3.4 inches, Black
CONDENSER MICROPHONE: High sensitivity, low noise, and low distortion with a large 14mm diaphragm and clear sound pickup
As an affiliate, we earn on qualifying purchases.
As an affiliate, we earn on qualifying purchases.

InnoGear Microphone Stand, Tripod Boom Arm Floor Mic Stand Height Adjustable Heavy Duty with Carrying Bag 2 Mic Clips 3/8" to 5/8" Adapter for Singing Podcast for Blue Yeti Shure SM58 SM48 Samson Q2U
Adjustable Height & Solid: The height of the microphone stand with boom arm is adjustable from 28.1 inches…
As an affiliate, we earn on qualifying purchases.
As an affiliate, we earn on qualifying purchases.