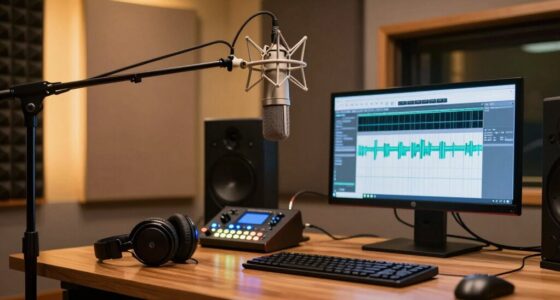
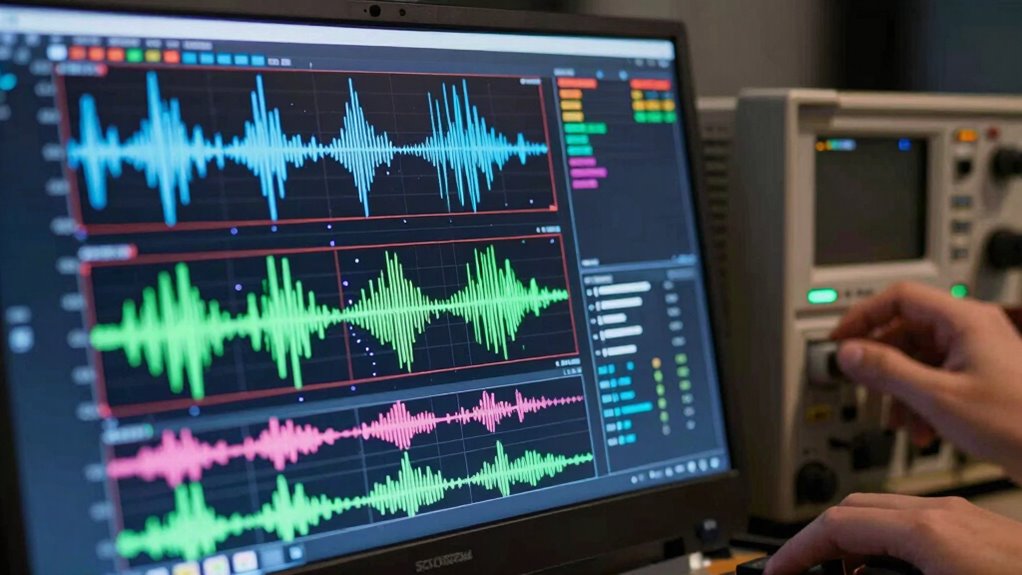

To fix noise or hum in your audio interface, start by checking if all devices share a common ground and connect them to outlets on the same circuit. Use high-quality shielded cables and keep them away from electromagnetic sources like power supplies or Wi-Fi routers. Consider inserting a ground loop isolator or using a power conditioner for better results. If you keep experiencing issues, there are additional steps you can try to improve your sound—more tips await.

Get audio and creator gear delivered free — and shop member deals
- Fast, free delivery on millions of items
- Access to Prime Big Deal Days deals on October 6–7
- Prime Video, Amazon Music and more included
Key Takeaways
- Use a ground loop isolator or hum eliminator device to break ground loops causing hum.
- Ensure all equipment is plugged into the same power outlet or circuit to minimize ground potential differences.
- Check and replace damaged or low-quality cables with shielded, well-shielded options to reduce electromagnetic interference.
- Keep cables away from electromagnetic sources like power supplies and Wi-Fi routers to prevent noise pickup.
- Properly ground your audio interface and other devices, and consider using power conditioners or UPS units for stable power.
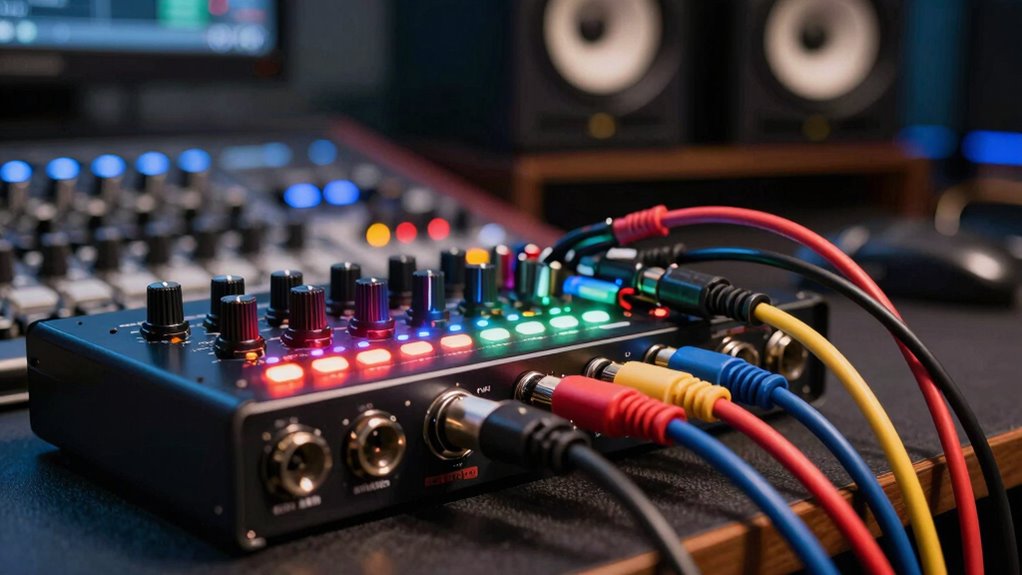
If you’re experiencing a persistent hum or buzzing sound coming from your audio interface, it can be both frustrating and disruptive to your work. This noise often stems from ground loop issues, which occur when multiple devices are referencing different ground potentials, creating a loop that introduces unwanted electrical signals. To combat this, you need to understand how to break the loop and prevent interference. One effective solution involves employing shielding techniques. Proper shielding involves using cables with braided or foil shielding to block electromagnetic interference (EMI) and radio frequency interference (RFI). When these shields are grounded correctly, they form a barrier that minimizes noise pickup, resulting in cleaner audio.
Start by inspecting your cables and connections. Poor-quality or damaged cables can act as antennas, amplifying noise. Replace them with well-shielded, high-quality cables designed for audio work. When connecting your gear, ensure that all devices share a common ground path. If you notice that the noise persists, try disconnecting or isolating different components to identify the culprit. Sometimes, plugging your audio interface into a different power outlet, preferably one on a different circuit, can break ground loops that are causing the hum. Using ground lift adapters on your cables can also help, but use them cautiously—only when you’re sure it’s safe and won’t compromise equipment safety.
Another approach involves using ground loop isolators, which are designed to break the loop without affecting audio quality. These devices are inserted into the signal chain and use transformers or electronic circuitry to eliminate the unwanted hum. Additionally, consider shielding your audio cables with ferrite beads or placing your cables away from sources of electromagnetic interference, such as power supplies, fluorescent lights, or Wi-Fi routers. Ensuring proper grounding techniques in your setup is essential for optimal noise reduction.
It’s also wise to check your power setup. Using a power conditioner or uninterruptible power supply (UPS) can help stabilize the voltage and reduce electrical noise. Keep your audio gear away from other electronics that emit electromagnetic signals, and ensure your studio environment has proper grounding. By combining these techniques—addressing ground loop issues, improving shielding, and optimizing your setup—you can notably reduce or eliminate hums and buzzes from your interface. Remember, persistent noise isn’t just an annoyance; it can compromise your recordings and mixes. Taking these steps diligently helps ensure your audio remains clear, professional, and distraction-free.
ground loop isolator for audio interface
As an affiliate, we earn on qualifying purchases.
As an affiliate, we earn on qualifying purchases.
Frequently Asked Questions
How Can I Identify the Source of the Noise?
You can identify the noise source by unplugging your cables one by one to see if the hum stops, which points to cable quality issues. Check for grounding issues by ensuring all your gear is properly grounded and connected to a common power source. Also, try swapping out cables or moving equipment away from interference sources like smartphones or fluorescent lights to pinpoint the cause of the noise.
Are There Specific Tools to Diagnose Audio Interference?
Think of diagnosing interference like untangling a knot—tools help you see where the problem lies. Use a multimeter to check for ground loop issues, and test cables with an audio tester to identify poor shielding. These tools pinpoint whether ground loops or inadequate cable shielding cause noise. By systematically testing, you’ll quickly locate the culprit and restore clean, noise-free audio to your setup.
Can Software Updates Fix Audio Hum Issues?
Yes, software updates can help fix audio hum issues, especially if they address bugs related to ground loops or improve compatibility with your hardware. Updating your interface’s firmware can reduce interference caused by poor cable shielding or grounding problems. Be sure to check for updates from the manufacturer, and also inspect your cables and grounding setup, as better shielding and proper grounding can considerably reduce hum and noise.
Is It Safe to Open My Audio Interface for Troubleshooting?
Yes, it’s generally safe to open your audio interface for troubleshooting if you disconnect it from power first. Perform a hardware inspection carefully, checking for loose connections or damaged parts. Use proper grounding techniques to prevent static or shocks. If you’re unsure or uncomfortable, consider consulting a professional. Always follow safety guidelines, and avoid opening the device if you’re not confident in handling electronic components.
How Often Should I Perform Maintenance to Prevent Noise?
Think of your audio setup as a garden needing regular tending. You should perform maintenance every few months, checking cable management and grounding techniques to keep noise at bay. Regular inspections prevent the weeds of interference from taking hold, ensuring your sound remains clear and pure. By staying proactive, you nurture a harmonious environment where your interface can perform at its best, free from unwanted hums or static.
shielded audio cables for studio
As an affiliate, we earn on qualifying purchases.
As an affiliate, we earn on qualifying purchases.
Conclusion
When your interface hums or noise persists, think of it like tuning a guitar—sometimes a simple adjustment restores harmony. I once had a friend who spent hours troubleshooting her setup, only to realize a loose cable caused the hum. Once fixed, her sound cleared instantly. Remember, noise is often just a small glitch in a bigger system. With patience and a systematic approach, you can silence the unwanted sound and bring clarity back to your recordings.
power conditioner for audio equipment
As an affiliate, we earn on qualifying purchases.
As an affiliate, we earn on qualifying purchases.
As an affiliate, we earn on qualifying purchases.
Fall Picks
fall essentials
As an affiliate, we earn on qualifying purchases.