This guide explains how to select, connect, and optimize a portable microphone for creators who record videos, podcasts, or streaming content outside a fixed studio. It is suitable for beginners and intermediate users aiming for high-quality audio during mobile production, with a typical setup time of 15 to 30 minutes.
Difficulty: Beginner | Time: 15-30 minutes
What You’ll Need
Tools & Materials:
- Portable microphone (lapel, shotgun, handheld)
- Smartphone or camera
- Windscreen or pop filter (if applicable)
- Charging cable or batteries for the microphone
- Audio adapter (if necessary)
Knowledge:
- Basic understanding of audio devices
- Familiarity with smartphone or camera operation
Check microphone compatibility with your device before purchase. Fully charge or prepare batteries for the microphone to avoid interruptions. Confirm your recording device has the appropriate ports or adapters.
portable lapel microphone for smartphones
As an affiliate, we earn on qualifying purchases.
As an affiliate, we earn on qualifying purchases.
Before You Start
Ensure your recording device is fully charged and has enough storage. Identify a quiet environment to minimize background noise. Have all tools and accessories ready within reach.
outdoor shotgun microphone for content creators
As an affiliate, we earn on qualifying purchases.
As an affiliate, we earn on qualifying purchases.
Step-by-Step Instructions
Step 1: Choose the appropriate microphone
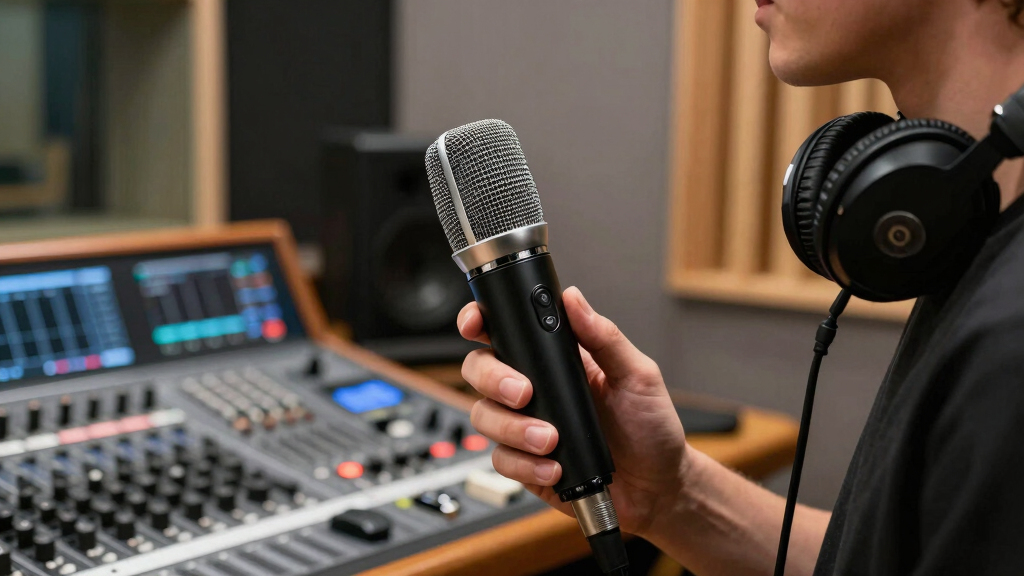
Select a portable microphone suitable for your recording environment and content type. Options include lavalier mics for mobility, shotgun mics for directional recording, or handheld mics for versatility.
Tip: Pick a microphone with a compatible connector (3.5mm jack, USB-C, Lightning, or XLR) for your device. Consider windshields or windscreens if recording outdoors.
Check: You have the correct microphone in hand and know its connection type.
Step 2: Prepare your recording device
Check that your smartphone, camera, or recorder is powered on and has available storage. Connect any necessary adapters (e.g., 3.5mm to USB-C) to match your microphone’s connector.
Tip: Test the device’s microphone input with a short recording to confirm functionality before actual use.
Check: Device recognizes the microphone input, and audio levels are responsive.
Step 3: Connect the microphone to your device
Plug the microphone into your device’s microphone input port or adapter. Ensure the connection is secure and fully inserted.
Tip: Avoid forcing connectors; check for proper alignment. If using an XLR or USB microphone, follow the manufacturer’s specific connection instructions.
Check: The microphone is firmly connected, and the device indicates input detection (e.g., audio levels move on screen).
Step 4: Configure audio settings
Open your device’s audio settings or recording app. Select the external microphone as the input source if required. Adjust input levels to avoid clipping or too low volume.
Tip: Use headphones to monitor audio in real-time, ensuring clarity and consistent levels.
Check: Audio levels respond properly in the monitoring device, with no static or dropout.
Step 5: Test the microphone setup
Record a short sample of your voice or intended content. Play back the recording to check sound clarity, volume, and background noise.
Tip: Speak at your normal volume and movement style to evaluate performance in real conditions.
Check: The recording captures clear, intelligible audio with minimal background noise.
handheld microphone for mobile recording
As an affiliate, we earn on qualifying purchases.
As an affiliate, we earn on qualifying purchases.
Common Mistakes to Avoid
- Using an incompatible or loose connection — Double-check connector types and ensure all plugs are fully seated before recording.
- Not monitoring audio during recording — Use headphones to listen in real-time and catch issues immediately.
- Neglecting wind or environmental noise — Use windshields or move to a quieter location to improve audio quality outdoors.
- Failing to test levels before recording — Always record a short test clip and adjust input levels accordingly.
microphone accessories for vlogging
As an affiliate, we earn on qualifying purchases.
As an affiliate, we earn on qualifying purchases.
Troubleshooting
Problem: Microphone not detected by device
Solution: Verify connections, switch to a different port or adapter, and restart the device if needed.
Problem: Audio is static or muffled
Solution: Check for loose connections, clean connectors, and ensure the microphone is compatible with your device.
Problem: Recording has low volume or no sound
Solution: Increase input levels in settings, check microphone power/batteries, and test with different devices if possible.
What Success Looks Like
The microphone captures clear, high-quality audio with consistent volume. Playback shows no static, distortion, or background noise, and recorded audio is intelligible and well-balanced.
Next Steps
After successful setup, record your content, monitor audio quality regularly, and store your equipment safely. Replace or upgrade components as needed for better performance. Repeat testing if changing environments or microphones.
Frequently Asked Questions
Can I use a portable microphone with my smartphone?
Yes, most portable microphones are compatible with smartphones using appropriate adapters. Check the microphone’s connector type and ensure you have the correct adapter for your device.
How do I improve audio quality outdoors?
Use windshields or windscreens on your microphone, record in sheltered locations, and minimize background noise as much as possible.
What if my microphone is not recognized by my device?
Check all connections, confirm compatibility, try different ports, and restart your device. Test with another device if available to isolate the issue.
How long do batteries or power sources last?
This depends on the microphone model. Always carry spare batteries or ensure rechargeable units are fully charged before recording sessions.