TL;DR
The best studio microphone for streaming balances sound quality, room conditions, and budget. Whether you prefer USB or XLR, understanding your space and voice helps you pick the right mic for clear, professional broadcasts.
Imagine sitting down for your next live stream, your voice crystal clear, no distracting echo or keyboard noise. The secret? Your microphone. Choosing the right one can feel overwhelming, with hundreds of options promising perfect sound. But it all boils down to understanding your space, voice, and goals.
In this guide, you’ll learn exactly what to look for in a studio microphone for streaming—whether you’re just starting out or upgrading to a pro setup. We’ll cover the pros and cons of different types, how to optimize your placement, and what accessories can make a huge difference. Let’s make your voice sound as good as you feel about your content.
Choose a dynamic microphone if your room is untreated or noisy; go condenser if your space is quiet and you want detail.
USB mics are simple and effective for beginners, but XLR systems offer more control and upgrade potential.
Position your mic about 5–15 cm from your mouth, using a pop filter to reduce plosives and sibilance.
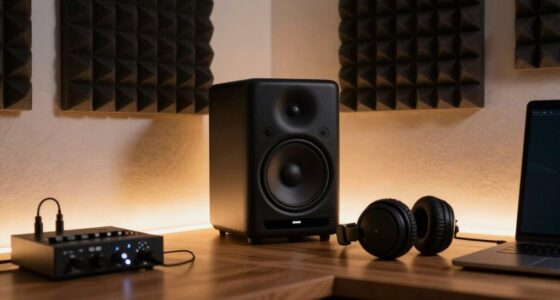
Treat your room with soft materials and position your keyboard away from the mic to cut echo and background noise.
Invest in essential accessories like a boom arm, shock mount, and quality headphones for a professional sound.
Dynamic vs. condenser microphones: Which one suits your streaming space?
The first choice is between dynamic and condenser microphones. Dynamic mics are tough, less prone to capturing room echo, and great for untreated spaces. They excel when you’re close to the mic, capturing your voice while blocking out background noise. Think of the SM7B from Shure—it’s a favorite for streamers because it handles noisy rooms and loud keyboards effortlessly.
Condenser microphones, on the other hand, are like capturing a live performance—they reveal every detail. They excel in quiet, acoustically treated rooms, providing a fuller, more open sound. The Audio-Technica AT4040 is a popular condenser choice for streamers who want a rich, professional tone. But beware: in untreated rooms, they pick up every echo and click, making background noise a bigger problem.
So, your choice hinges on your room’s acoustics and your speaking style. If you’re in a noisy apartment or basement, go dynamic. If your space is quiet and you want that airy, detailed voice, condenser is the way to go.
best studio microphone for streaming
As an affiliate, we earn on qualifying purchases.
As an affiliate, we earn on qualifying purchases.
USB vs. XLR: Which connection type gives you better streaming quality?
Choosing between USB and XLR microphones is a common dilemma. USB mics are plug-and-play—just connect to your computer, and you’re ready to go. They’re perfect for beginners or streamers who want simplicity and portability. The Blue Yeti, for example, offers decent sound quality with built-in controls, making it a favorite among new streamers.
XLR microphones, however, require an audio interface or mixer. This setup costs more but offers clearer sound, better upgrade options, and more control over your audio. Plus, XLR mics often have better preamps and less self-noise. If you’re serious about sound quality and plan to upgrade your setup, investing in an XLR system pays off over time.
Some modern mics like the Rode NT-USB provide both options, giving you flexibility for future upgrades. Start with USB if you want quick results. Consider XLR if you see streaming as a long-term hobby or profession.
USB condenser microphone for streaming
As an affiliate, we earn on qualifying purchases.
As an affiliate, we earn on qualifying purchases.
The right polar pattern: Why cardioid is king for solo streamers
For most streamers, a cardioid polar pattern is your best friend. It captures sound primarily from the front, rejecting much of the noise from the sides and rear. That means your keyboard clicks, fan noise, and room echo become less noticeable. Imagine speaking into a focused spotlight—your voice shines, everything else dims.
Other patterns have their uses. Omnidirectional mics pick up sound from all directions—great for two-person podcasts. Bidirectional or figure-eight mics are handy for interview setups. But for solo streaming, cardioid hits the sweet spot, balancing pickup and rejection.
Remember: even a cardioid mic won’t block all background noise. Proper placement and room treatment still matter.
XLR dynamic microphone for streaming
As an affiliate, we earn on qualifying purchases.
As an affiliate, we earn on qualifying purchases.
How to improve your room sound without tearing down walls
Your microphone can’t fix a bad room. Echo, reflections, and background noise are your enemies. But you can make a noticeable difference with simple tricks. Place your mic close—within 5–15 cm of your mouth. This “proximity effect” not only boosts bass and warmth but also helps drown out room noise.
Next, position your keyboard and PC away from the mic’s rear or sides. Use soft materials—curtains, rugs, or foam panels—to absorb sound. Imagine your room as a concert hall—without sound-absorbing curtains, it’s a cavern. Add them to create a cozy, controlled space that keeps your voice front and center.
Headphones are your secret weapon. Use closed-back models to prevent your voice from leaking into the mic. If you’re in a noisy environment, consider a portable acoustic shield or a small, dedicated recording corner.
microphone accessories for streaming
As an affiliate, we earn on qualifying purchases.
As an affiliate, we earn on qualifying purchases.
Placement tips: How to position your mic for maximum clarity
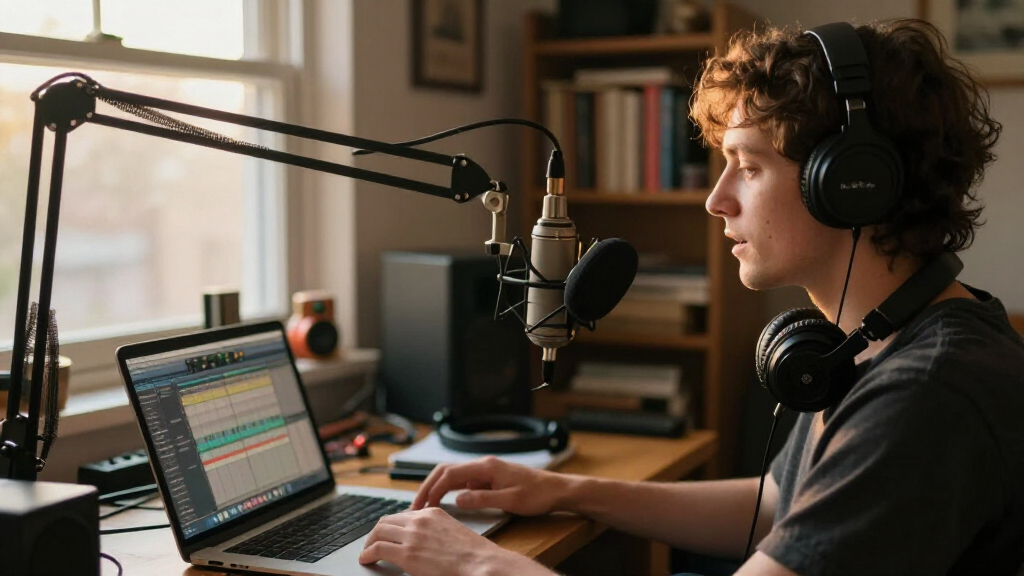
The sweet spot for most streamers is about 5–15 cm from your mouth. Use a boom arm or stand to keep it steady and at the right height. Speaking slightly across the capsule rather than directly into it helps reduce plosives—those harsh ‘p’ and ‘b’ sounds. A pop filter or foam windscreen is a must—think of it as a windshield for your voice.
Consistency is key. Keep your distance the same for every stream. If you move around, your volume and tone will change, making editing a nightmare.
Example: one streamer positioned their mic directly in front of their mouth, causing muffled plosives. After switching to speaking slightly across the capsule with a pop filter, their audio suddenly sounded cleaner and more professional.
Essential accessories: What your setup really needs
A good microphone is just part of the puzzle. To get top-quality sound, you’ll want a few key accessories. A sturdy boom arm keeps your mic at the perfect height and frees up desk space. A pop filter or foam windscreen prevents harsh pops and sibilance. A shock mount reduces vibrations and desk bumps that can cause noise.
Don’t forget quality headphones—closed-back, comfortable, and capable of revealing subtle audio flaws. If you’re using an XLR mic, you’ll need an audio interface with enough inputs and control knobs. Cables should be balanced XLR or high-quality USB. Think of these as the tools that keep your sound clean and reliable.
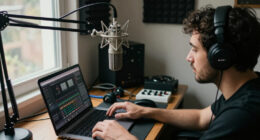
In practice, one streamer added a shock mount and boom arm, transforming their cluttered desk into a professional broadcast station. The result? Clearer voice, less background noise, and a more focused streaming environment.
Common mistakes to avoid when choosing your streaming mic
Many beginners fall into familiar traps: buying a sensitive condenser for a noisy room, positioning the mic too far away, or cranking up gain unnecessarily. These choices lead to muddy, echoey sound or loud clipping. Another mistake is assuming a high price always equals better quality. Sometimes, a budget dynamic mic close to your mouth beats a fancy condenser in a bad room.
Also, don’t ignore accessories. Skipping a pop filter or shock mount can turn your setup into a source of echo and vibrations. And finally, neglecting proper placement—like leaving the mic pointed at your keyboard—can sabotage your sound quality.
Your quick checklist before buying a streaming microphone
- Is your room quiet or acoustically treated?
- Will you keep the mic close—about 5–15 cm from your mouth?
- Do you prefer simple USB plug-and-play or plan to upgrade to XLR?
- Will you add more mics later for interviews or panels?
- Do you need physical controls or routing options?
- Is headphone monitoring a must?
- Does your stand or arm support the mic’s weight?
- Does the voice sound natural without heavy post-processing?
- What’s your total budget, including accessories?
What questions do streamers ask about microphones?
Q: Is a dynamic or condenser better for streaming? Generally, dynamic mics are easier in noisy rooms, but condensers give a richer tone in quiet spaces.
Q: Will a USB microphone sound as good as an XLR? For most streaming needs, yes. XLR offers more flexibility and potential for upgrades but costs more.
Q: How close should I speak into my mic? About 5–15 cm, depending on mic type and voice. Too far, and your voice gets thin; too close, and plosives become harsh.
Q: Why does my expensive mic pick up keyboard noise? Because sensitive microphones pick up all sounds, especially if positioned far away or gain is high. Close placement and room treatment help.
Q: Do I need a pop filter? Absolutely. It reduces pops and sibilance, making your speech clearer and more professional.
Frequently Asked Questions
Can I use a gaming headset mic for streaming?
While convenient, gaming headset mics often lack the clarity and noise rejection of dedicated studio mics. Upgrading to a good condenser or dynamic mic can greatly improve your audio quality.How do I prevent echo in my streams?
Use a combination of room treatment—like acoustic panels or rugs—and proper mic placement. Close-miking and headphones help keep your voice clear and minimize room reflections.Is it worth buying a professional broadcast mic?
If you’re serious about quality and planning to stream often, a professional mic like the Shure SM7B or Rode PodMic can make a noticeable difference. For casual streaming, a good USB mic may suffice.Conclusion
Your microphone choice sets the foundation for a compelling, clear stream. Think of it as your voice’s best friend—one that needs the right environment, placement, and accessories to truly shine. Don’t skimp on these details, and your audience will hear the difference.
Remember: great sound isn’t just about the mic; it’s about how you use it. With the right setup, your voice will cut through the digital noise and make your content stand out. Make your mic work for you, and watch your streaming game level up.